
 Deutsch
To say it right from the start: We mention below the dimensions we have used, but it is more about the basic principle itself and not about concrete dimensions – so they can be adapted as needed. We also wanted to keep the costs as low as possible. We built this small printing table for the Hot Printing Festival 2022 and used it to exemplify the basic principles of repeat printing.
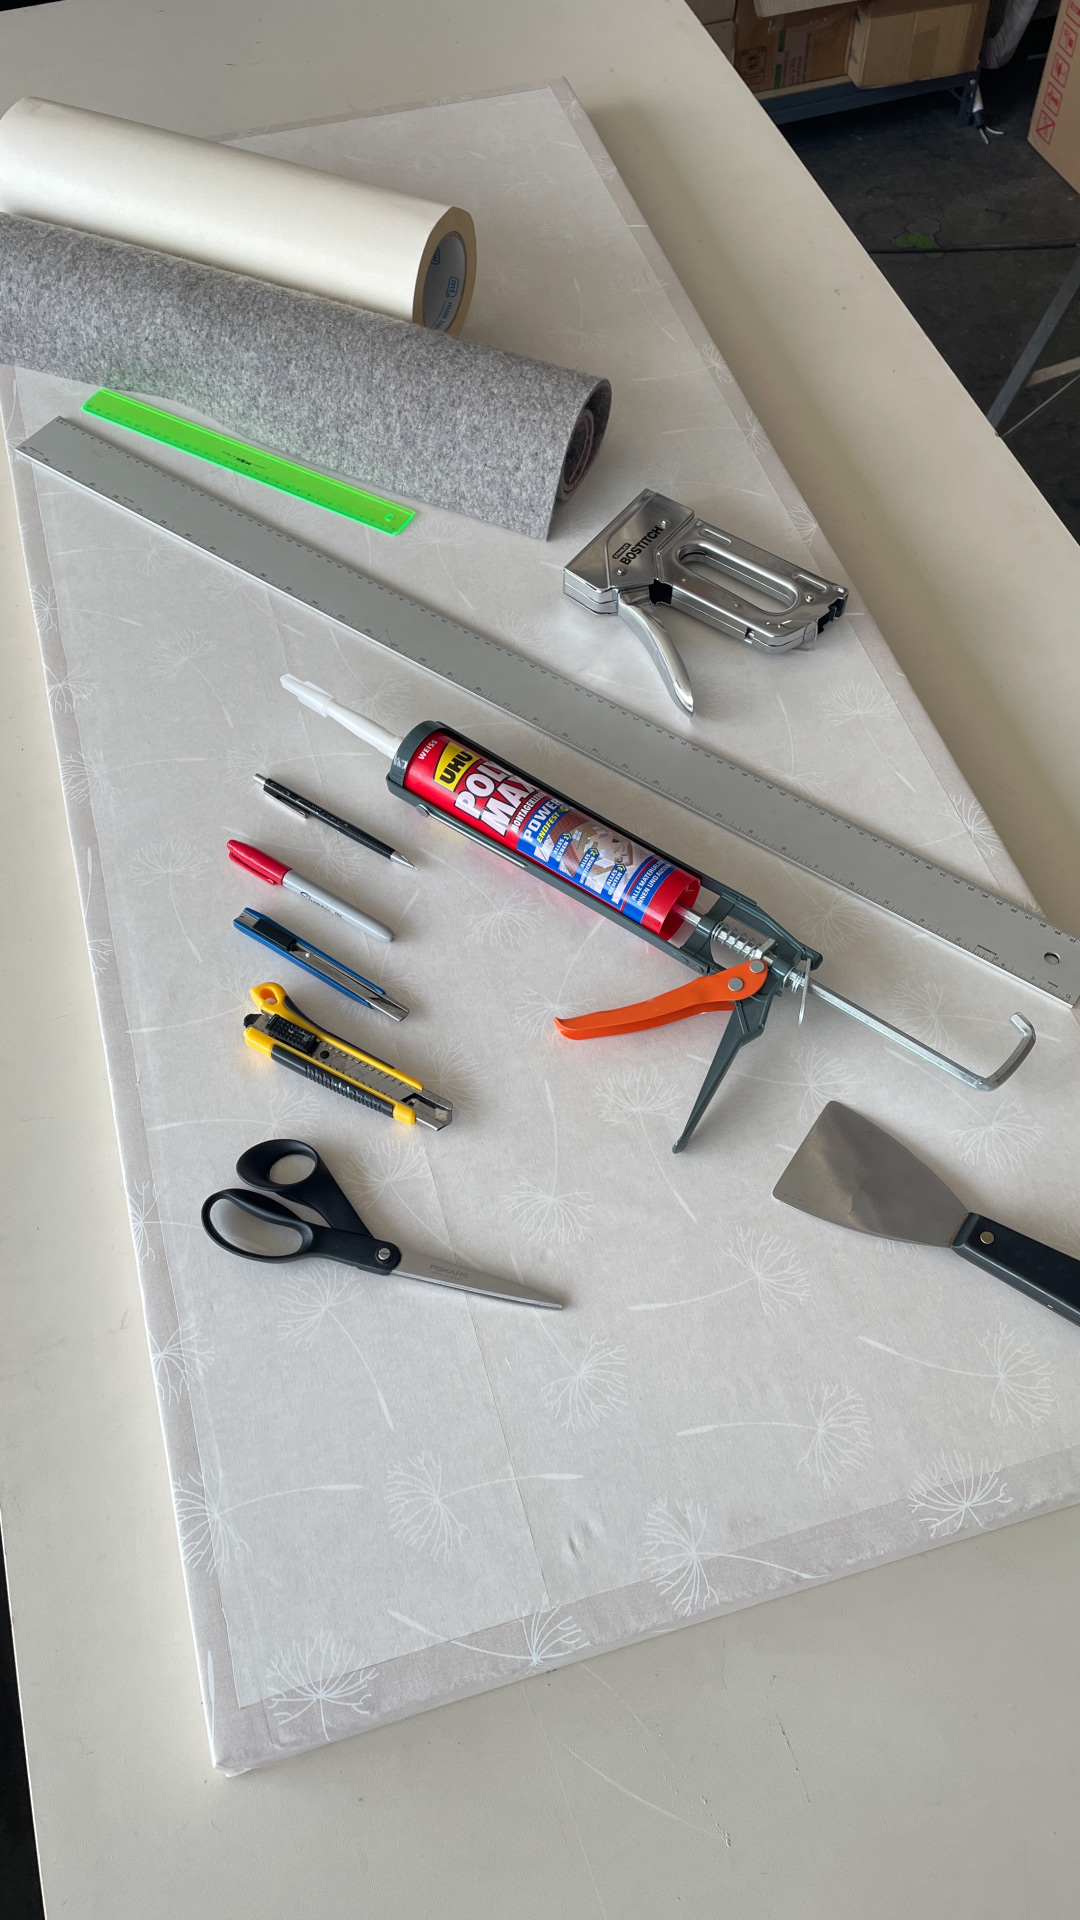
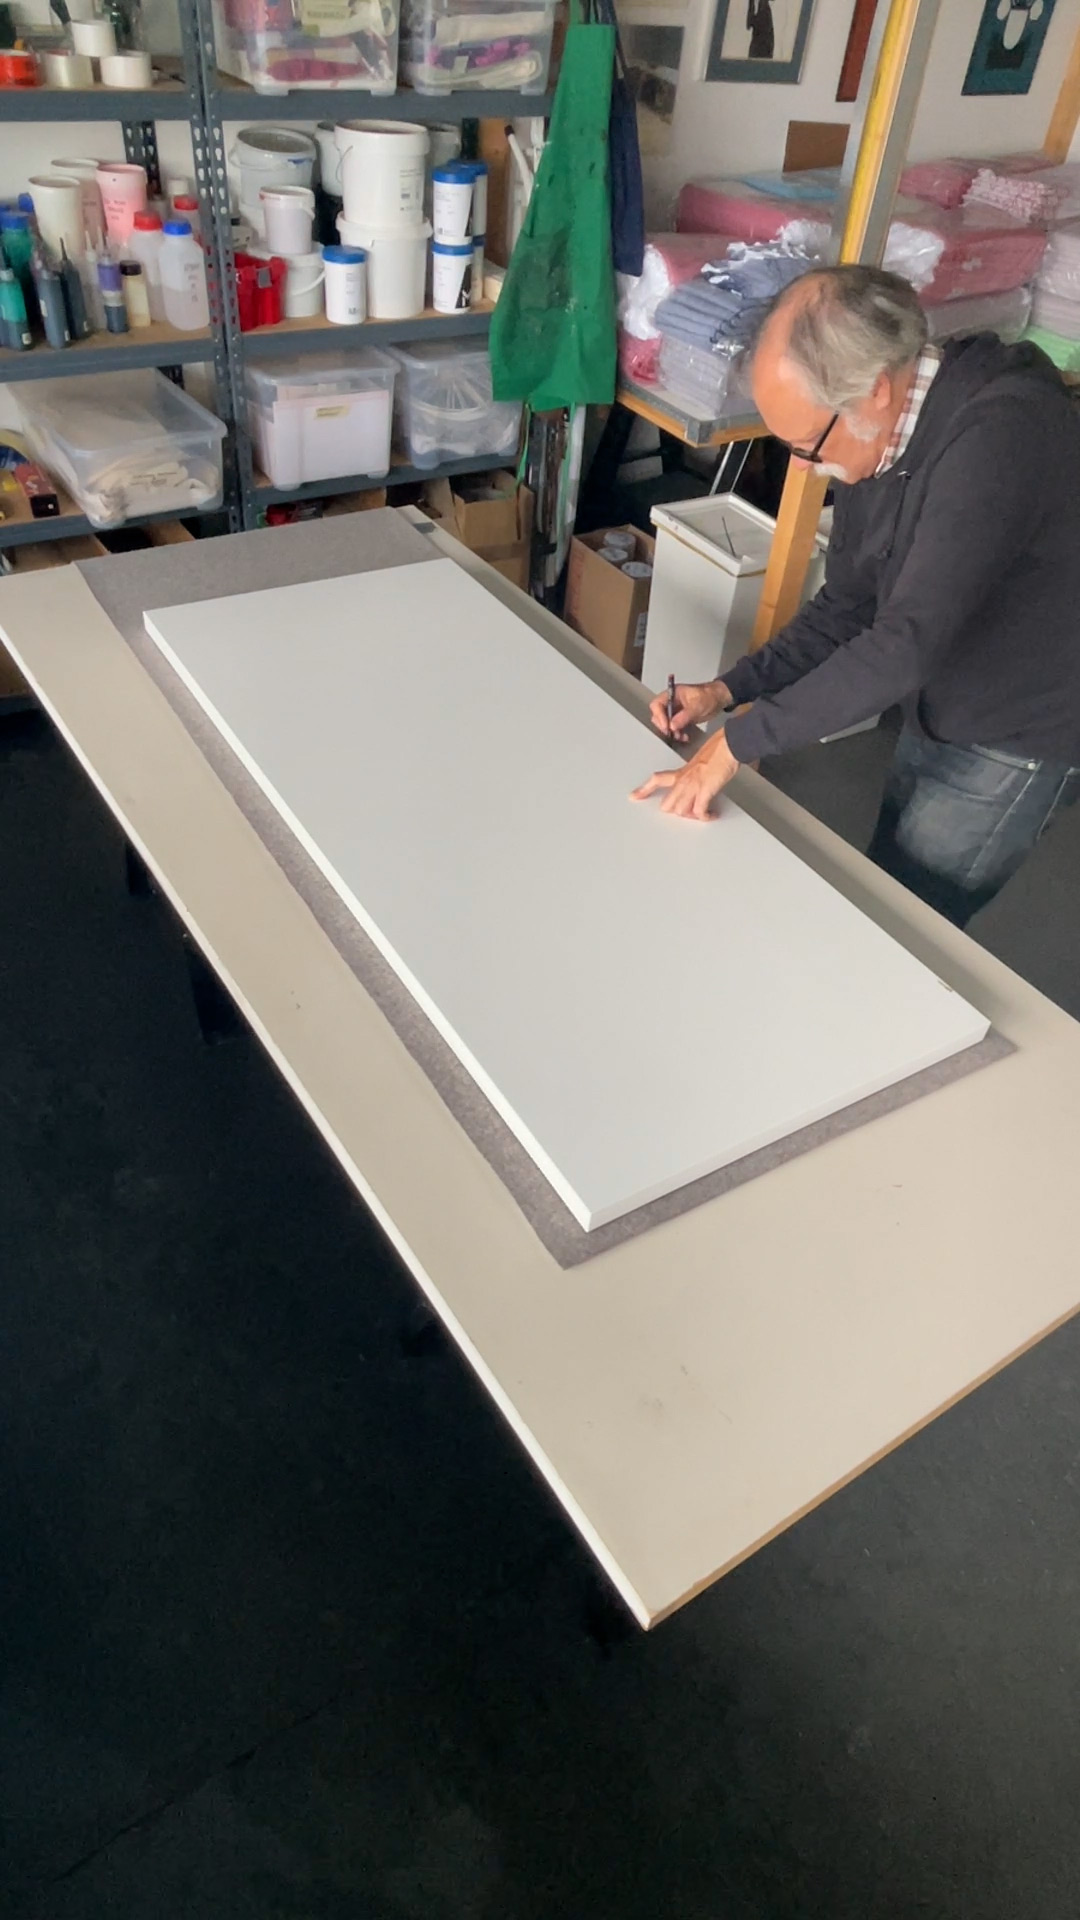
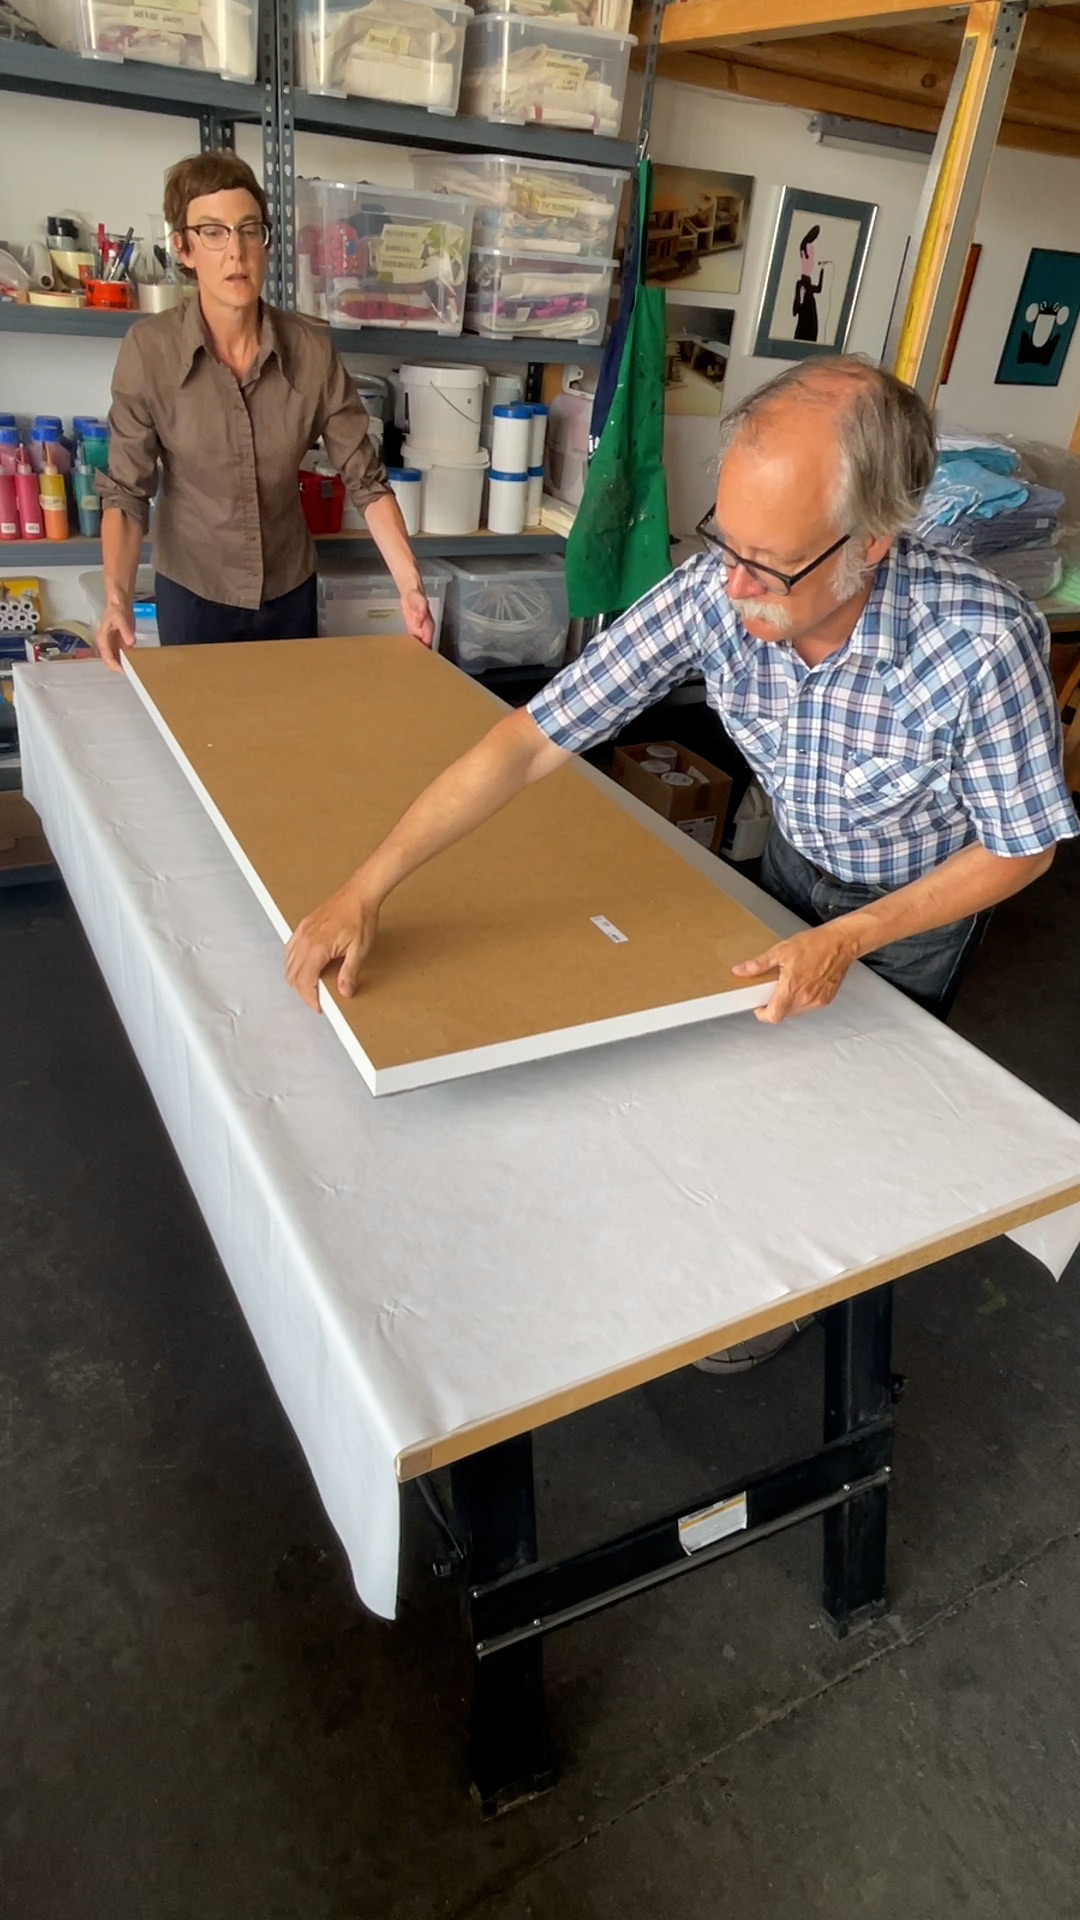
The tabletop used is from IKEA and measures 140 x 60cm. We would actually recommend a heavy wooden top so that the construction is a bit more stable, but everything worked out that way too. First, a piece of felt (approx. 3mm thick) is cut to the size of the tabletop and glued on with assembly or spray adhesive.
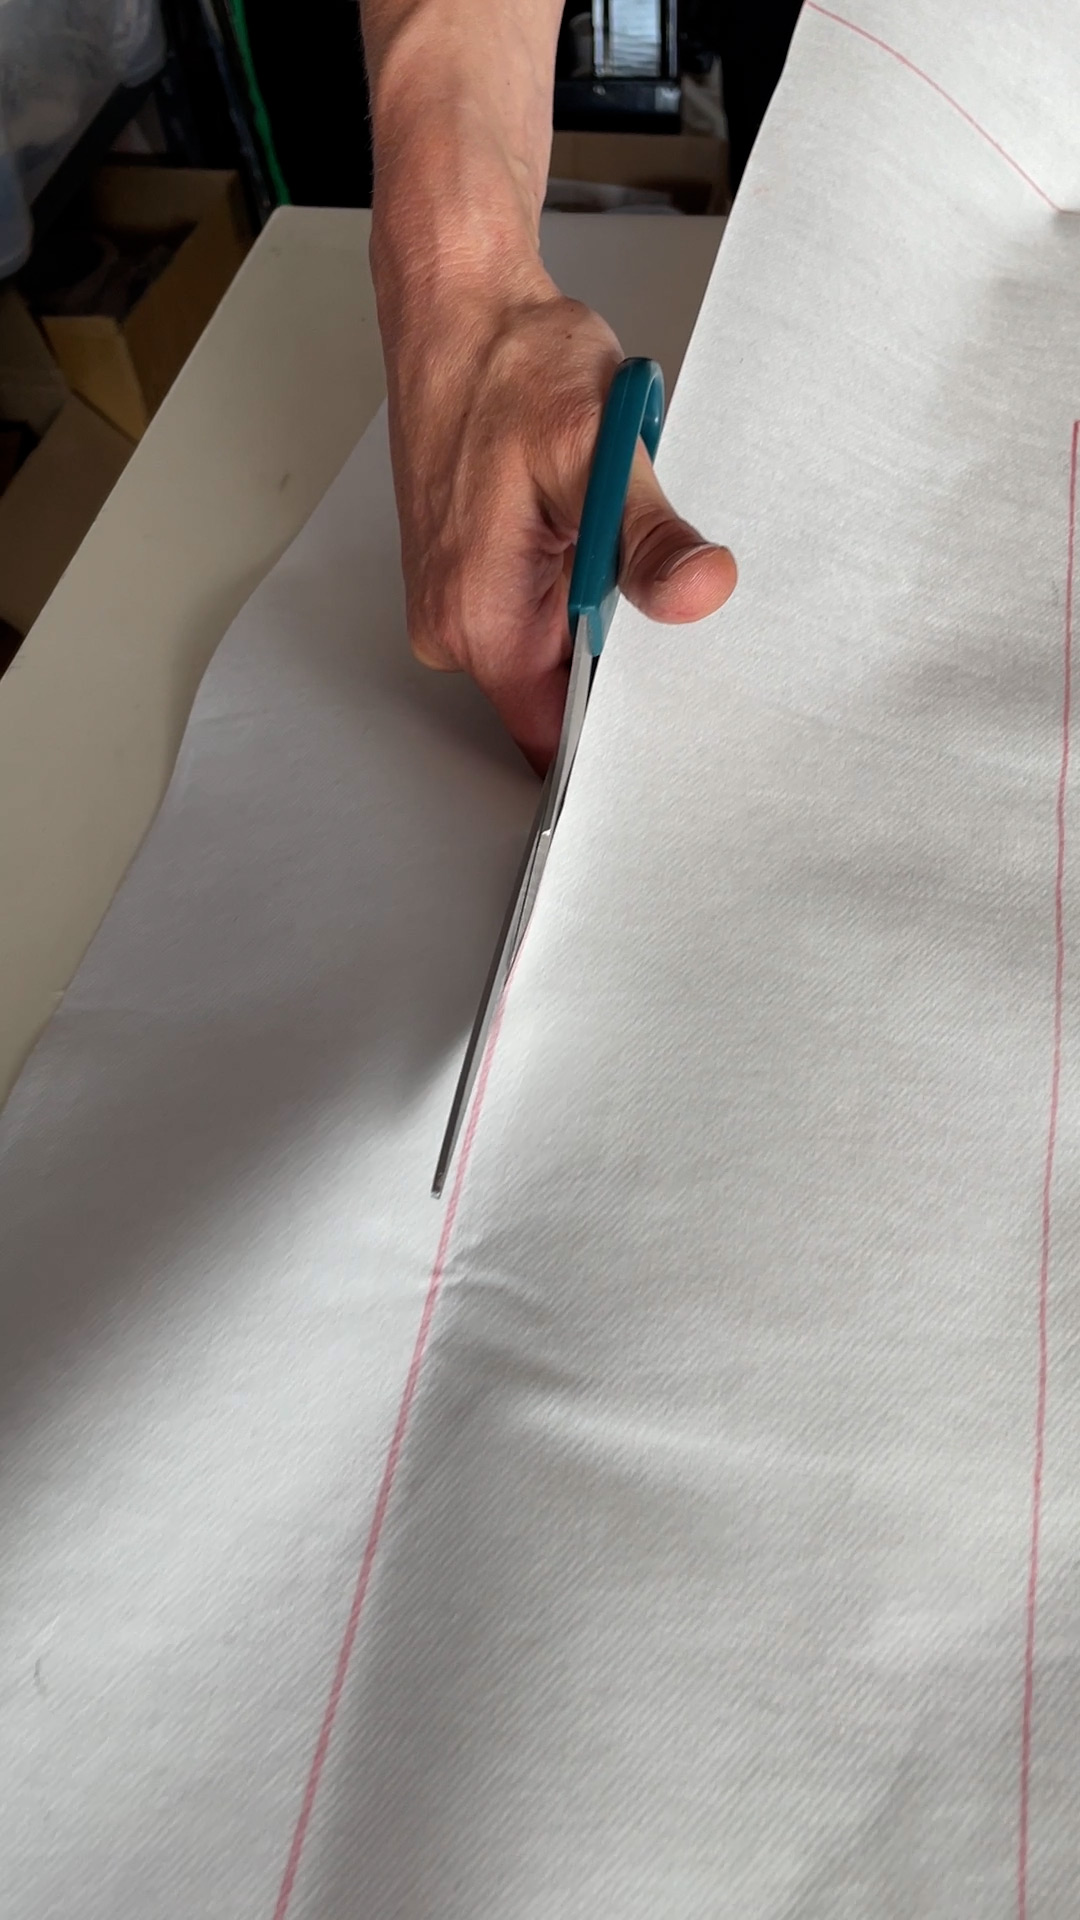
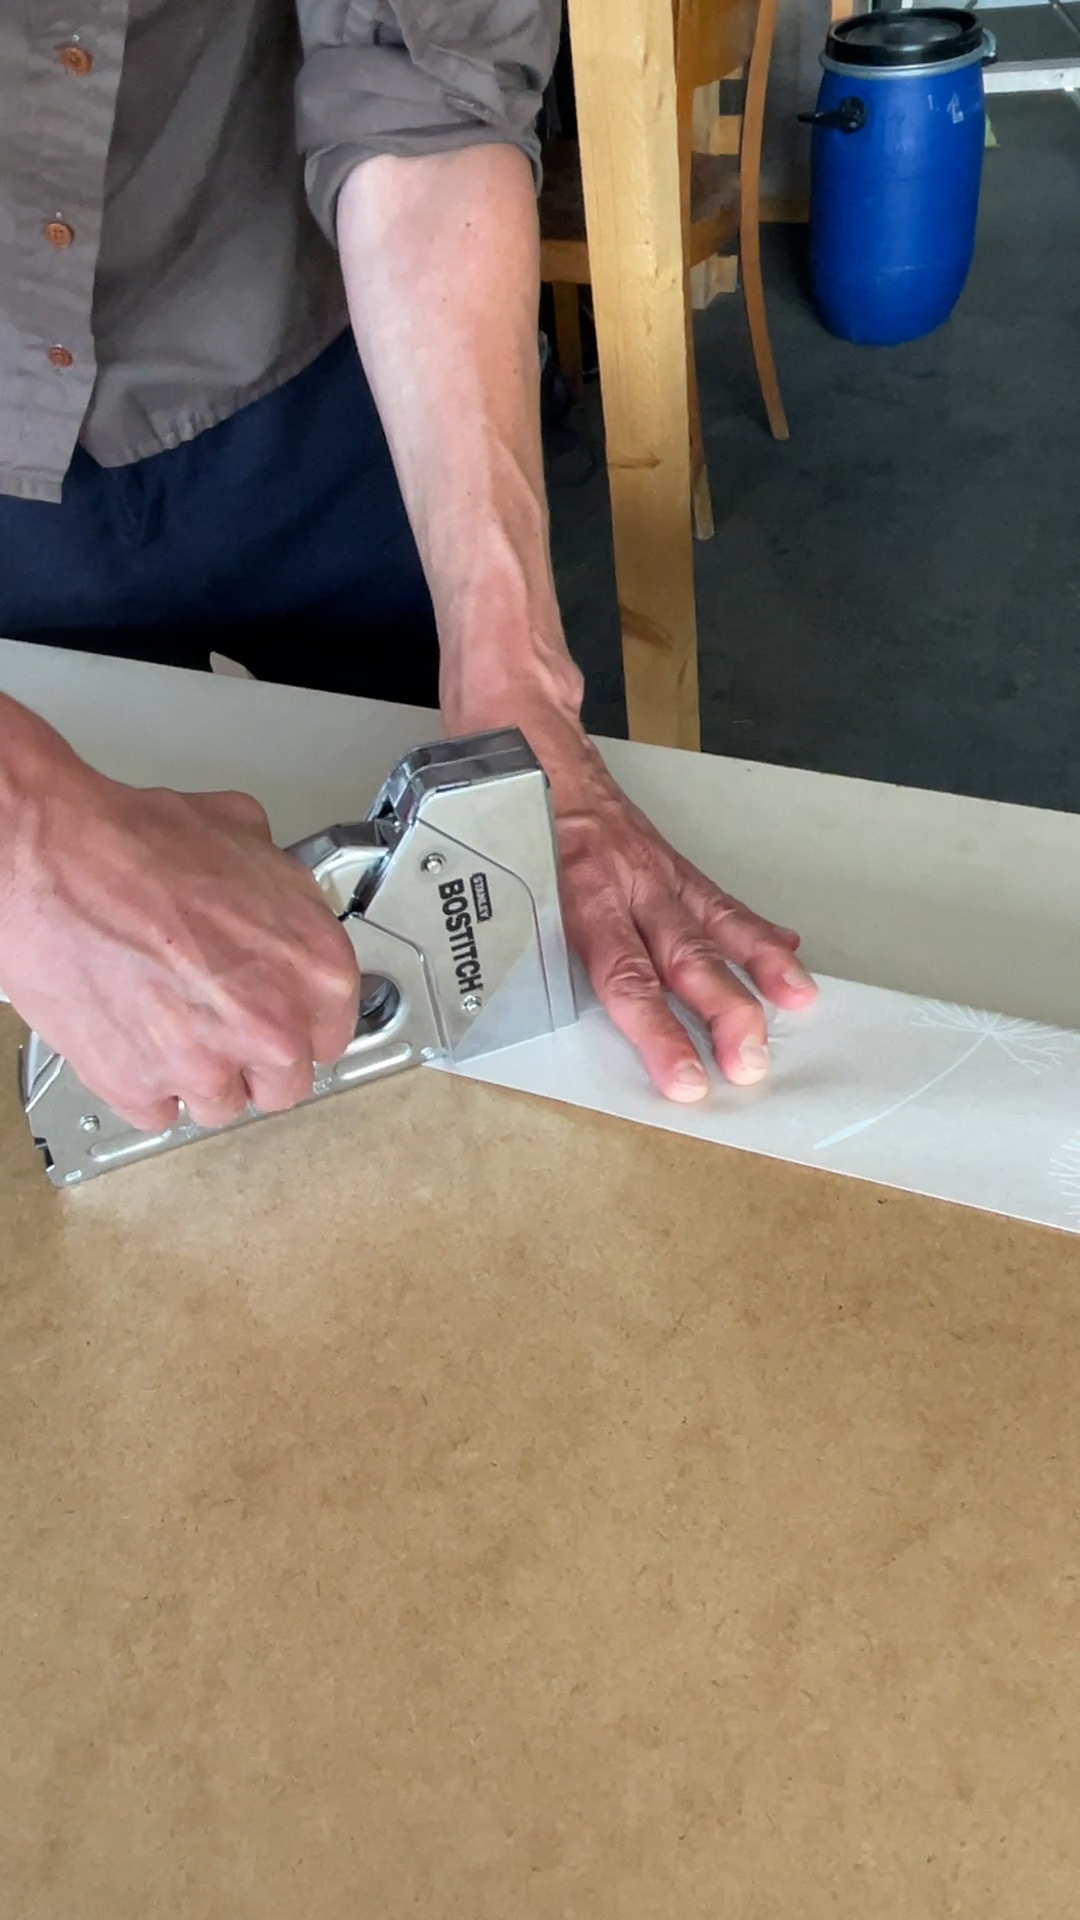
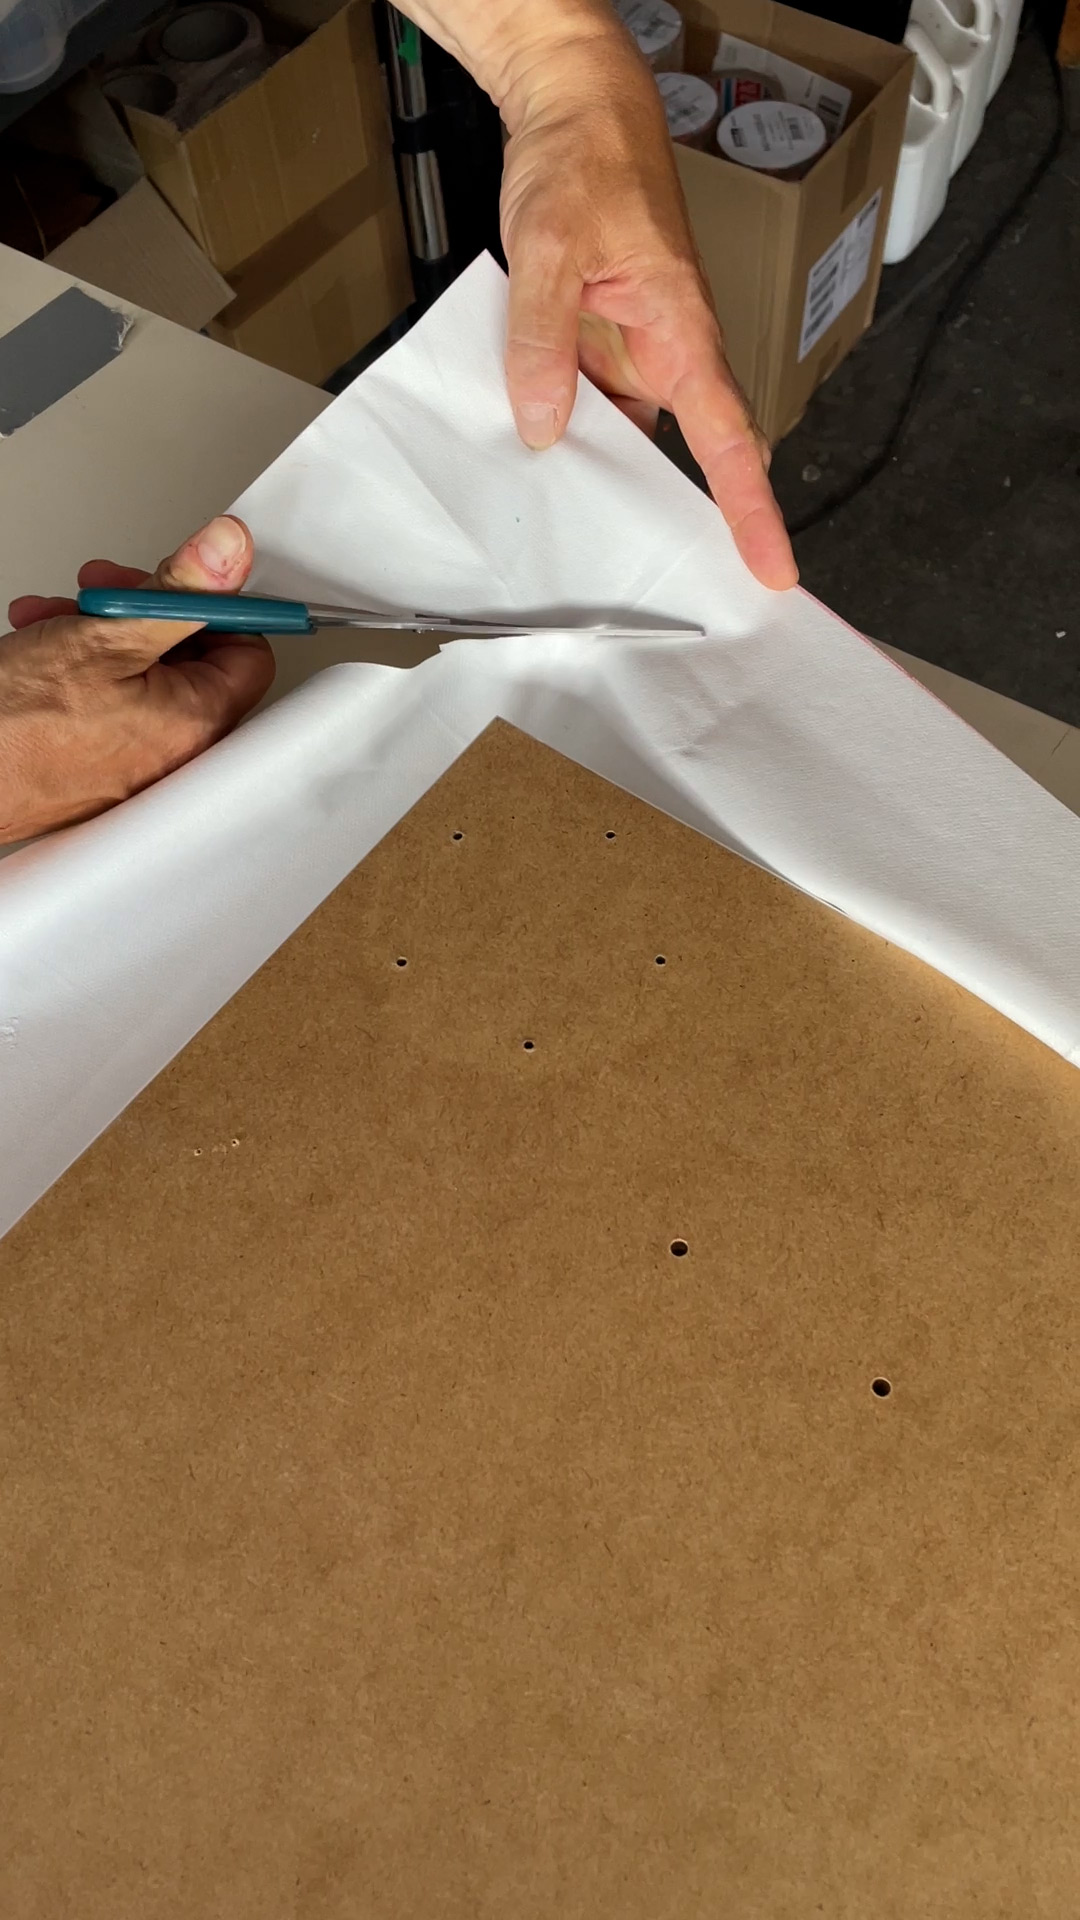
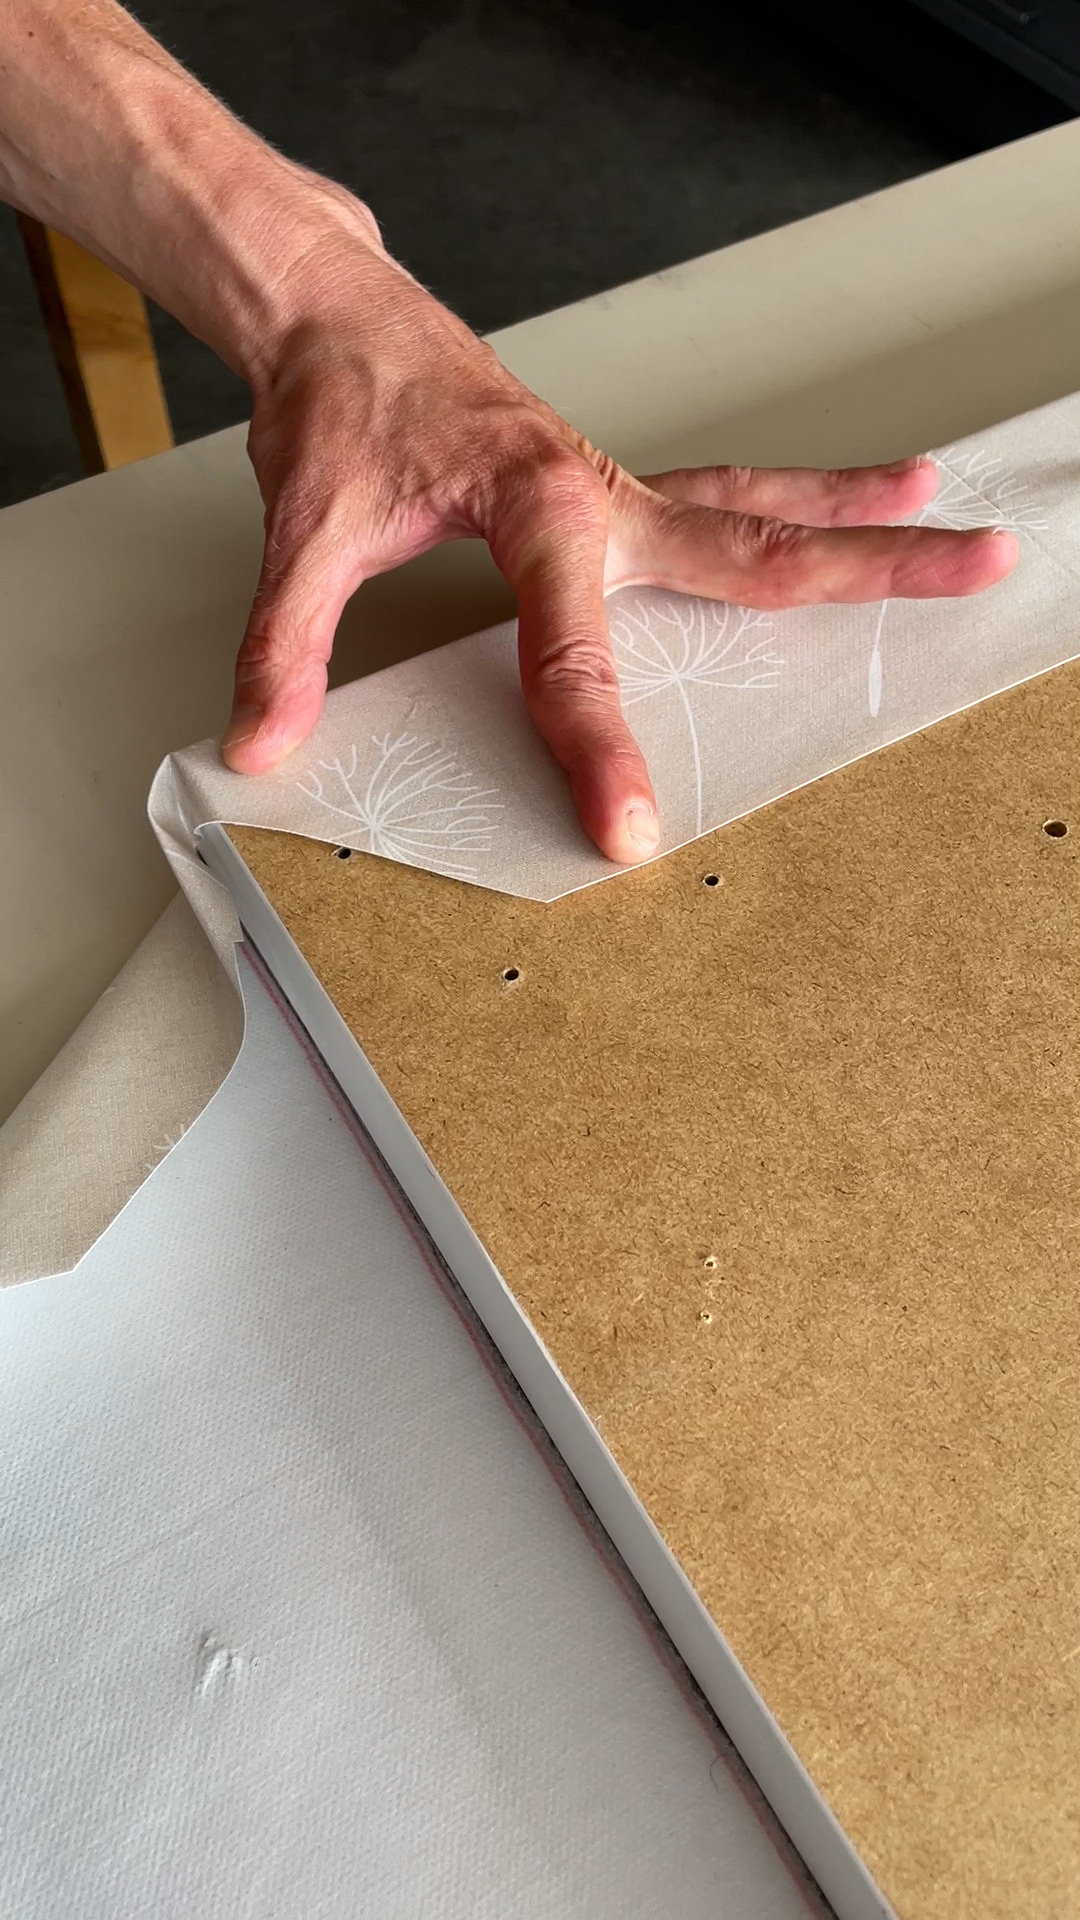
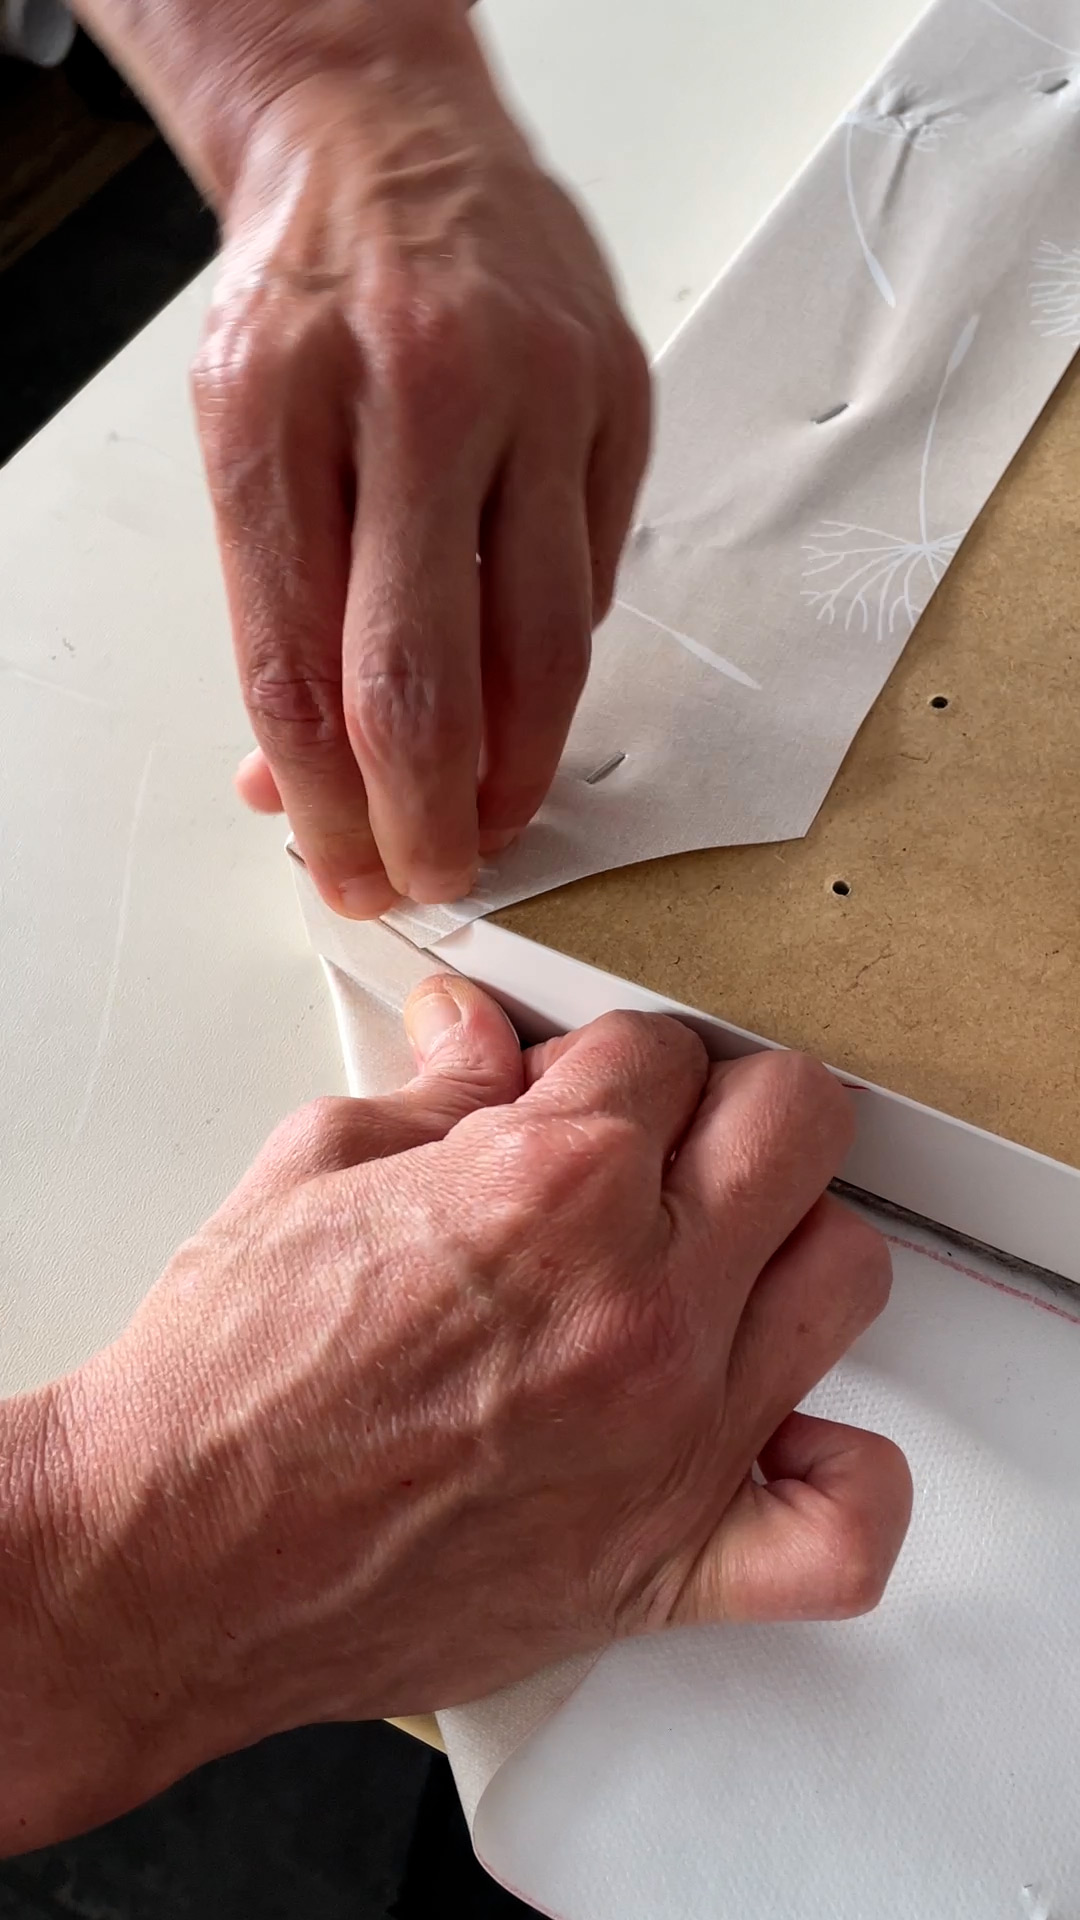
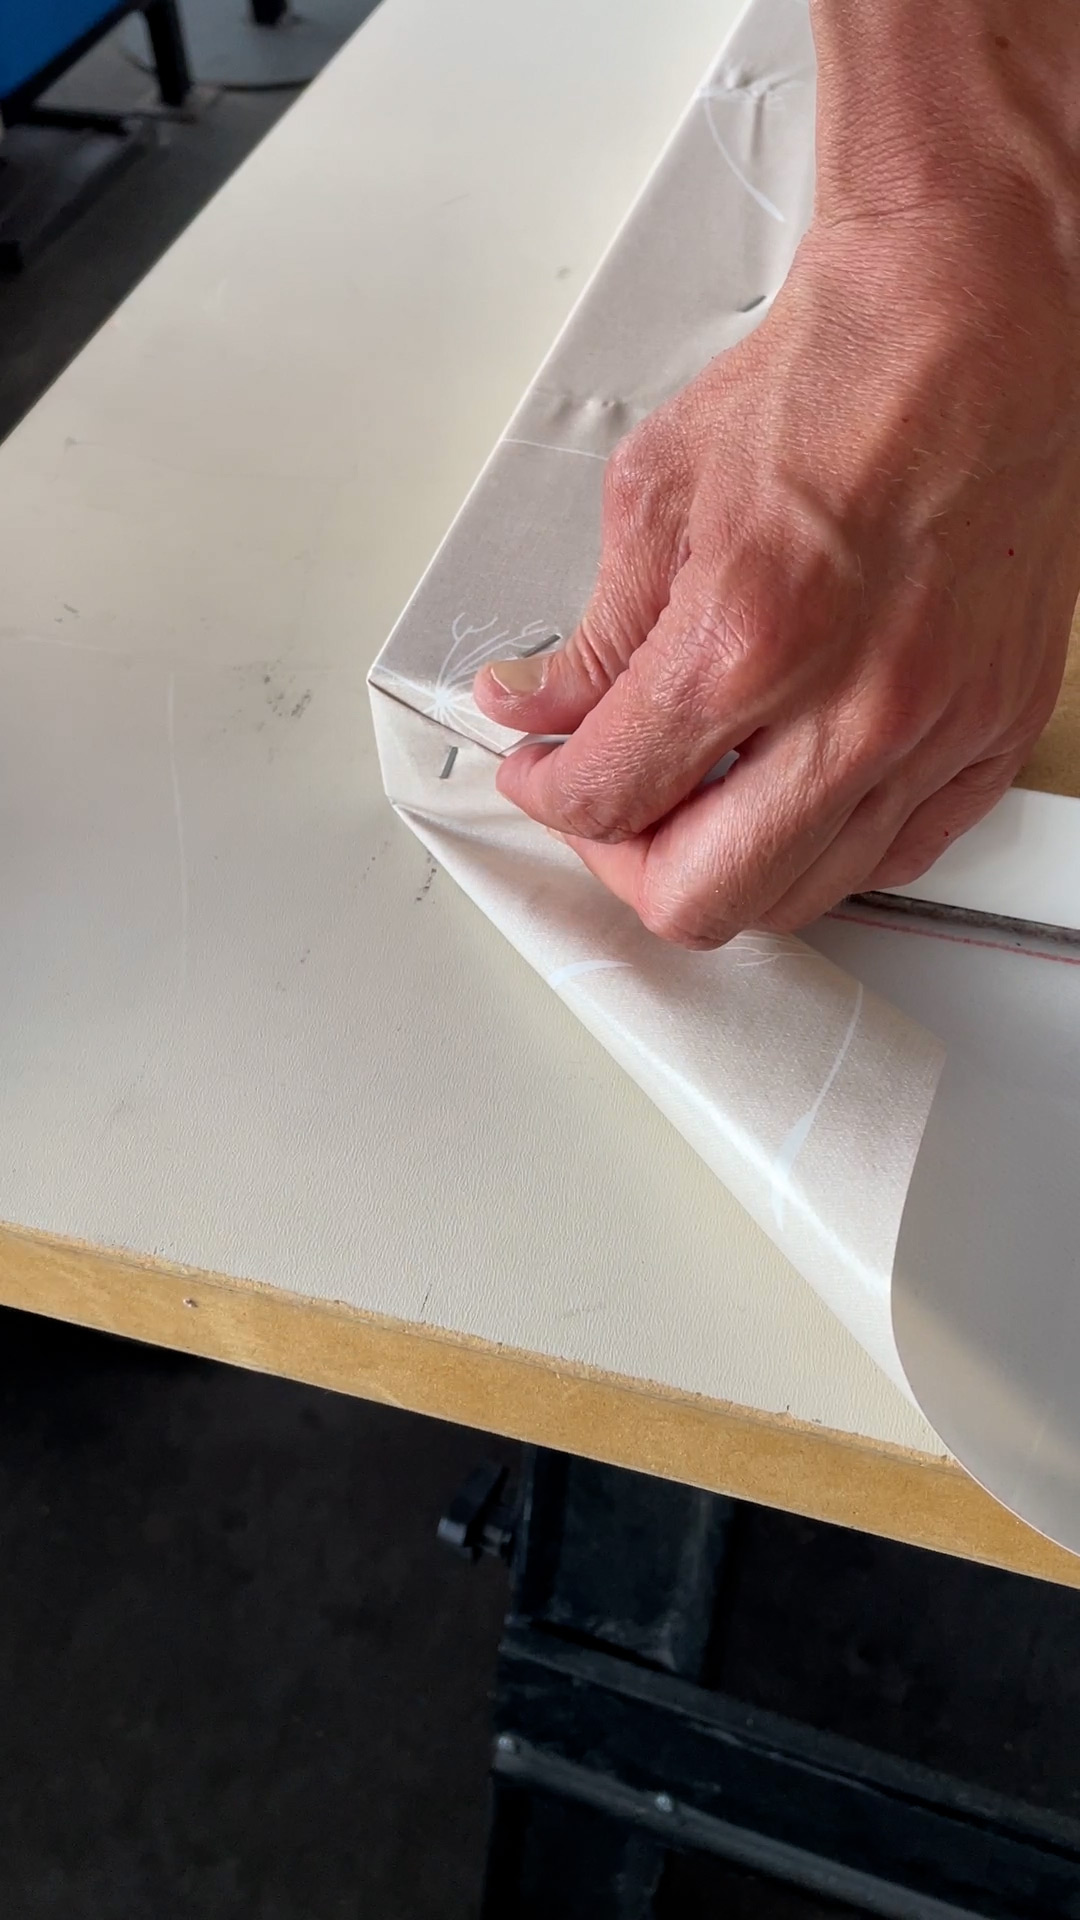
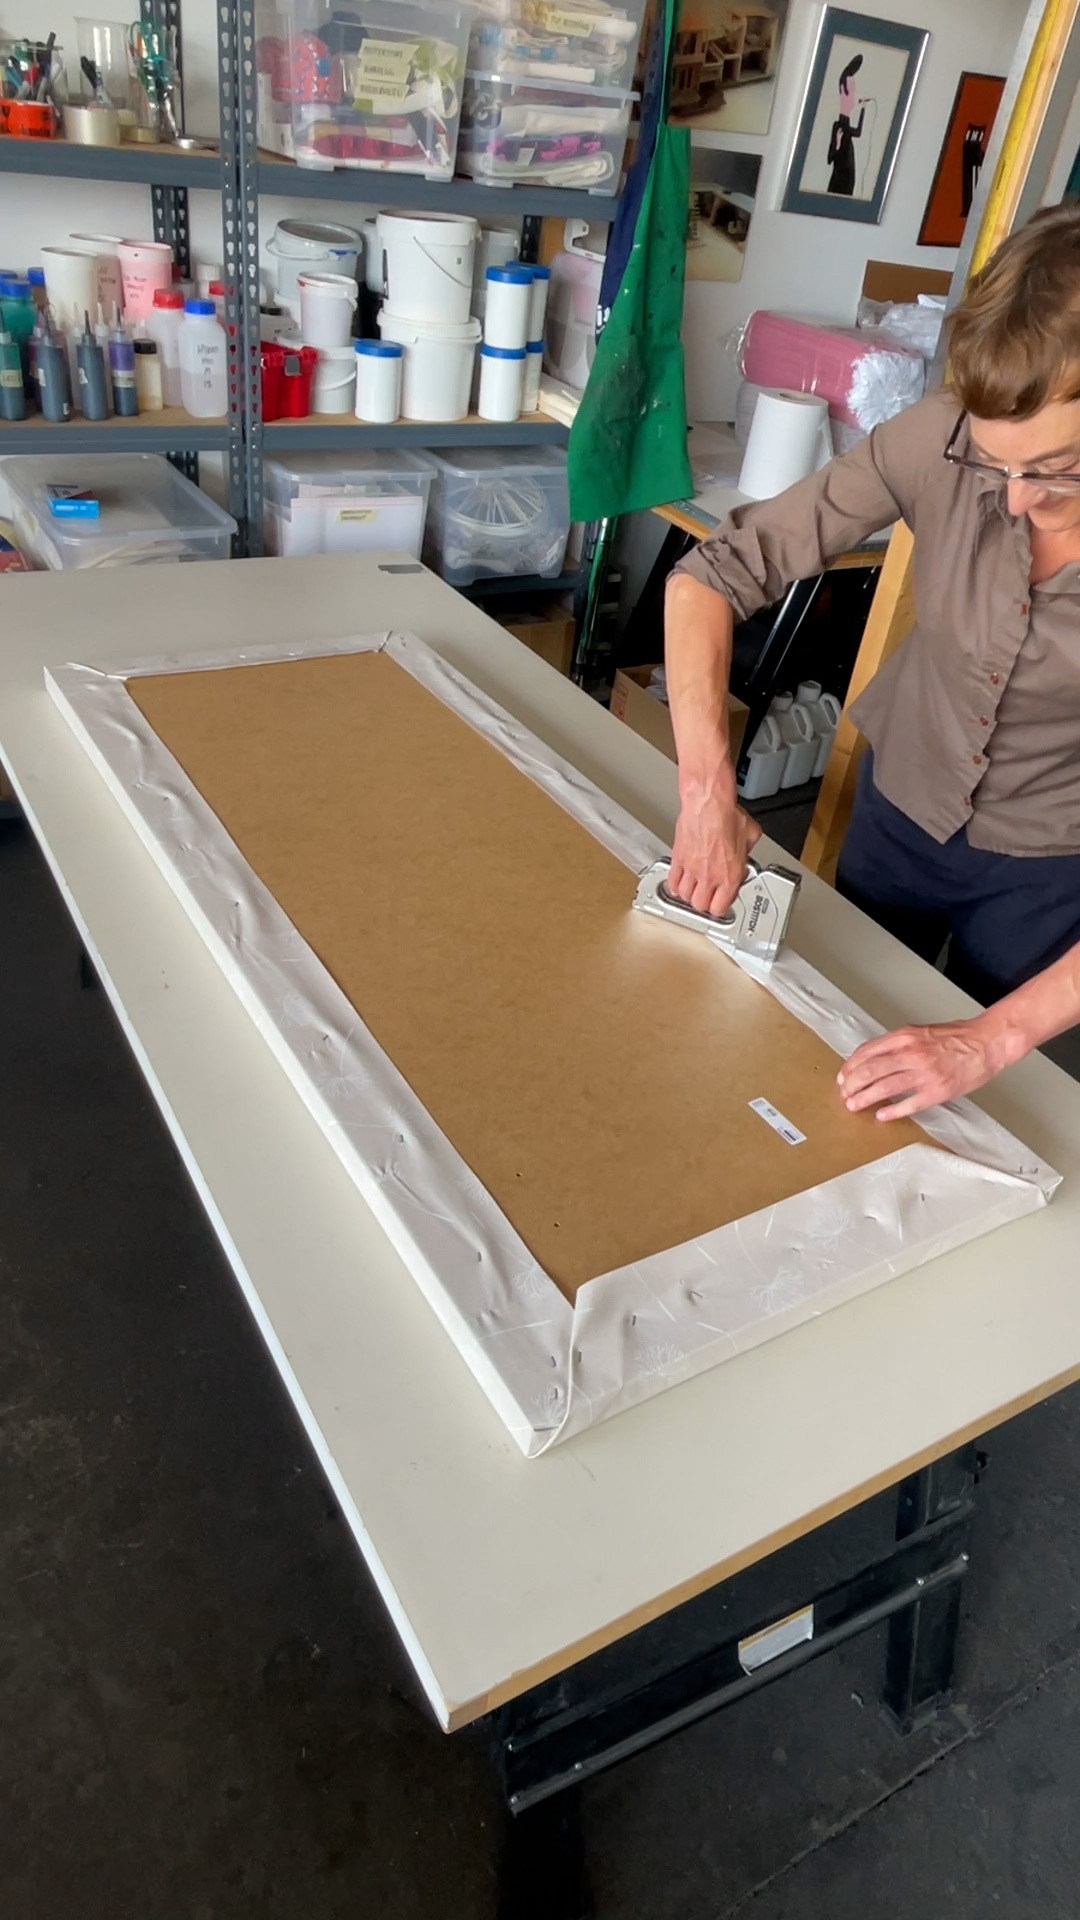
After drying, a second layer of oilcloth is cut to size so that there is enough material left on the sides to be tacked to the underside of the table – see photos/film. First staple all 4 sides in the middle, then the corners. It is best to cut the corners diagonally so that the rest can be attached to the side more easily. You should constantly check that there are no creases on the printed side. To ensure that the surface is as wrinkle-free as possible, we recommend buying oilcloth from a roll or smoothing it sufficiently before attaching it (we pressed a previously folded tarpaulin overnight, for example).
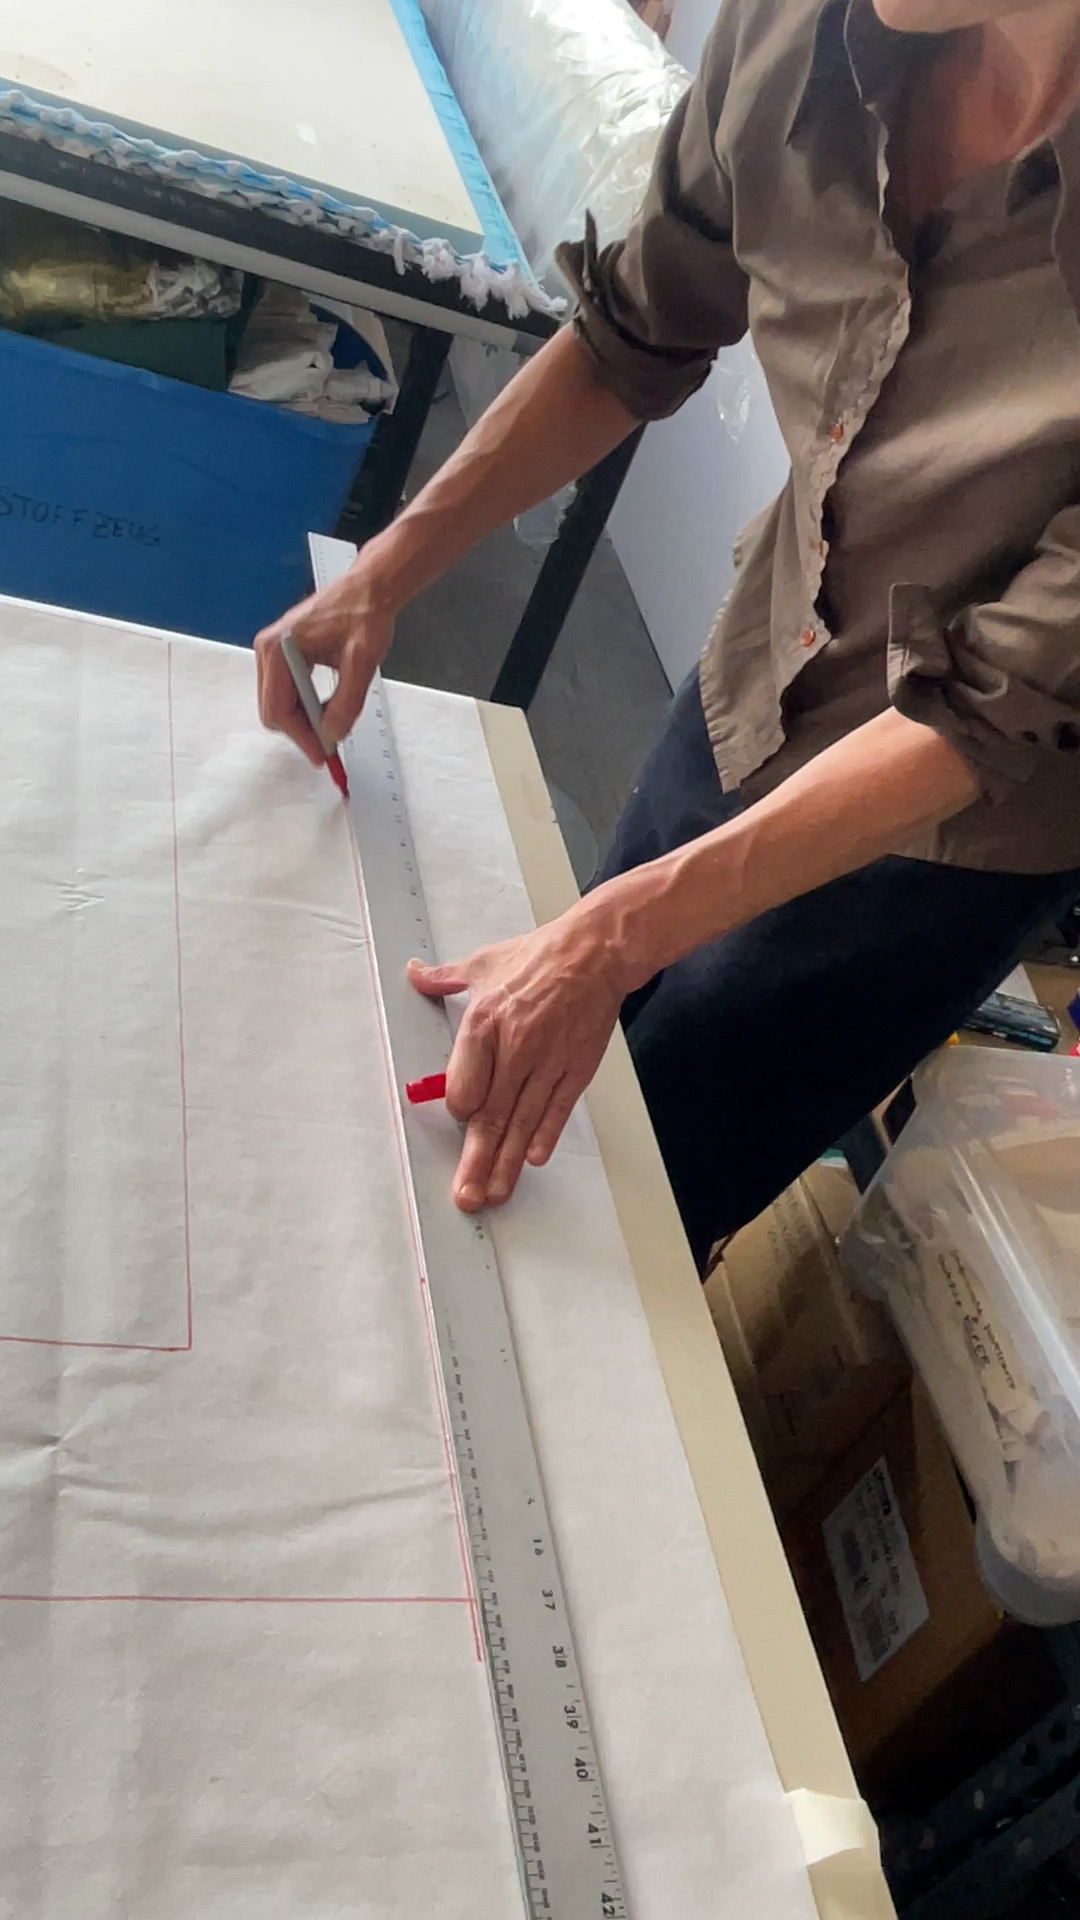
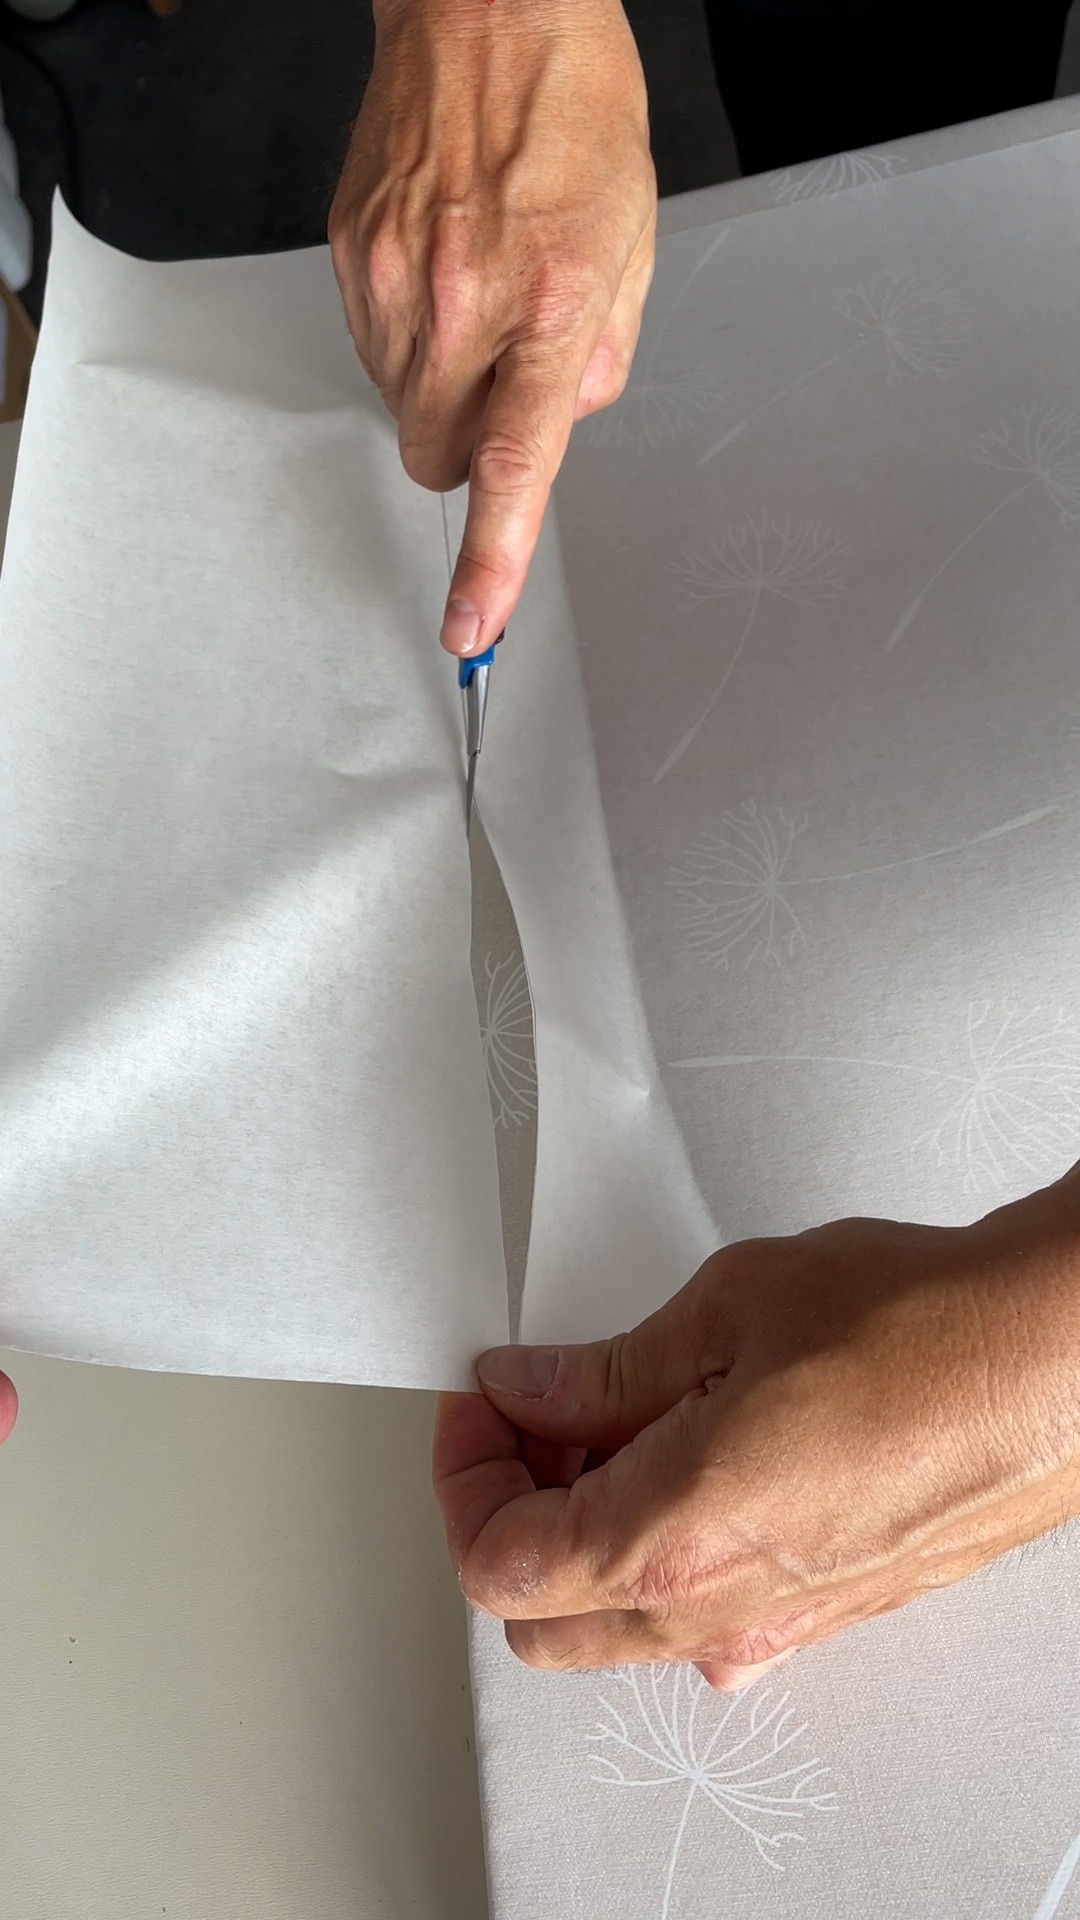
A self-adhesive paper layer is applied to the oilcloth, which should have a 1-2 cm gap to the edge of the table on all sides – we leave these gaps so that we can later use tape to make markings that can be easily removed again. Our paper roll was not wide enough, but with a bit of skill a second web can be added next to it.
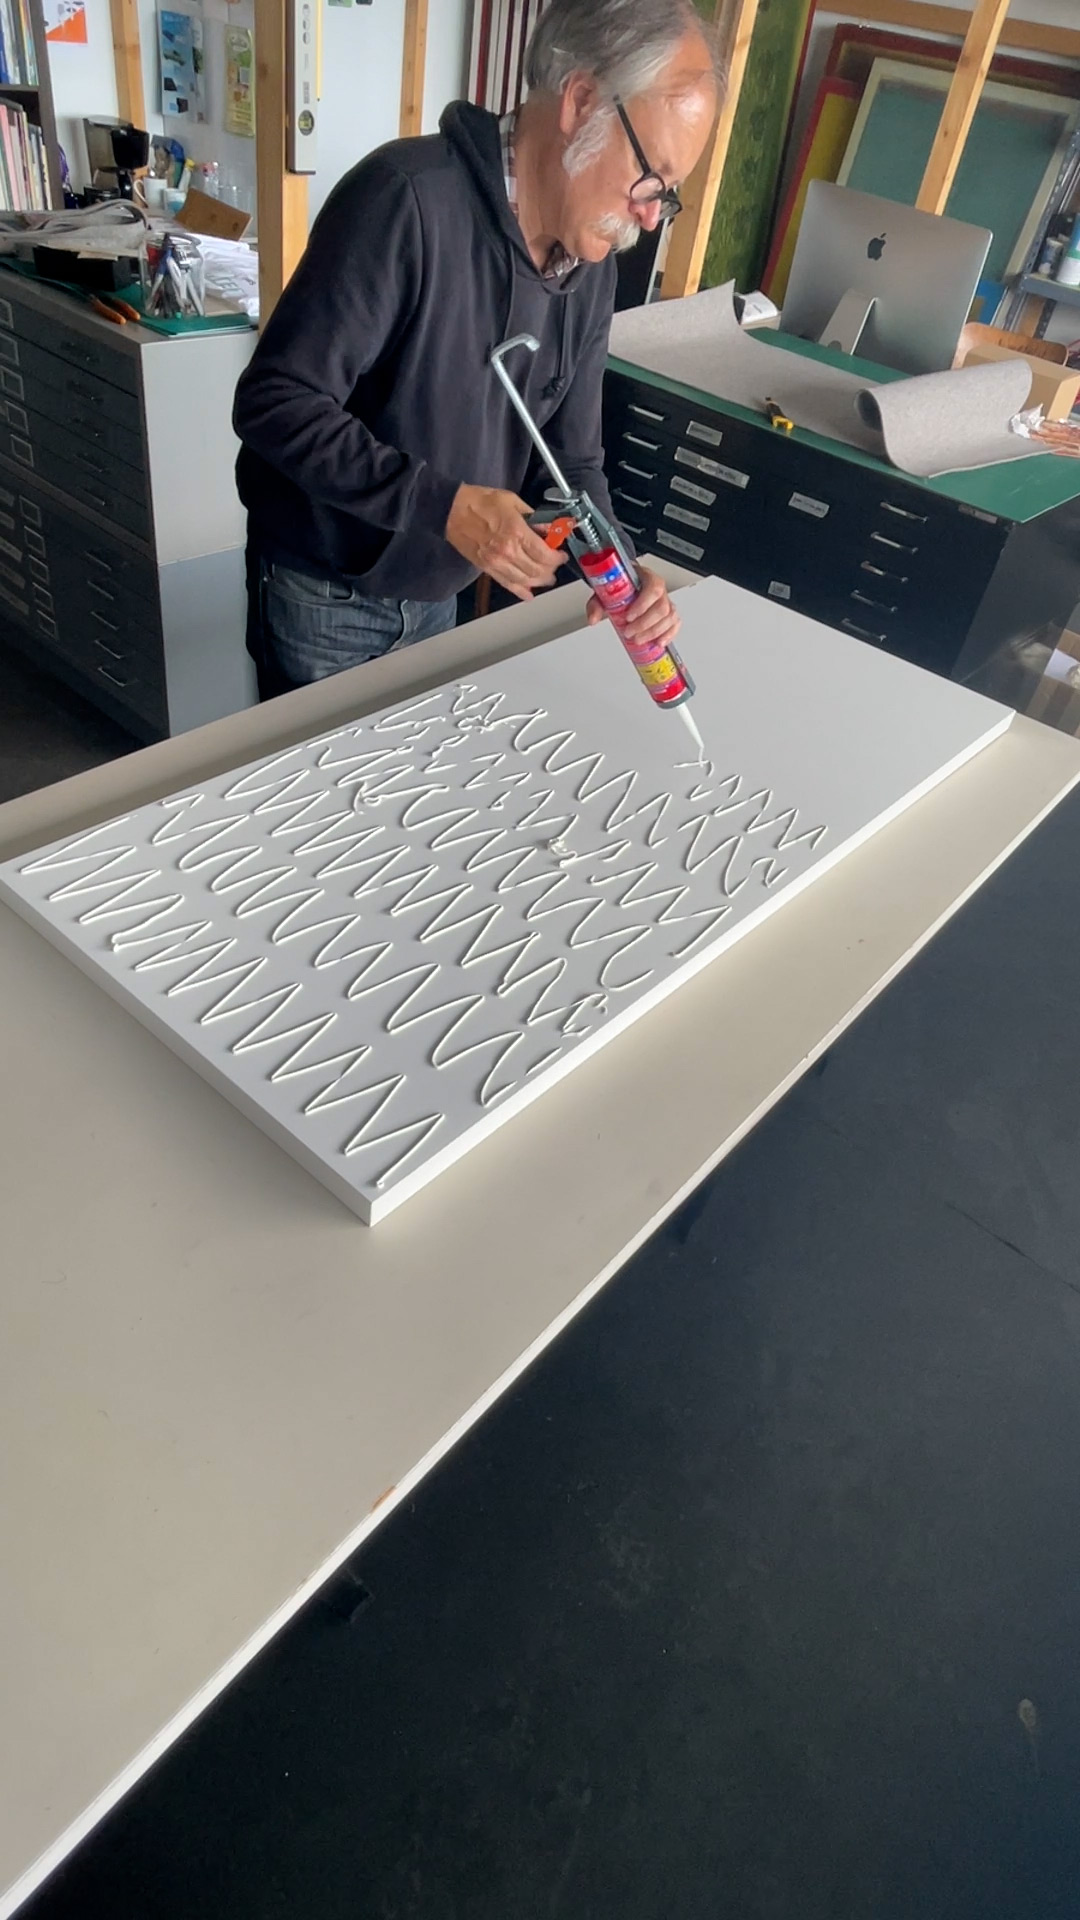
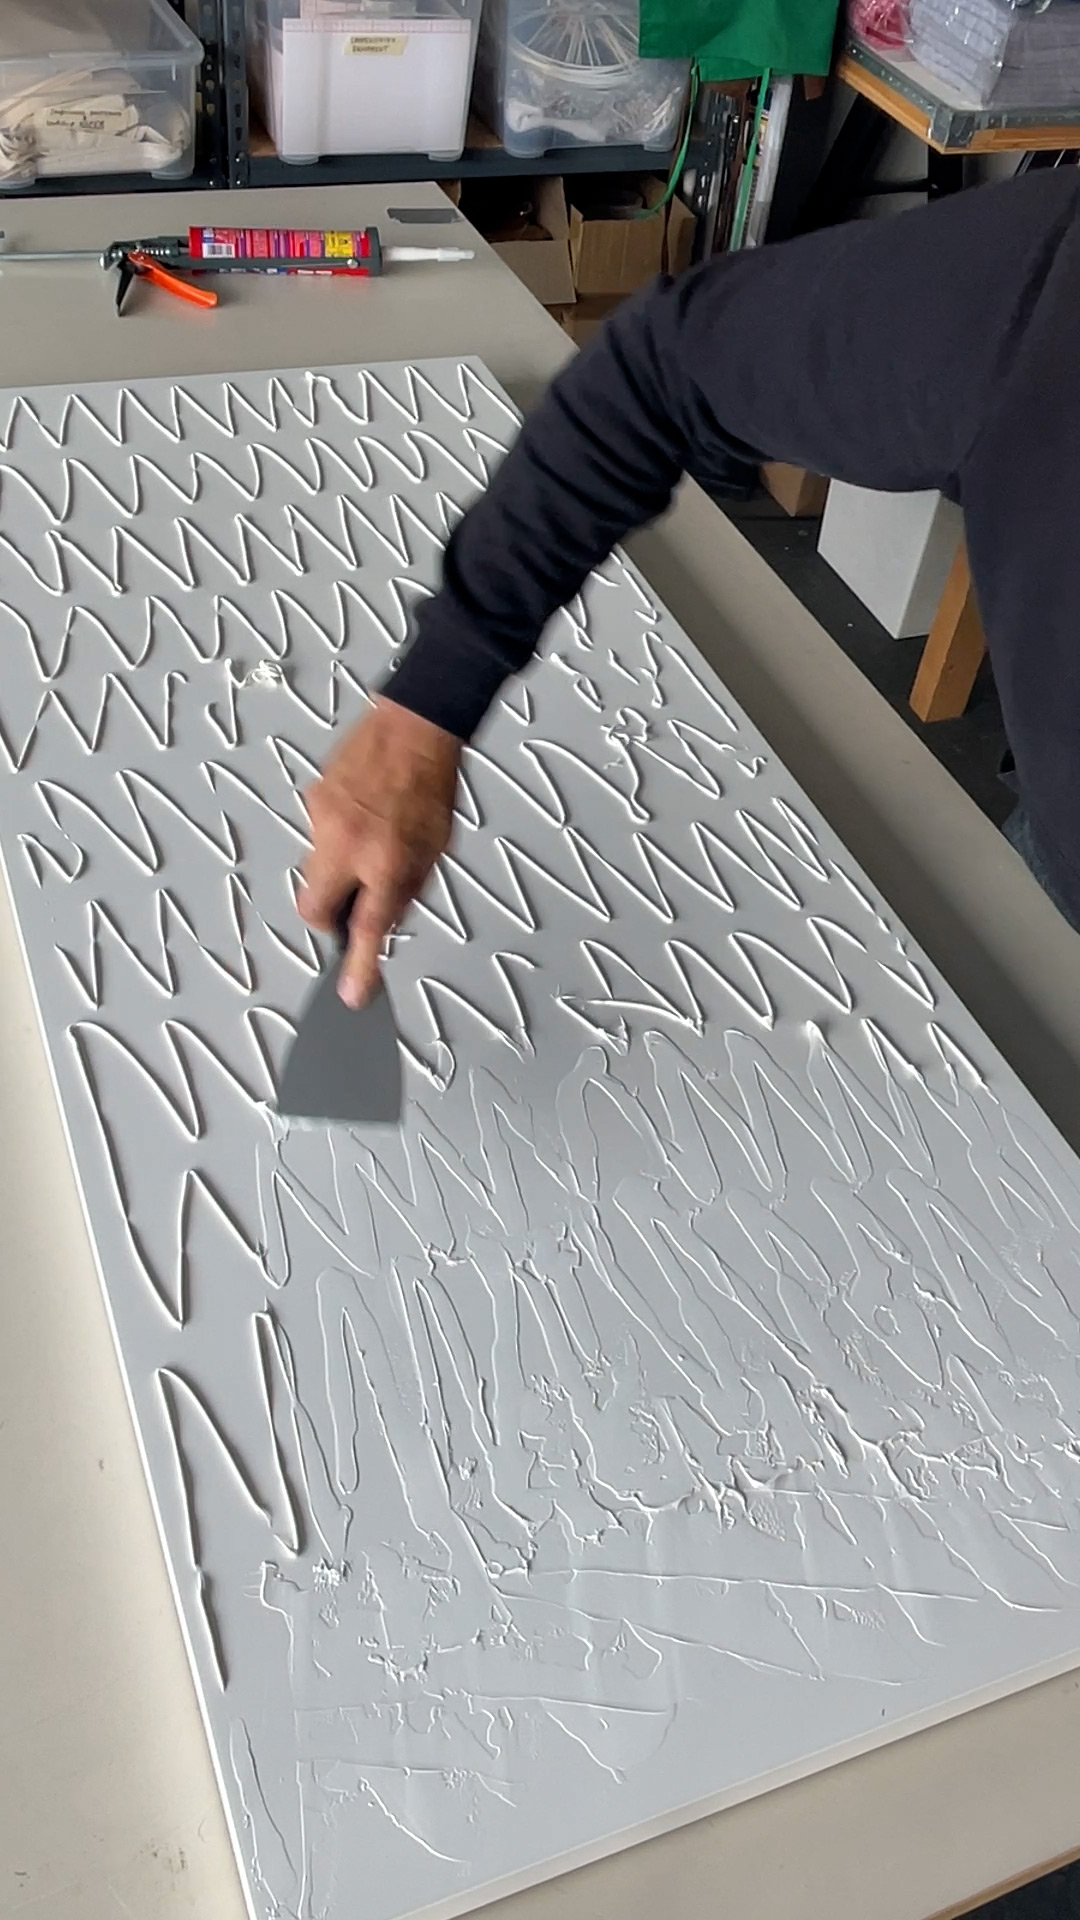
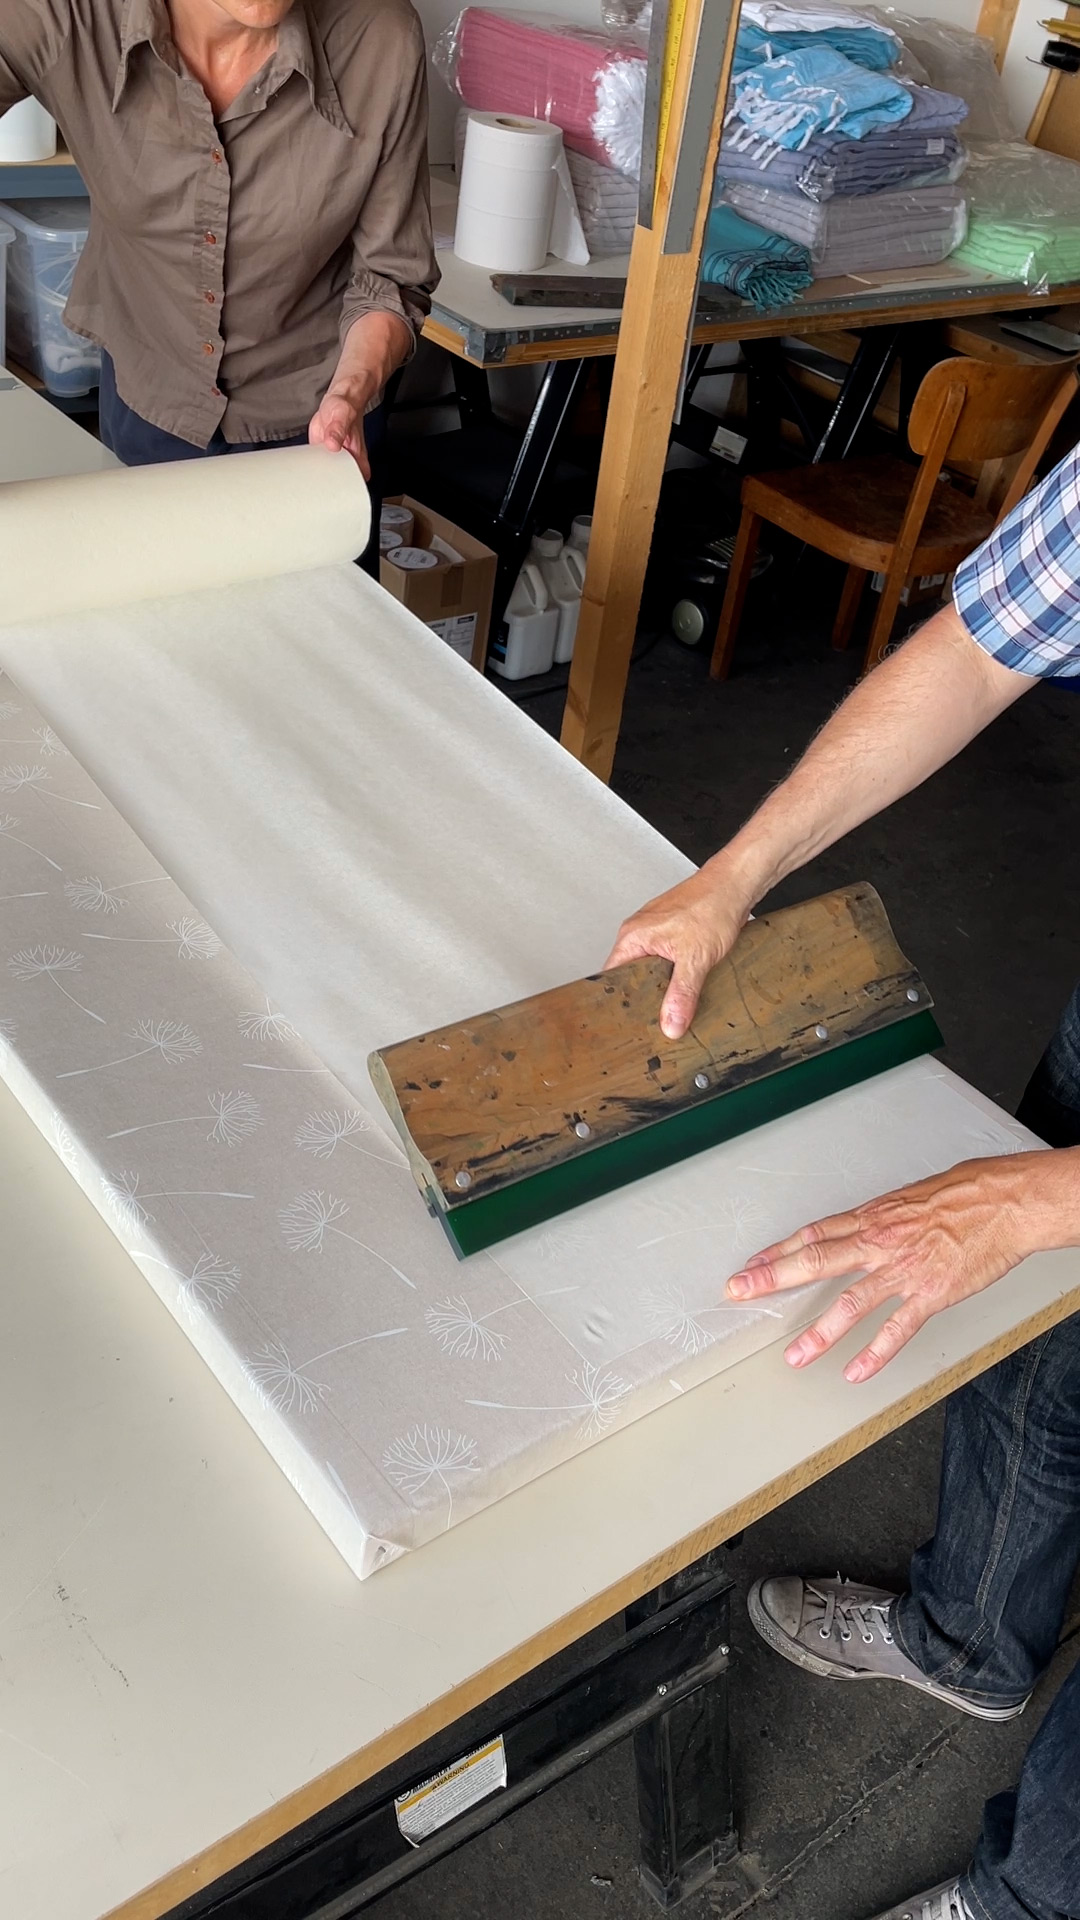
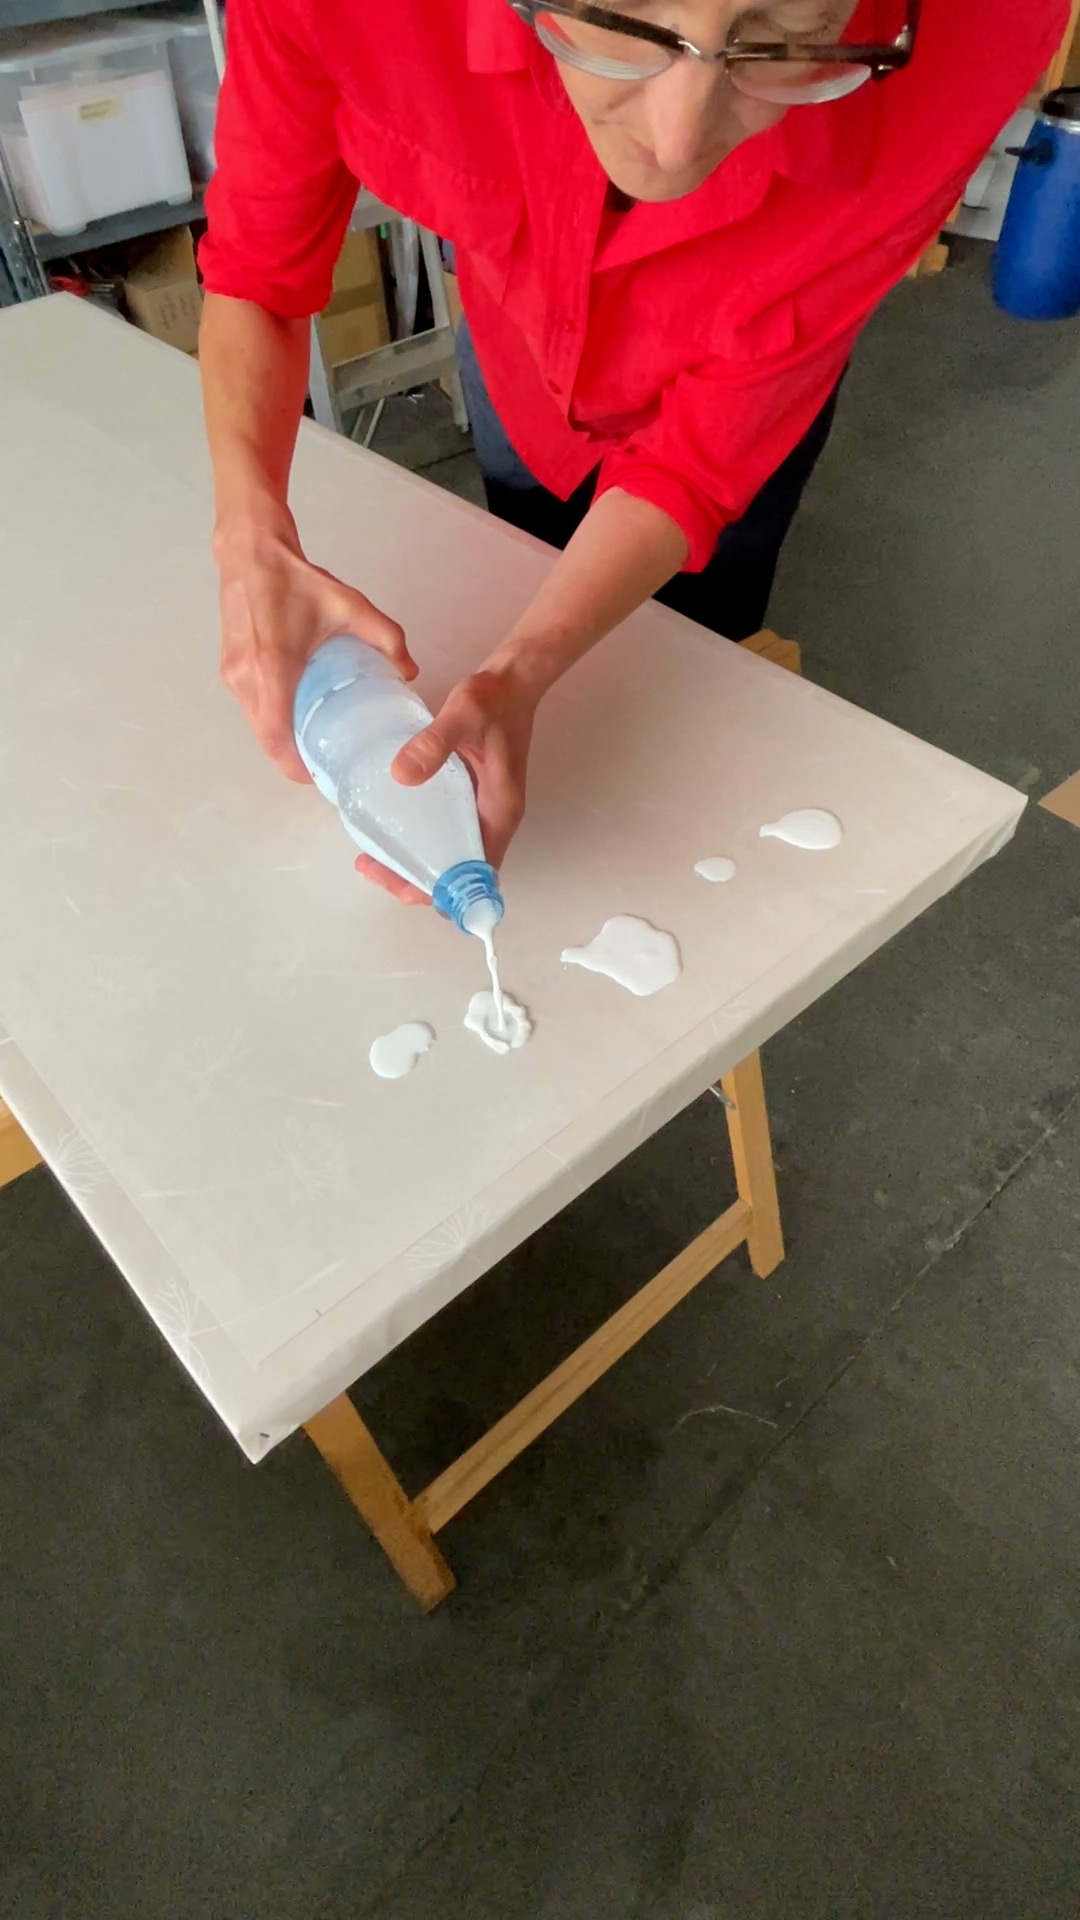
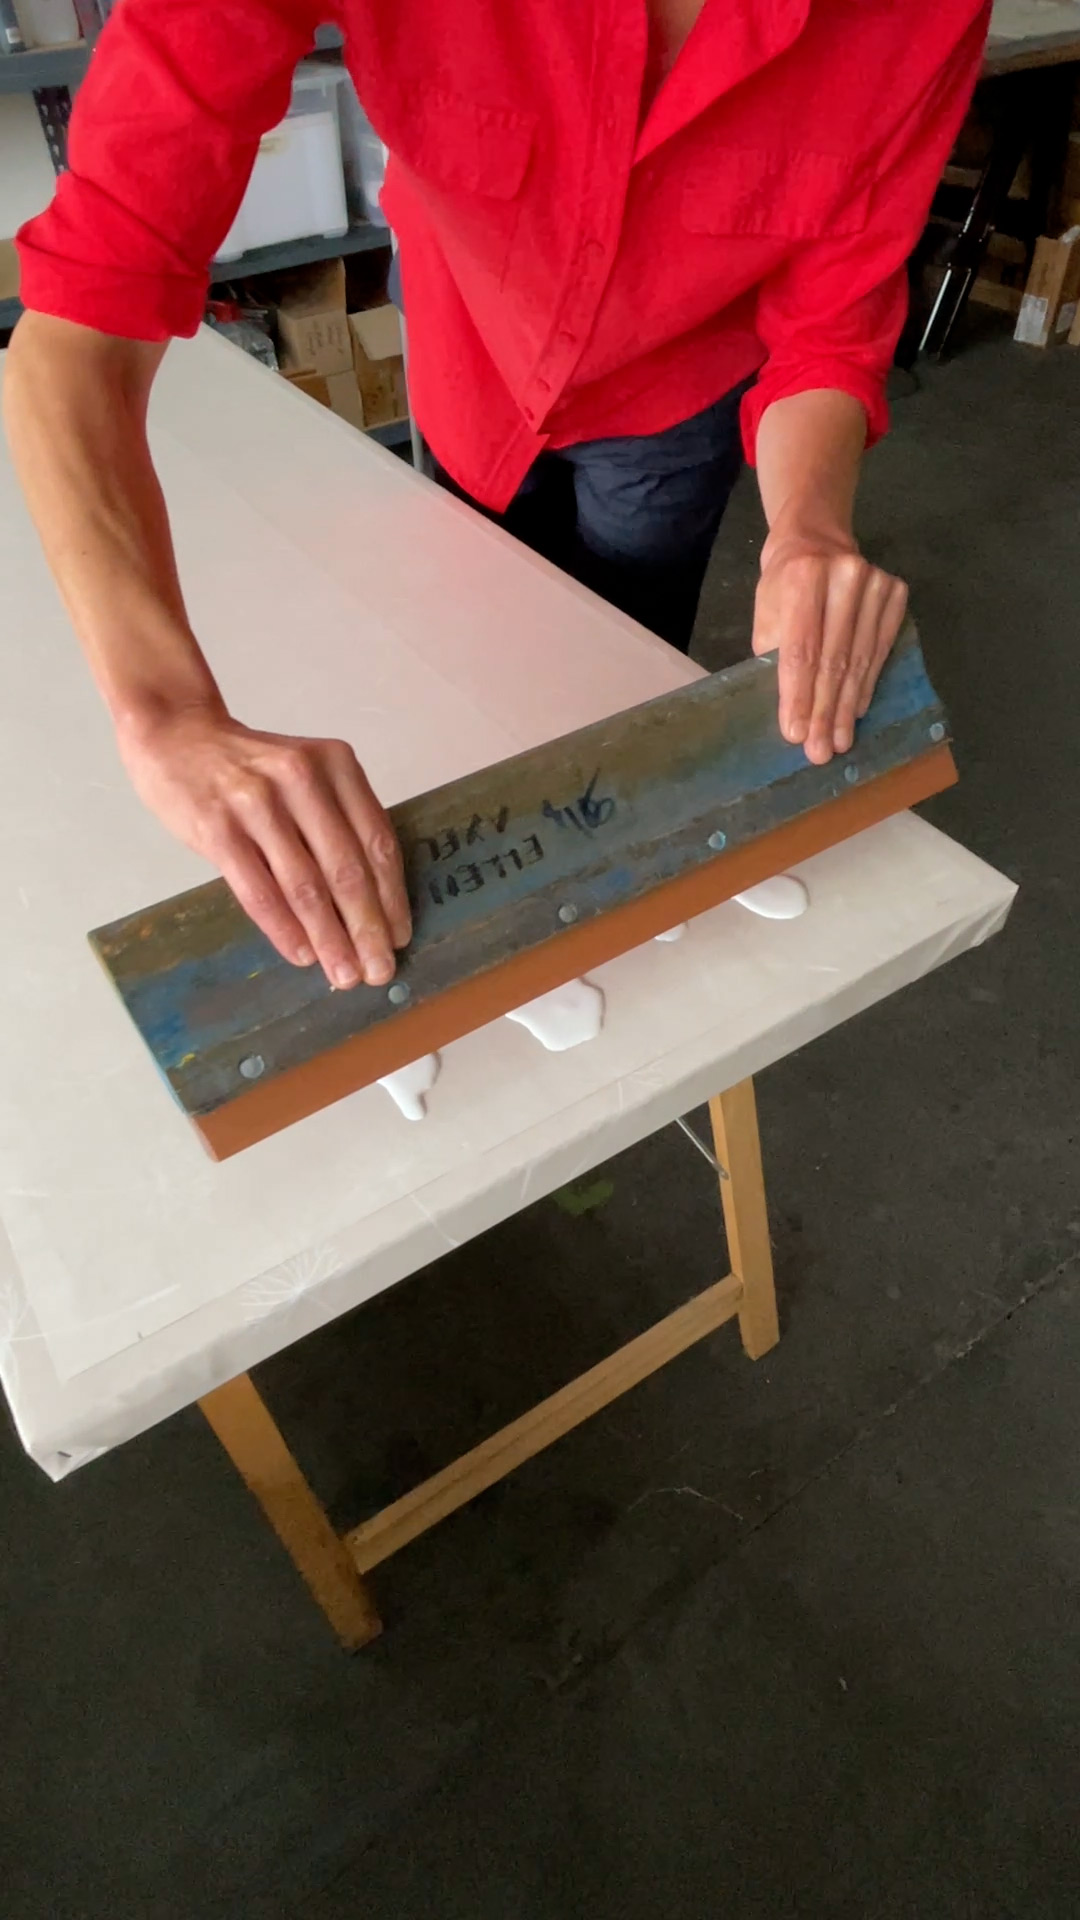
To make sure that the fabric sticks to the table during the printing process and doesn’t get pulled up with the wet screen, we use diluted sequin glue (about 1 part glue, 5 parts water) which we apply thinly and evenly with a used squeegee. It must not stick too much so that the fabric can be removed easily later. Drying time is about one hour at room temperature.


Our 6-metre printing table that we use for fabric by the metre works exactly according to the same principle: felt on smooth wood, then truck tarpaulin, on top of which a self-adhesive paper layer is applied with the glue before the first print. The adhesive strength of the glue wears off over time and can be renewed at any time.
If a lot of fabric lint sticks to the table after printing, you should remove it with tweezers before the next print run, otherwise it is quite possible that traces will be visible in the print result.
We’ll continue in the next article with the construction of the T-bar!