
 Deutsch
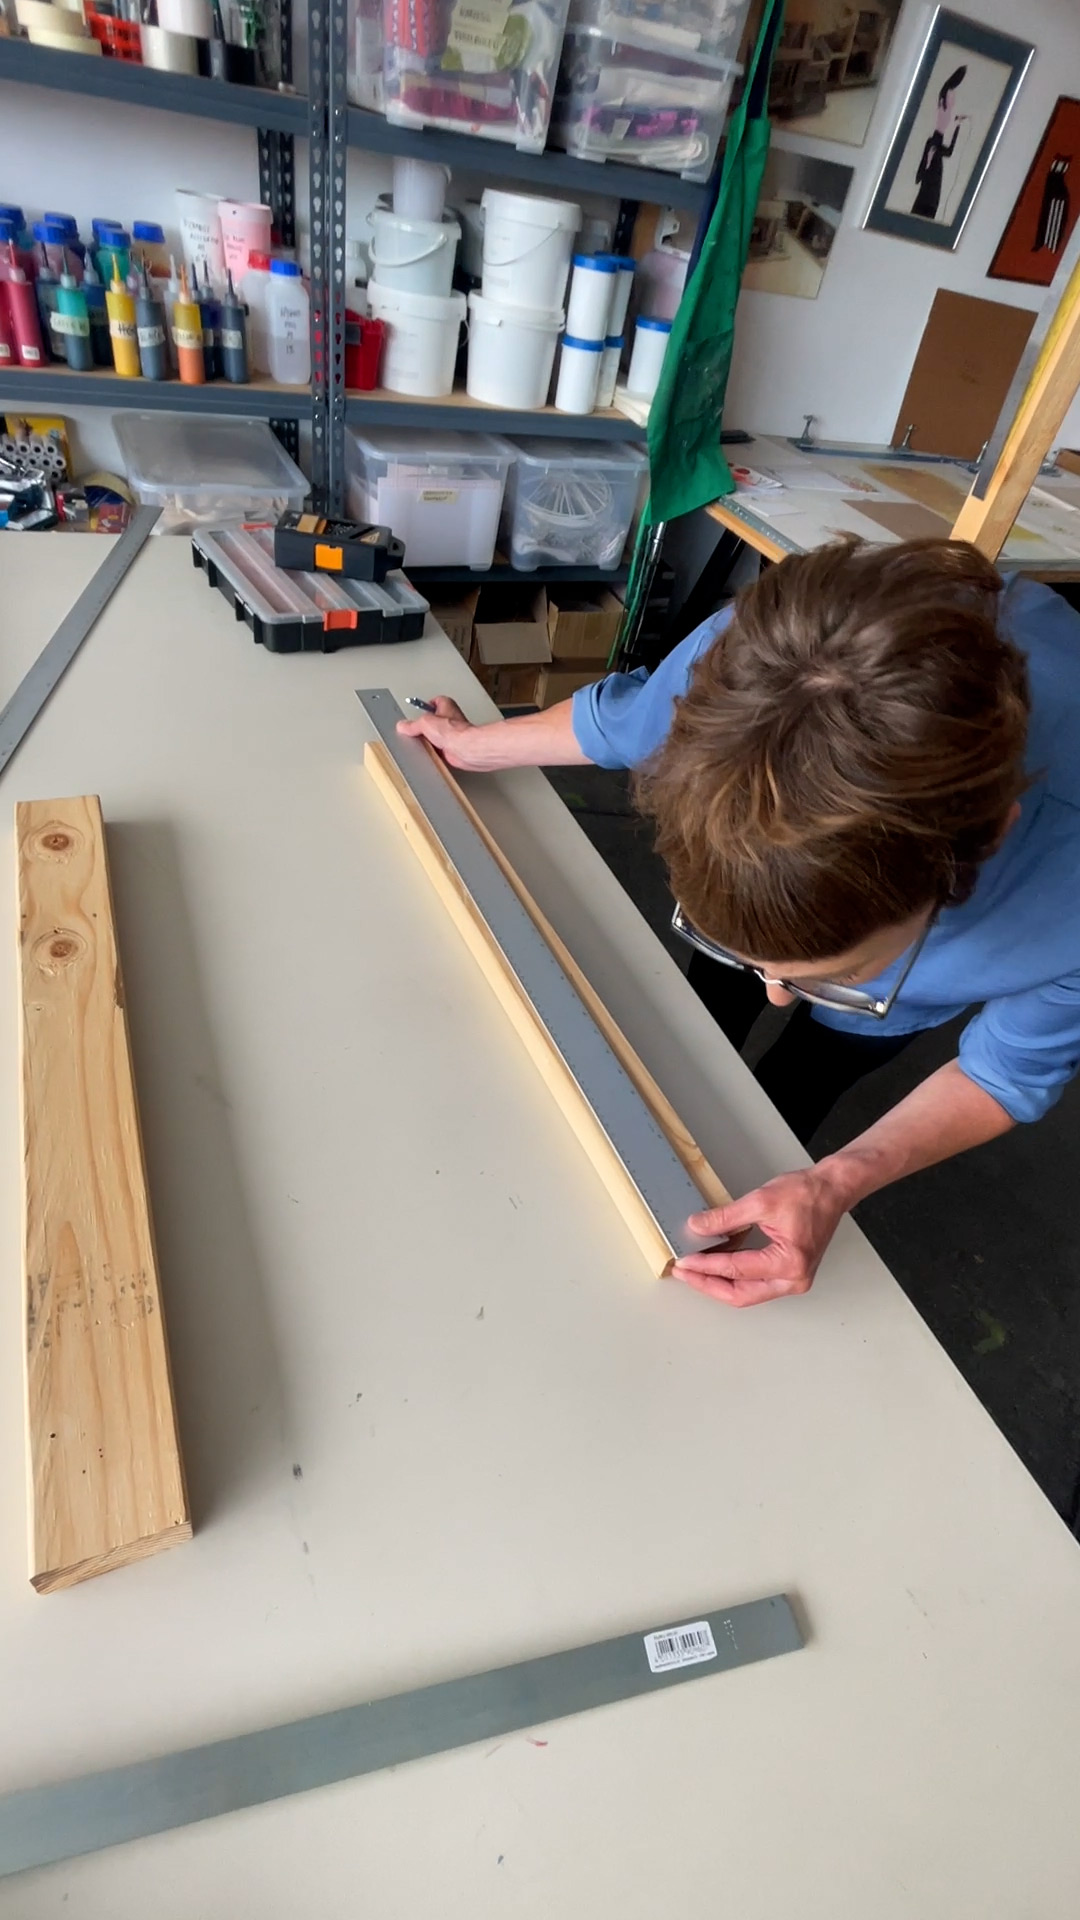
The T-bar – a right angle made of two wooden strips – is a simple but essential tool for performing repeat printing on the DIY table. When buying the wooden strips, make sure that they are completely straight (use a metal ruler on all sides at the DIY store to check, use good hard wood and no roof battens).
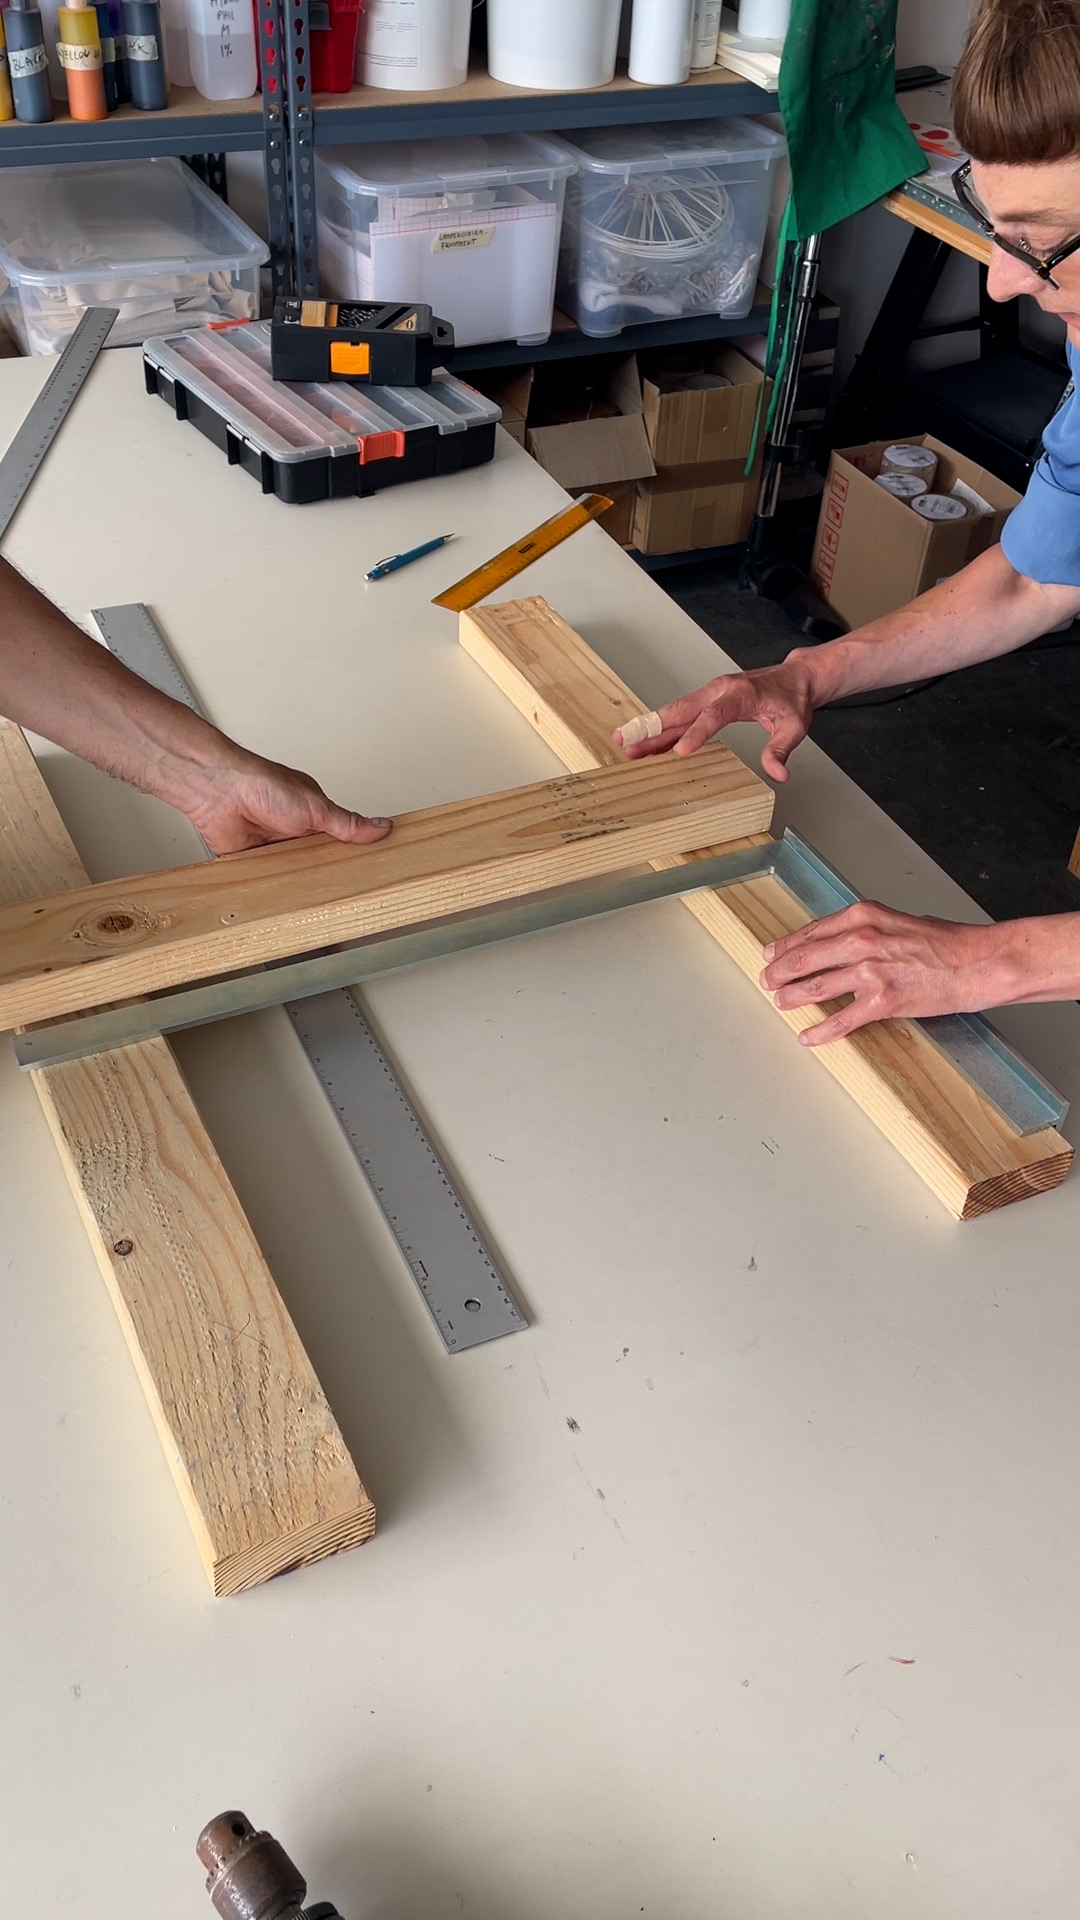
There are no exact measurements for the T-bar either – we constructed ours in such a way that the bar length of both pieces corresponds to the height of the table plus the width of one wooden bar (see last photo). When we put our T-bar against the table, the vertical wooden bar ends at the upper edge of the printing table. Our wooden slats are quite wide – but that doesn’t matter, the main thing is that they are screwed together as exactly as possible at right angles. If you want to spend a little more money, you can have a narrow metal angle made.
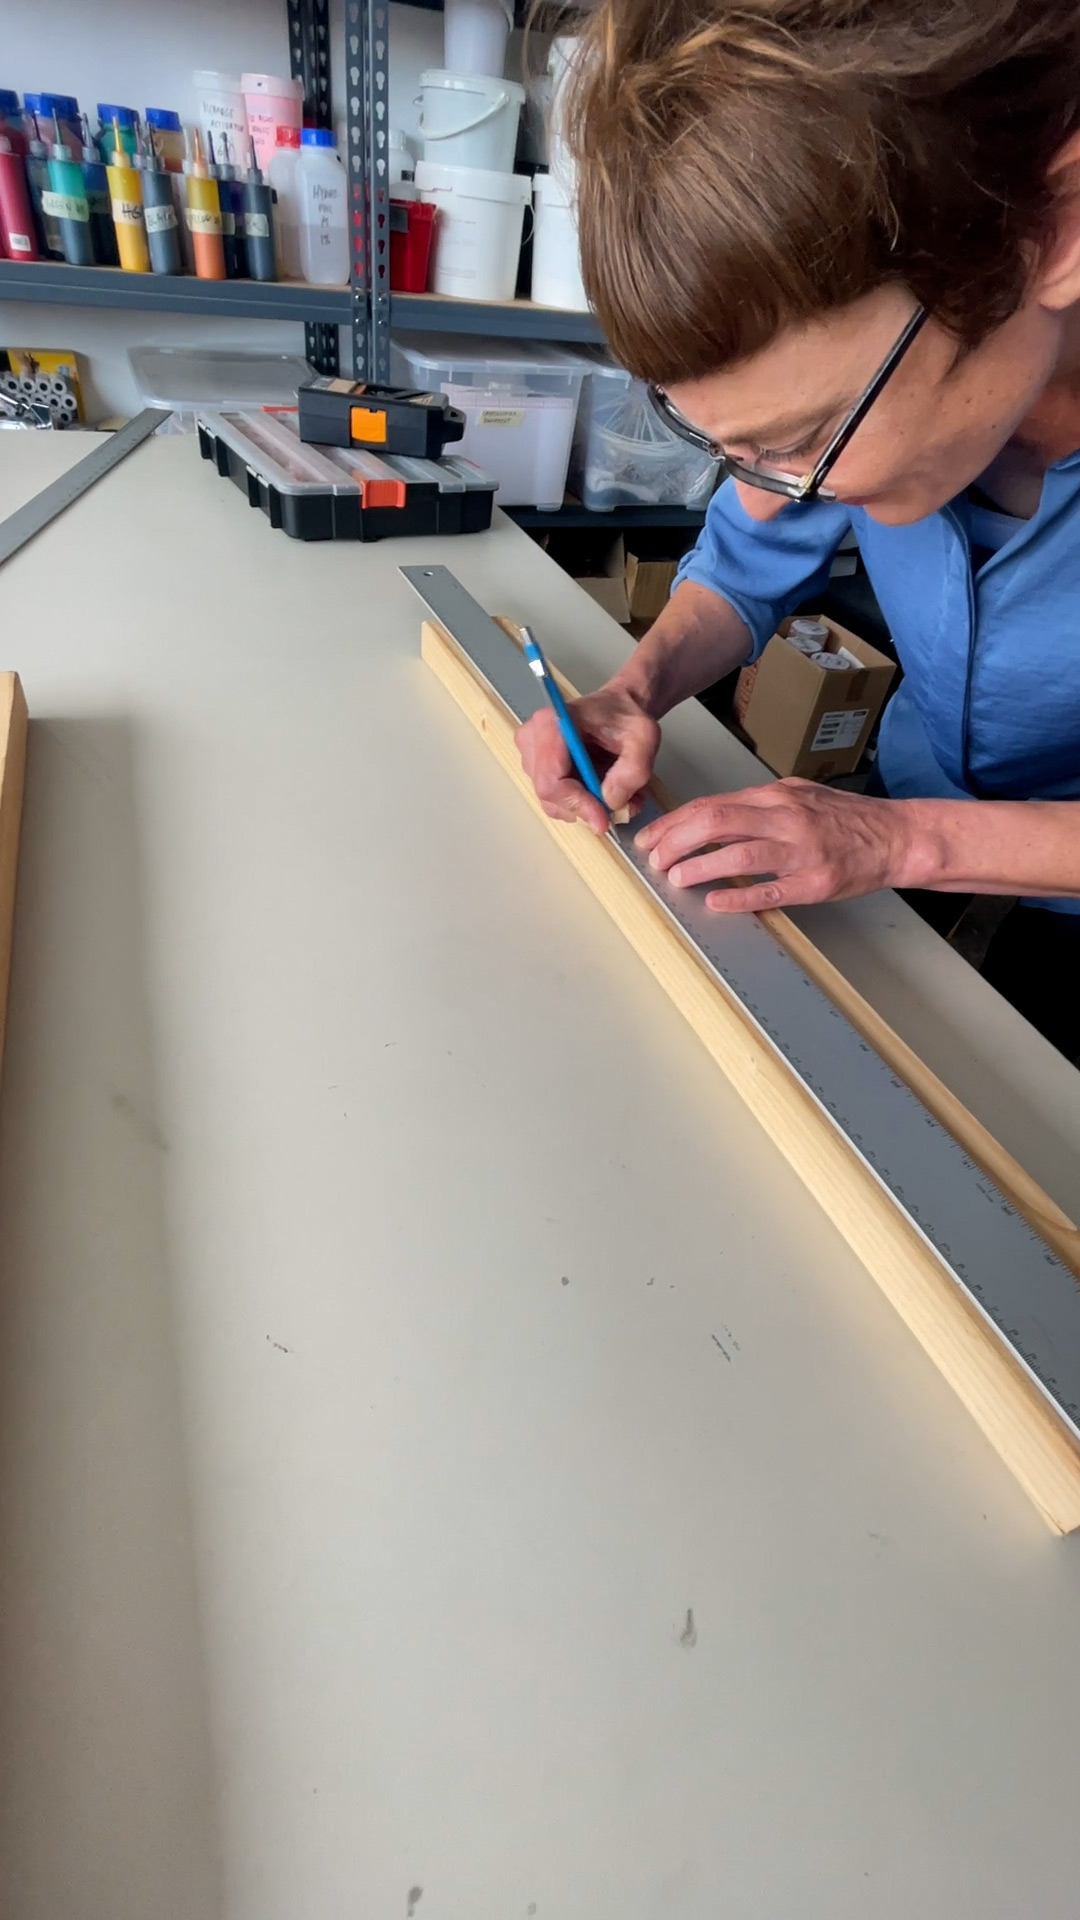
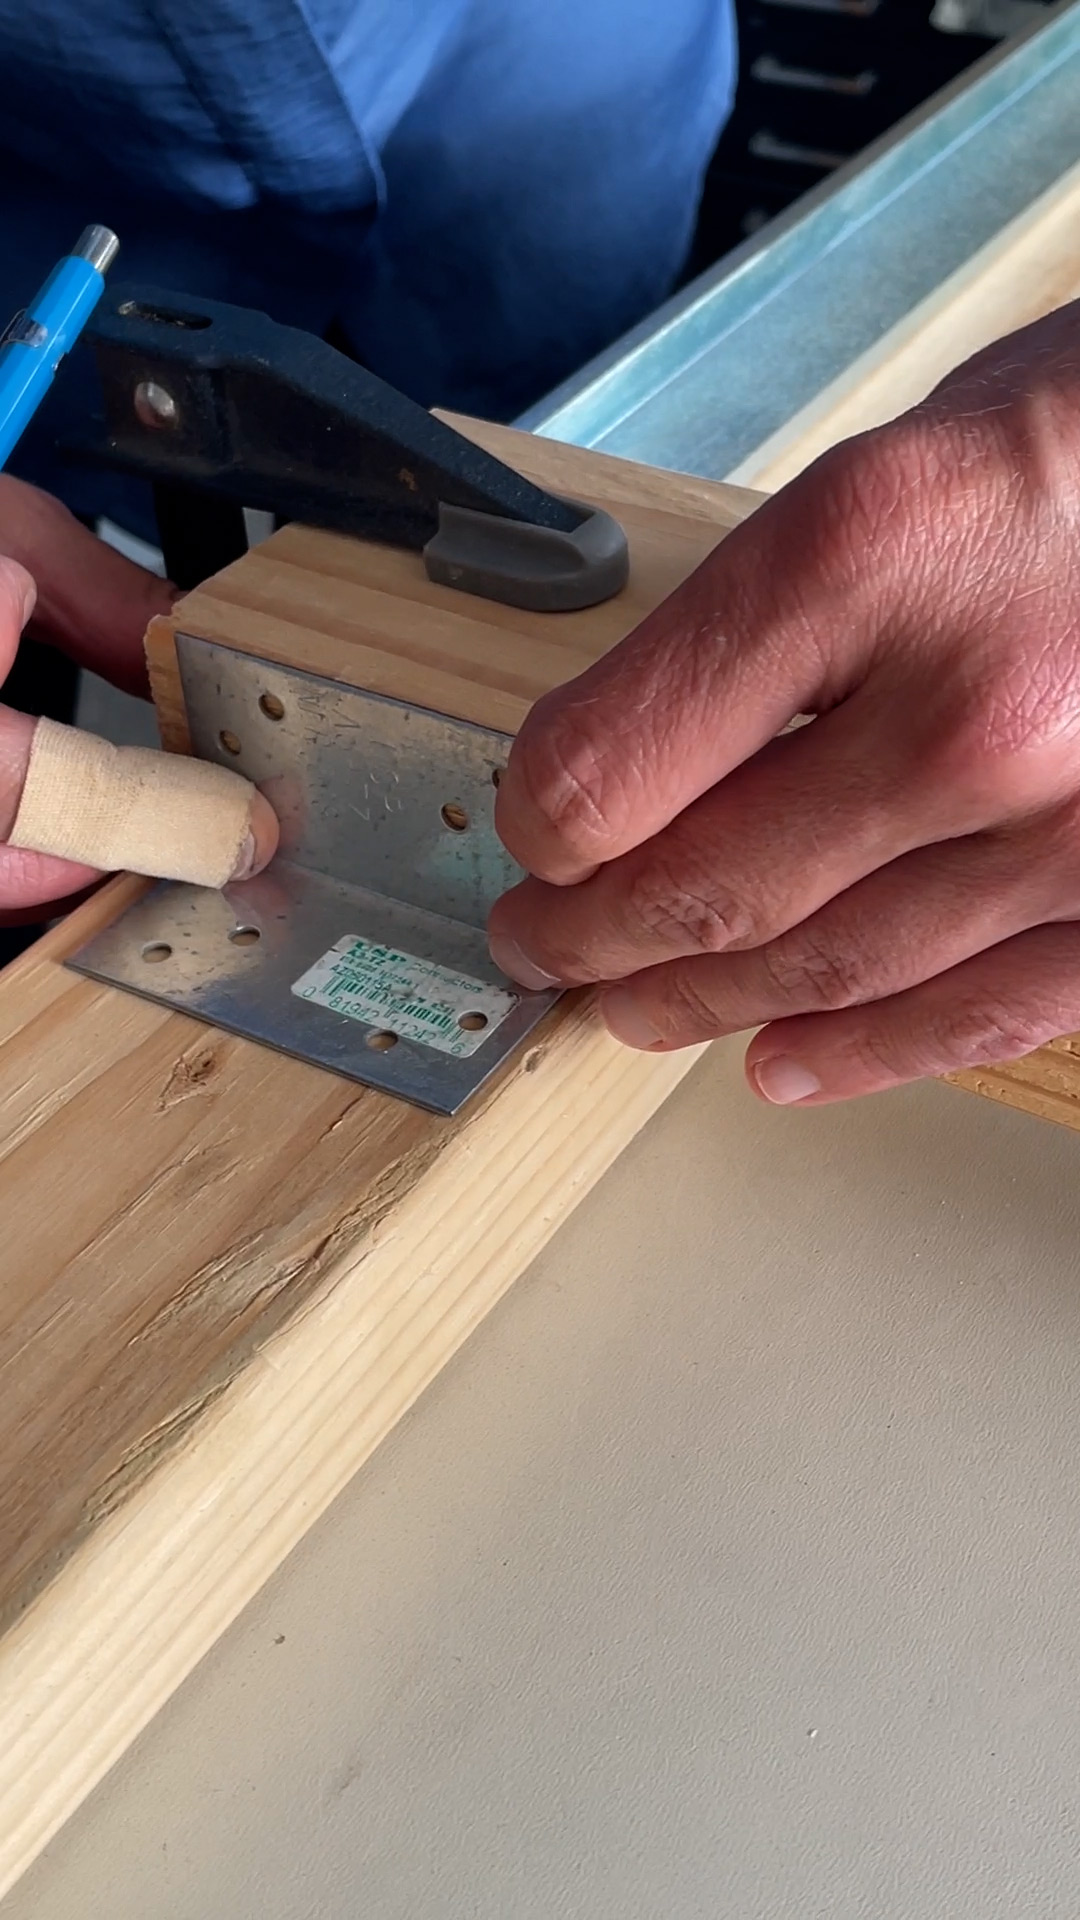
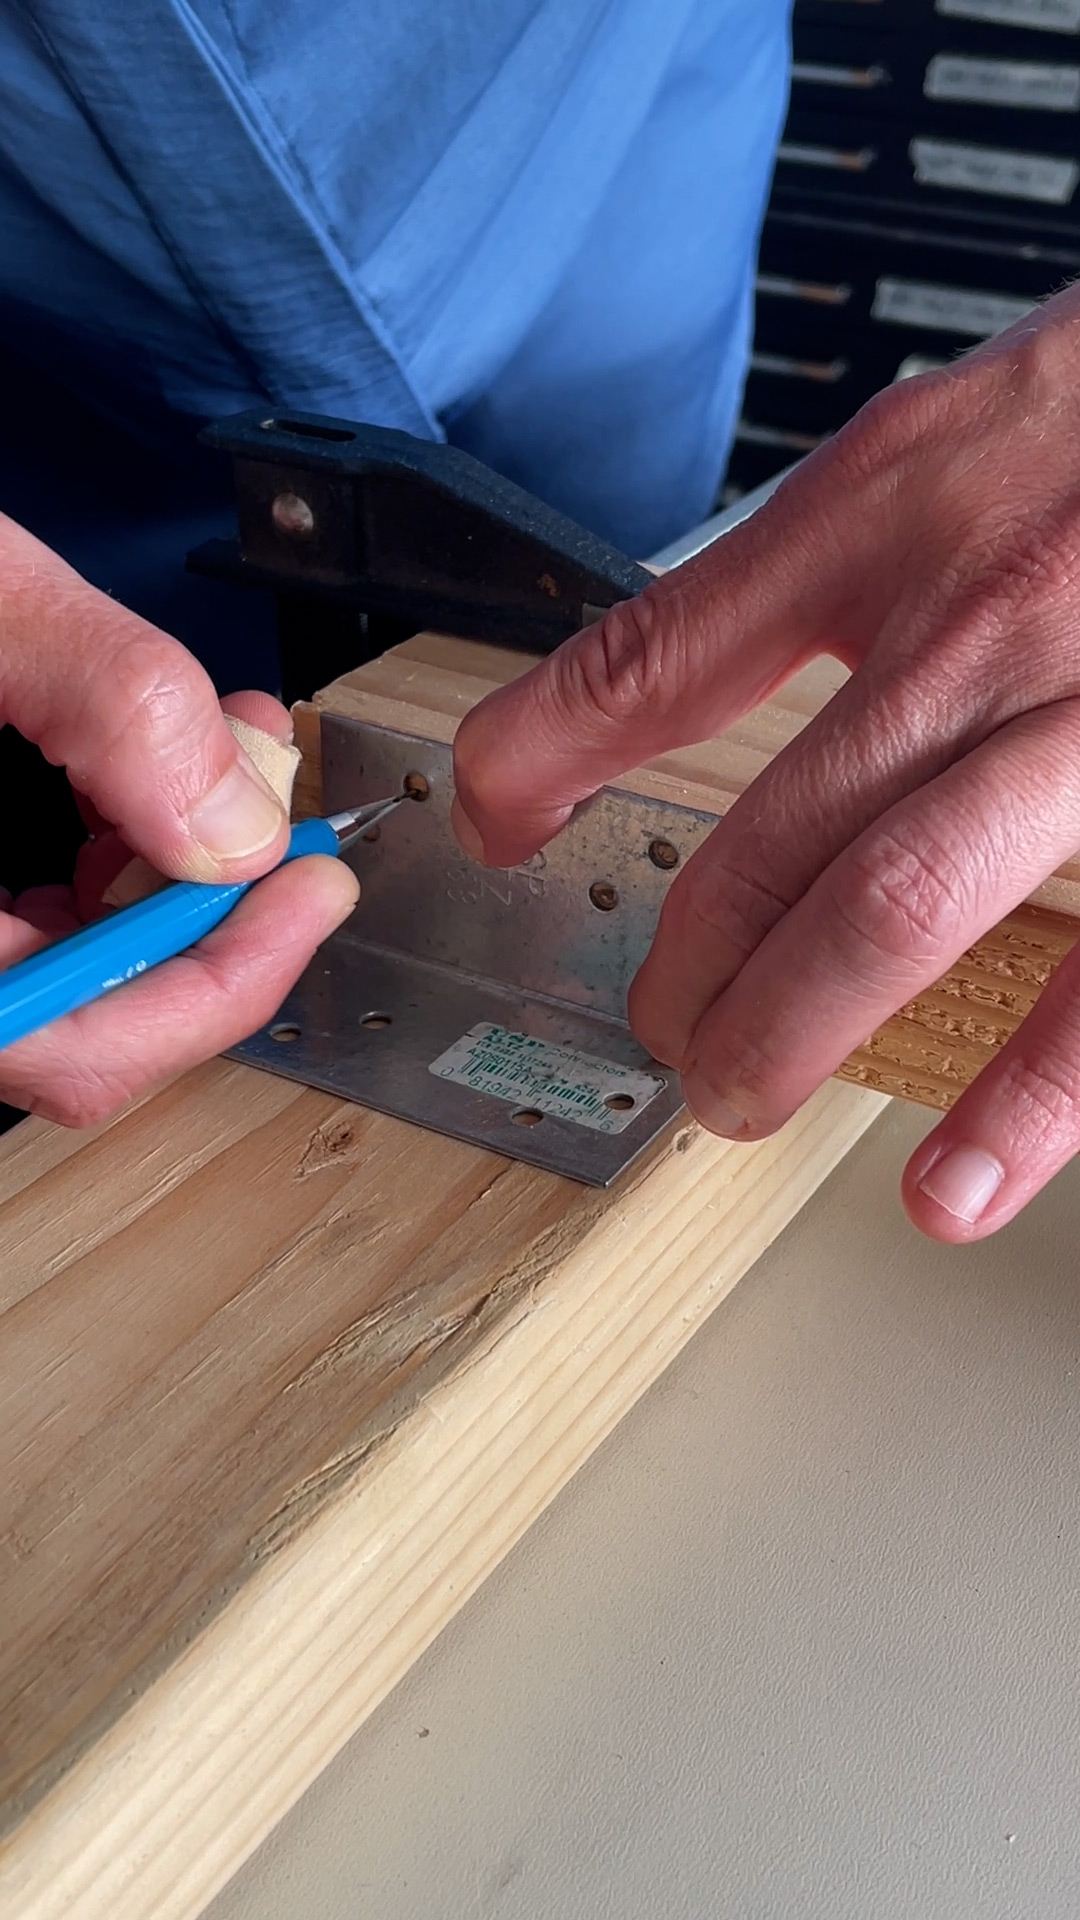
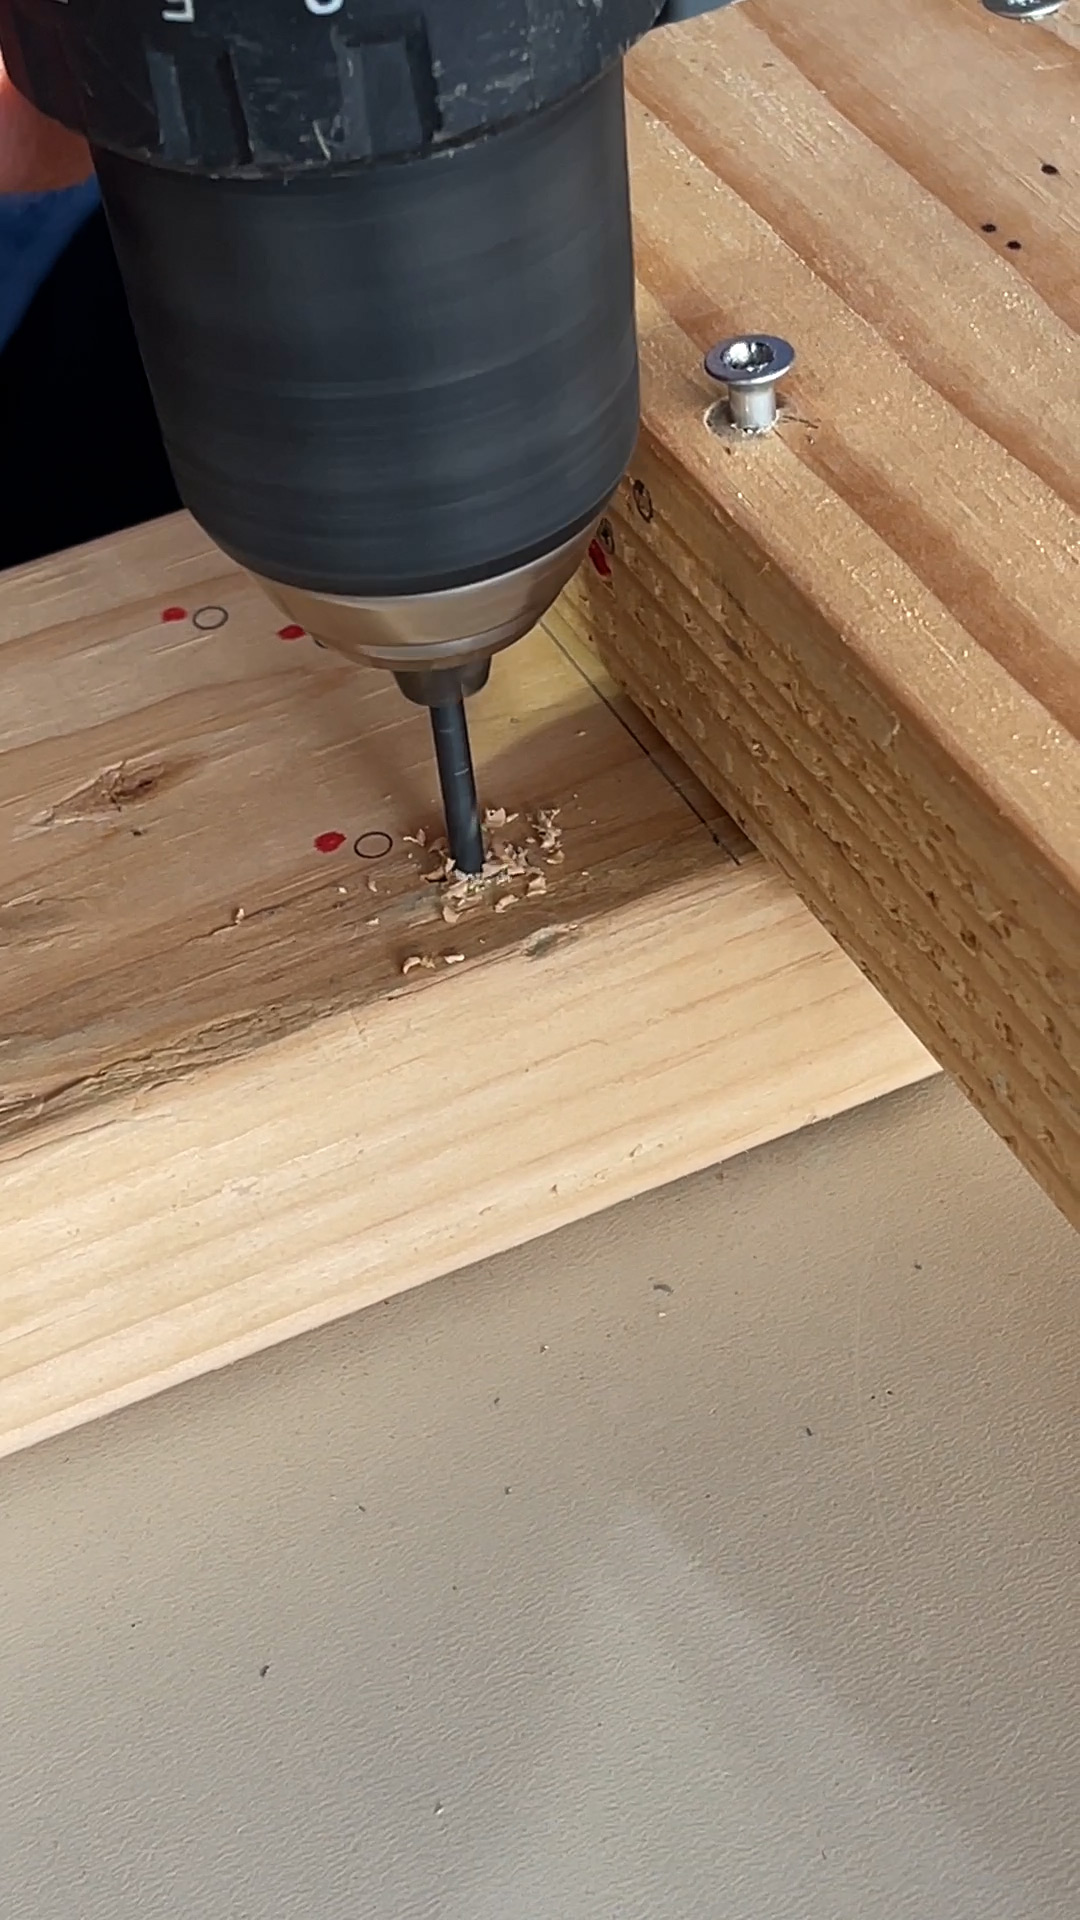
First we determine the centre of a wooden strip and mark it accordingly. With the help of a metal angle from the DIY store – a good investment of about 18 euros – we align the position of the second slat to be mounted on the top of the first slat at a 90° angle as precisely as possible. Any deviation will have a direct effect on the later printing.
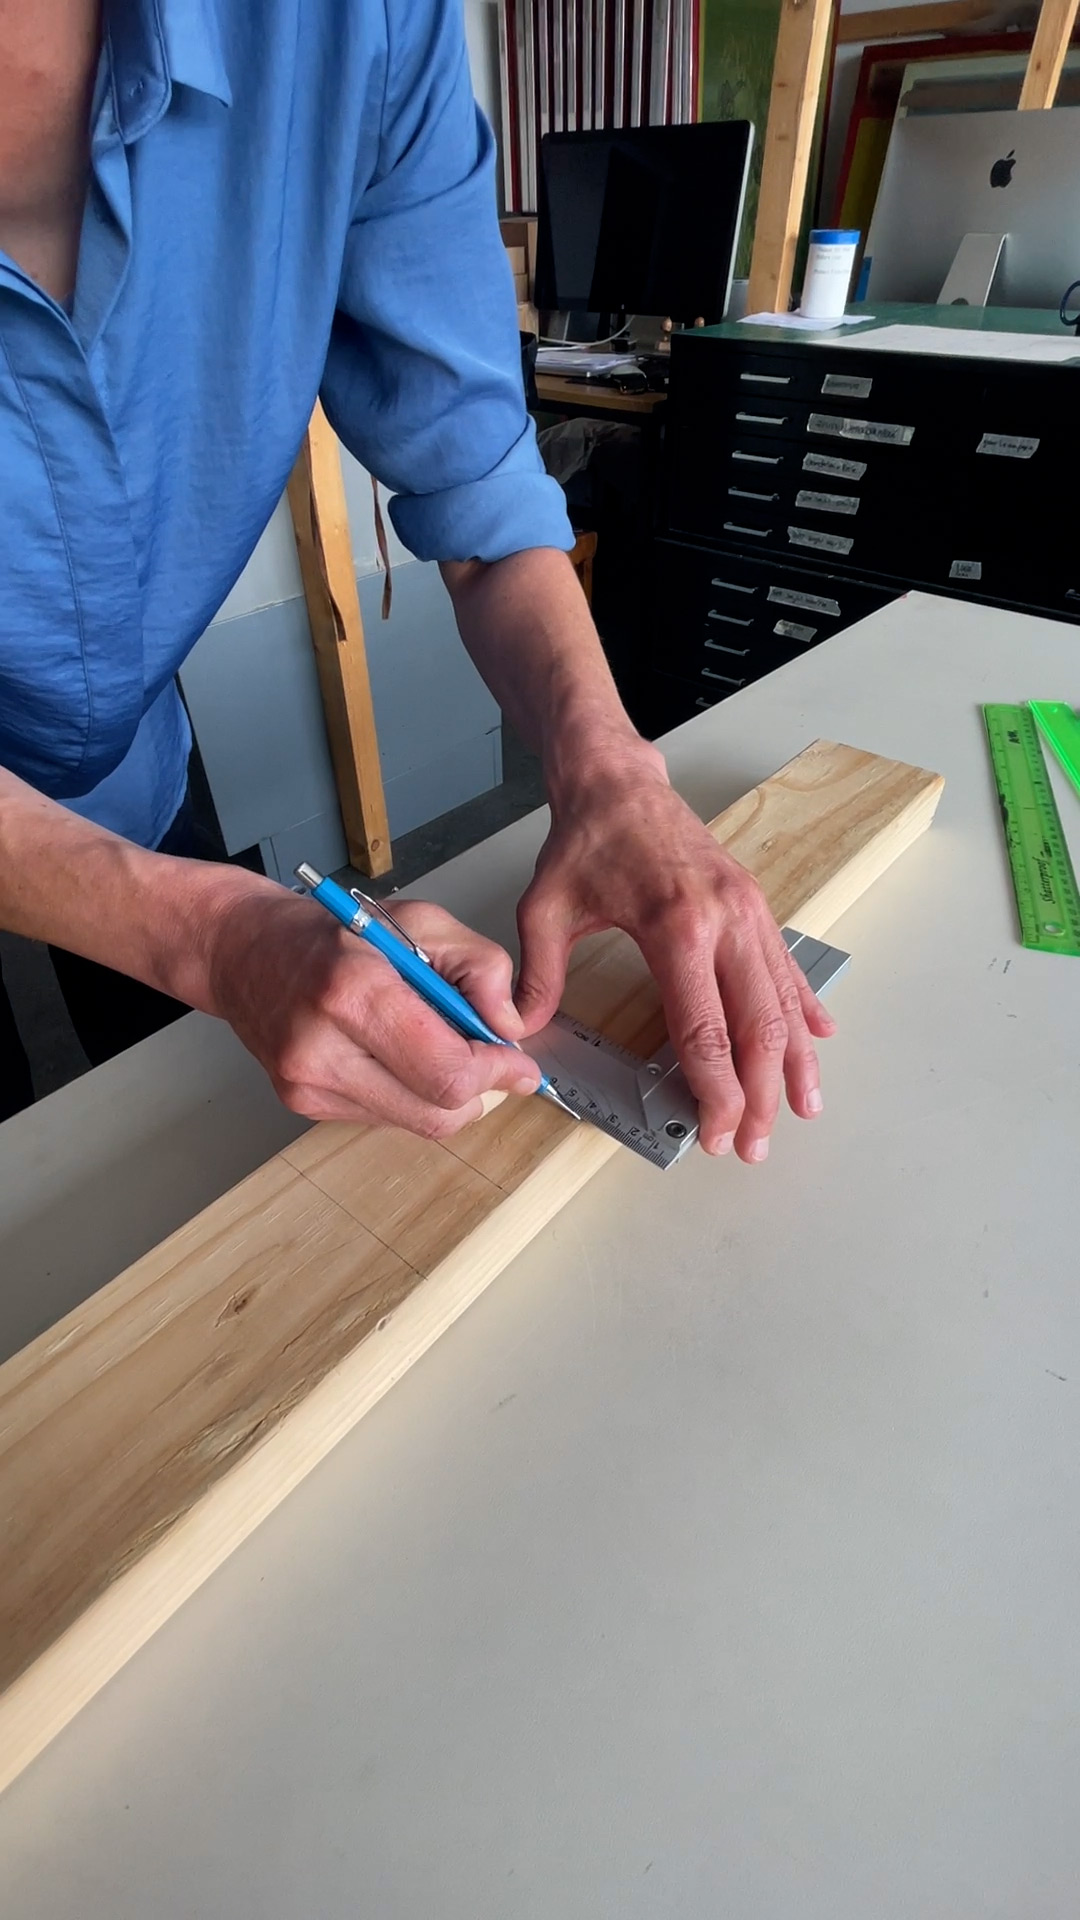
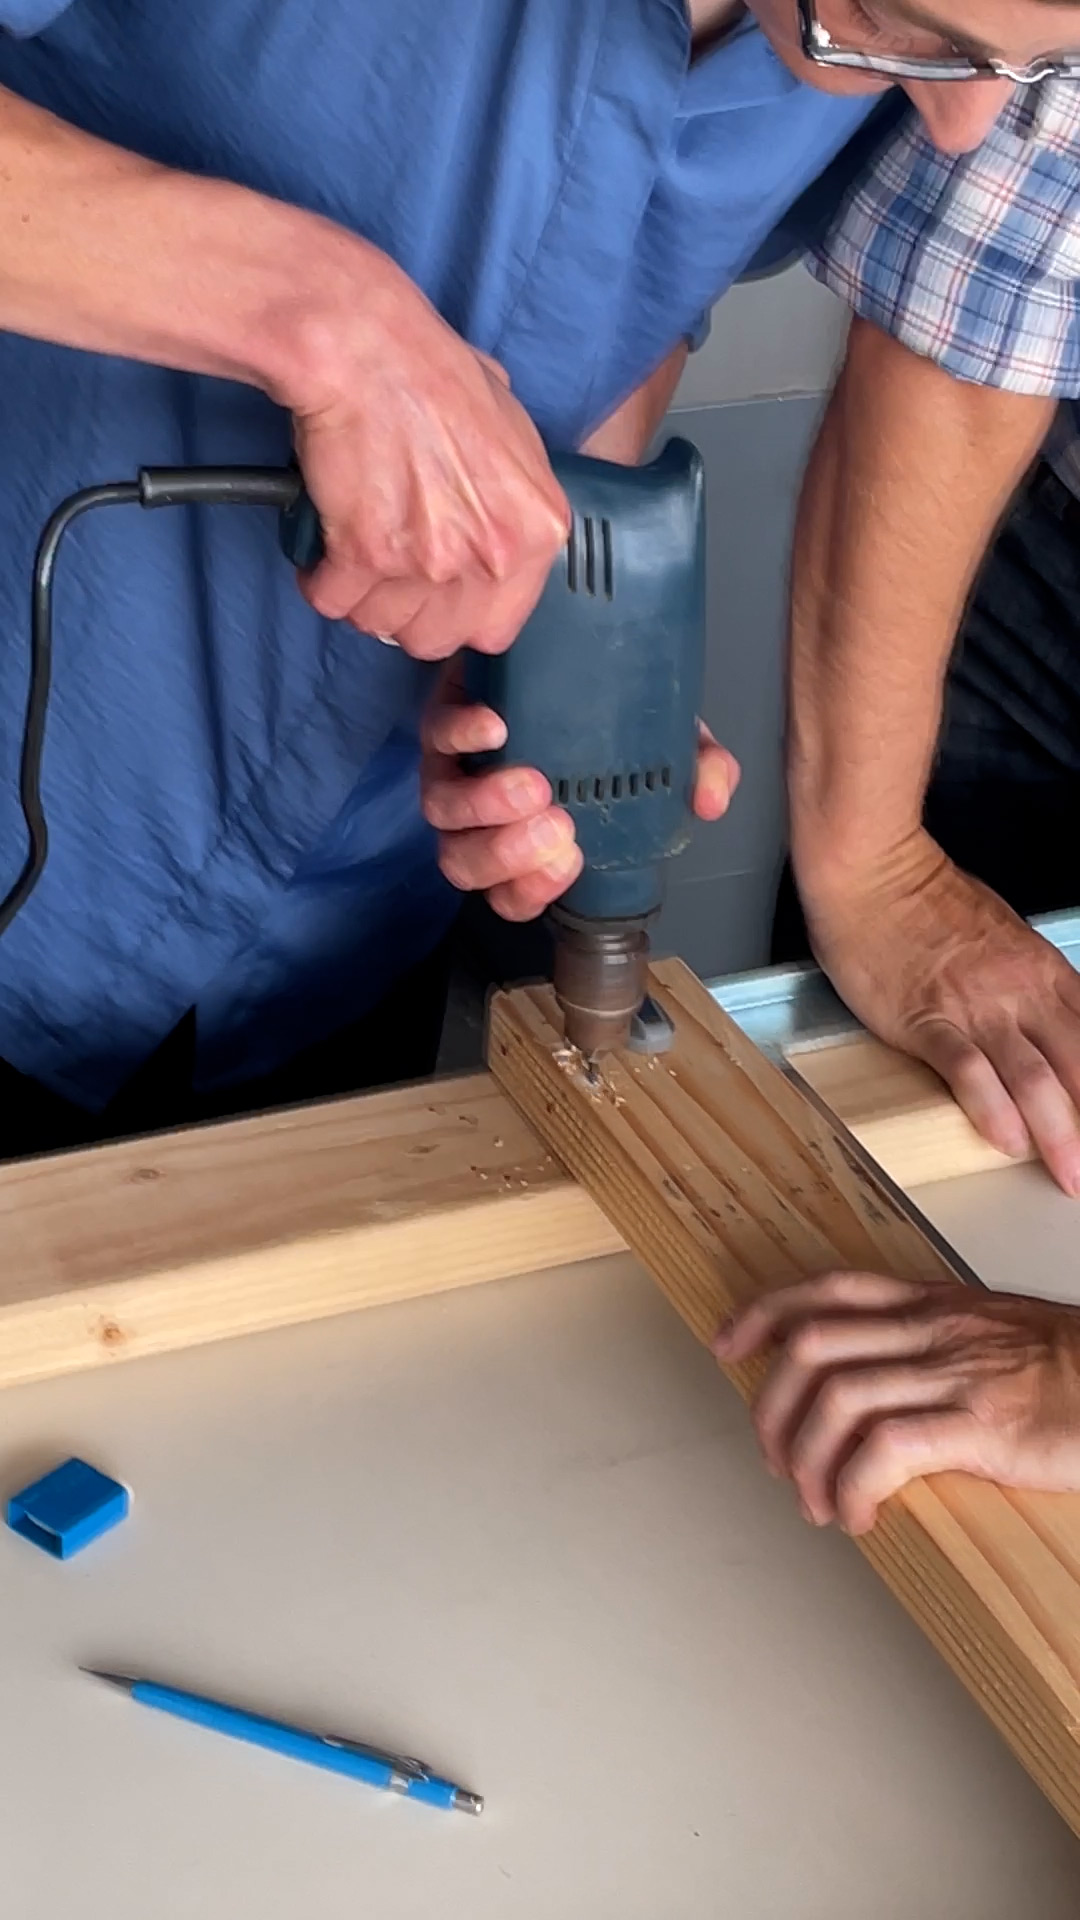
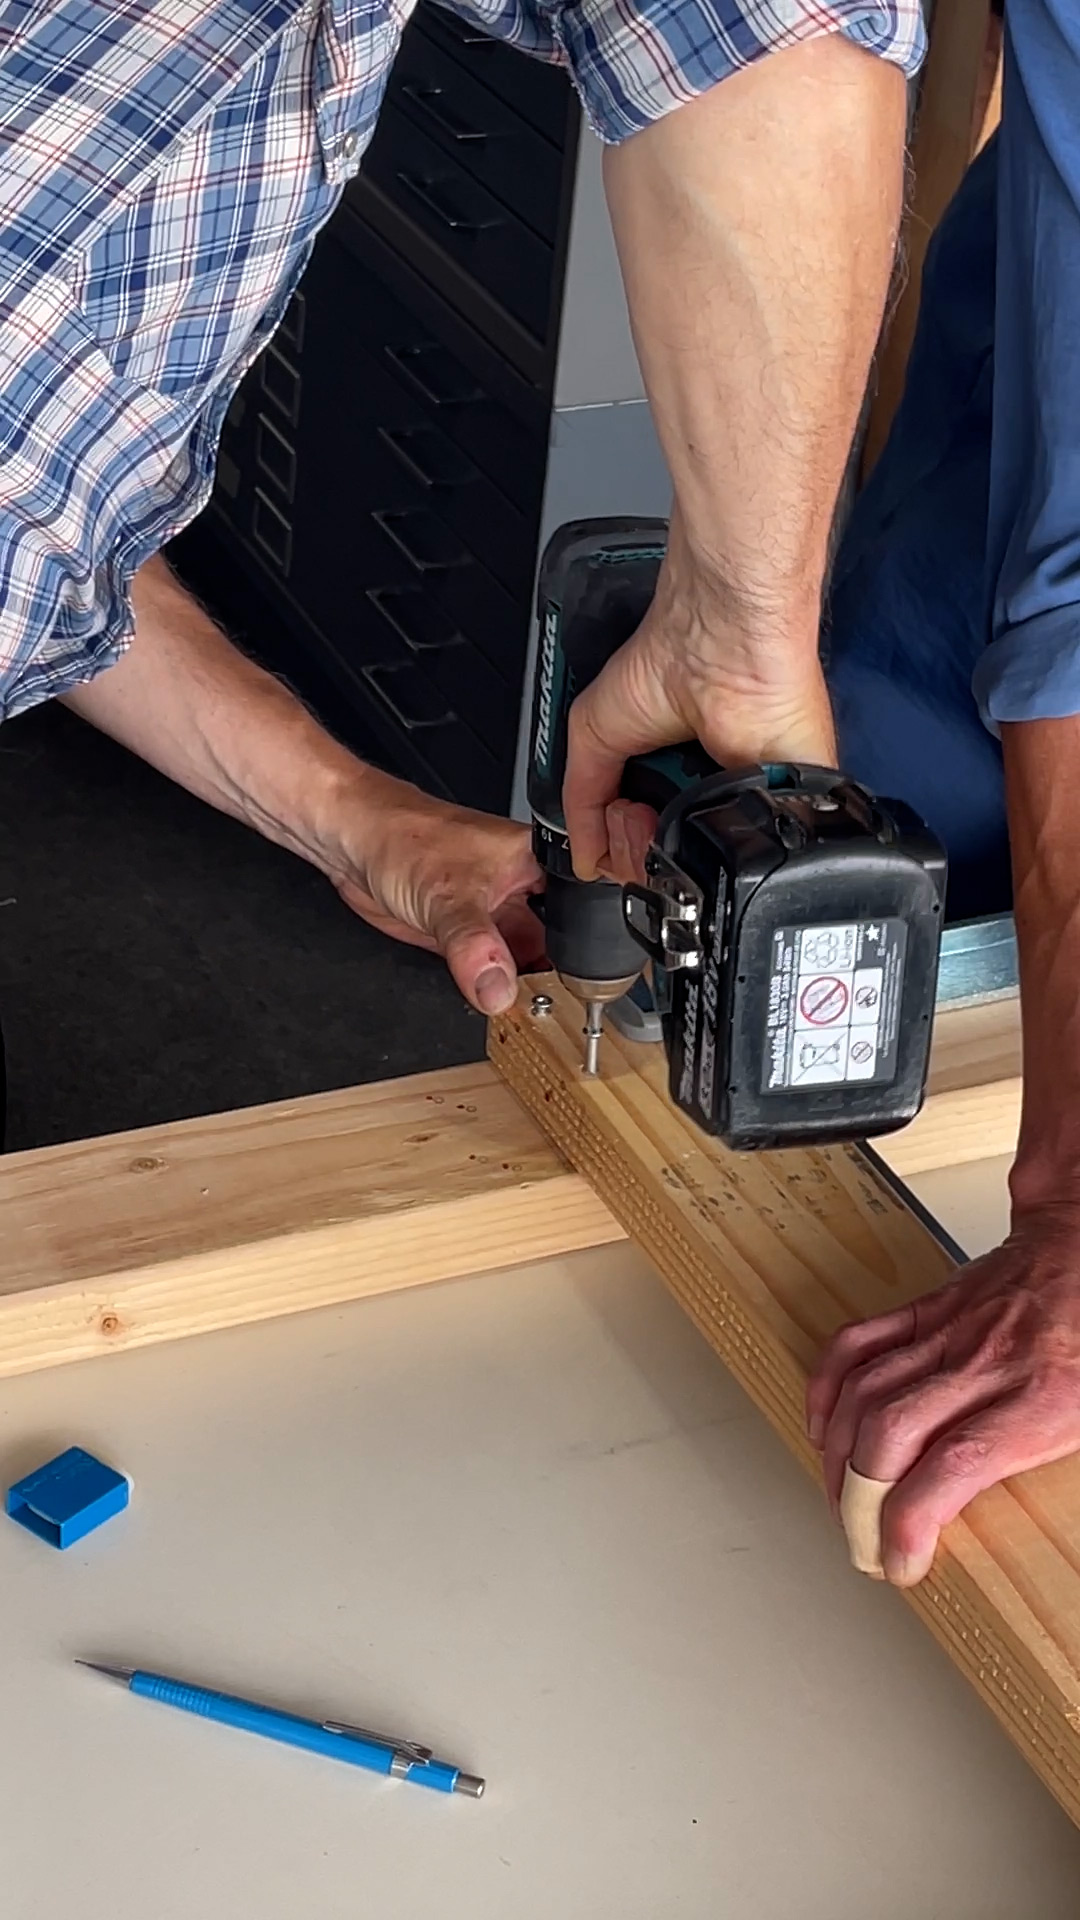
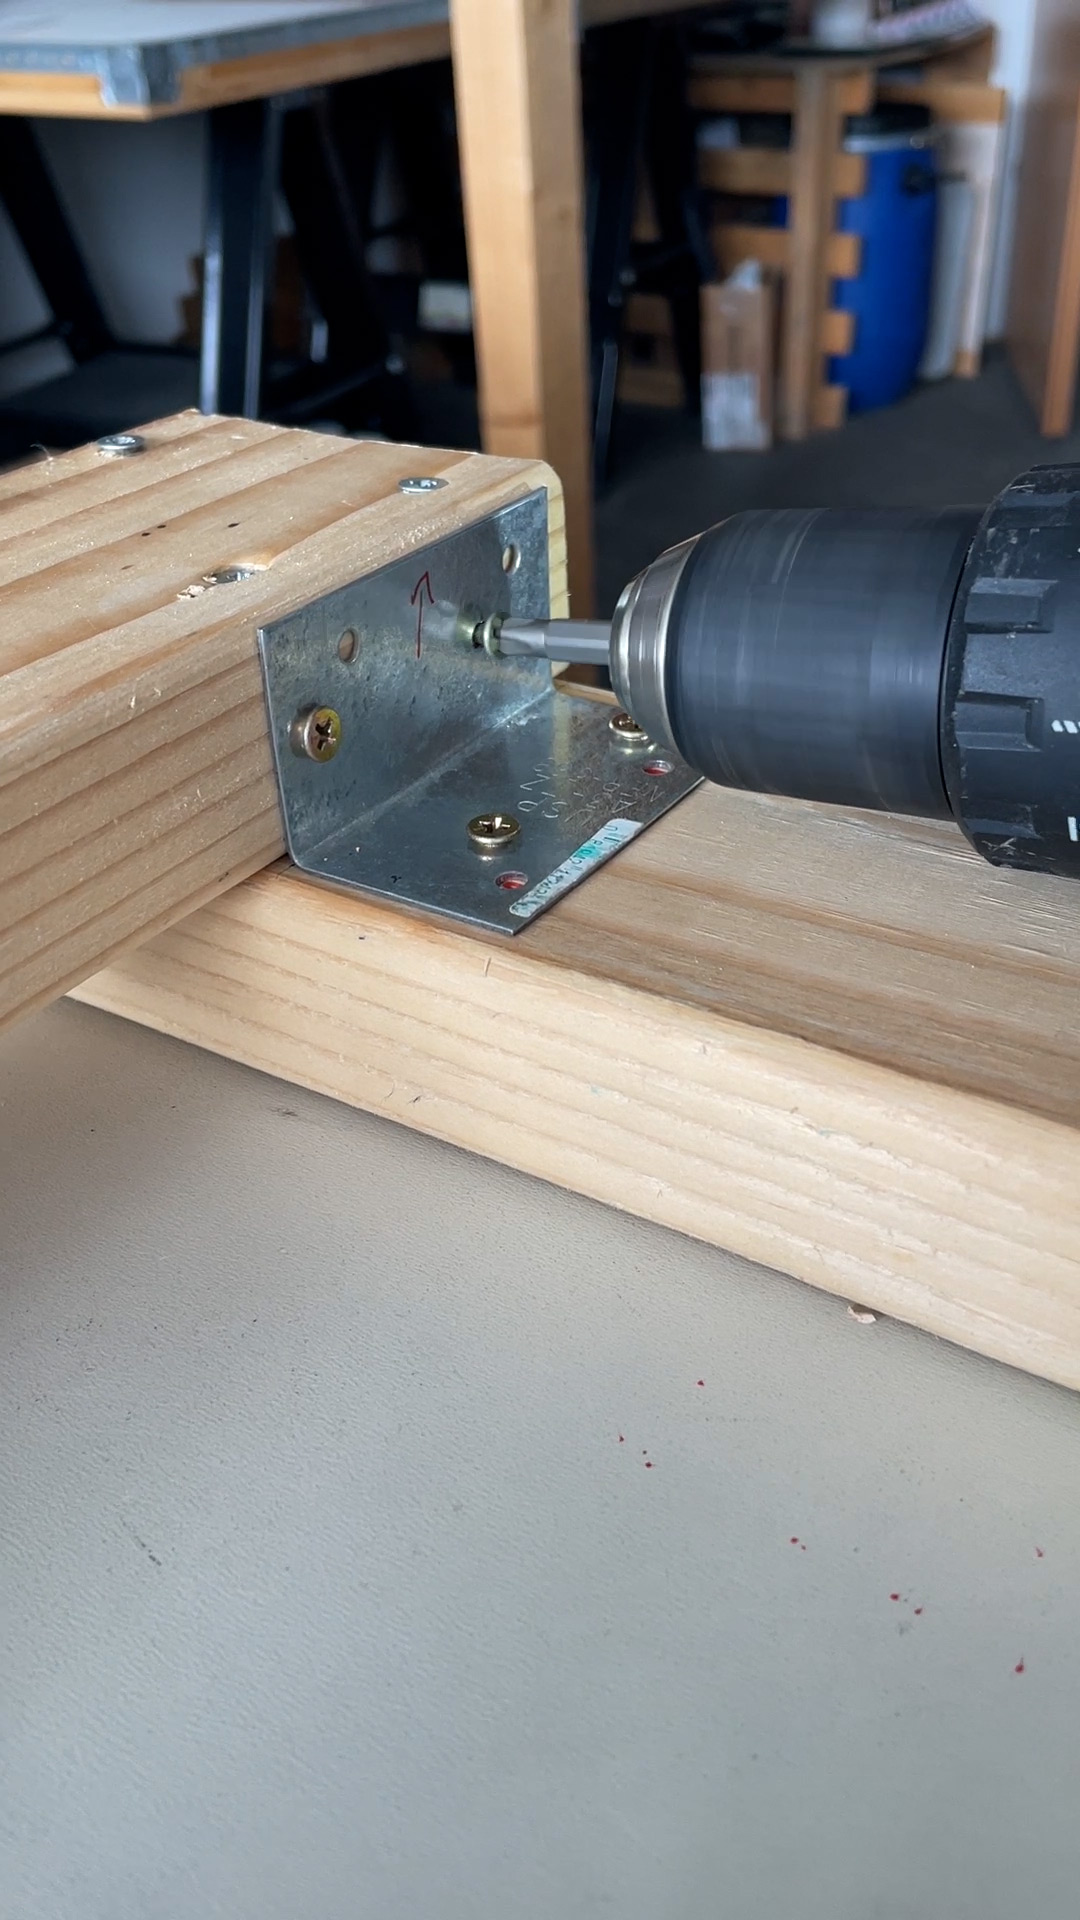
Using a screw clamp, we fix both wooden strips before marking the drilling points for the screws. In the photos and in the film you can see how we also attach metal brackets to the sides after the four screws that are drilled through both slats from above (always with pre-drilling, otherwise the wood splinters). But we noticed later that these angles were in the way when we wanted to make screens – and in fact this step is superfluous if you make sure that the two pieces of wood are screwed together firmly and securely at right angles with the four screws. So: better leave it out…
Afterwards we are always smarter… 😉


The next two posts show two variations of repeat pattern printing on the DIY table using the T-bar!