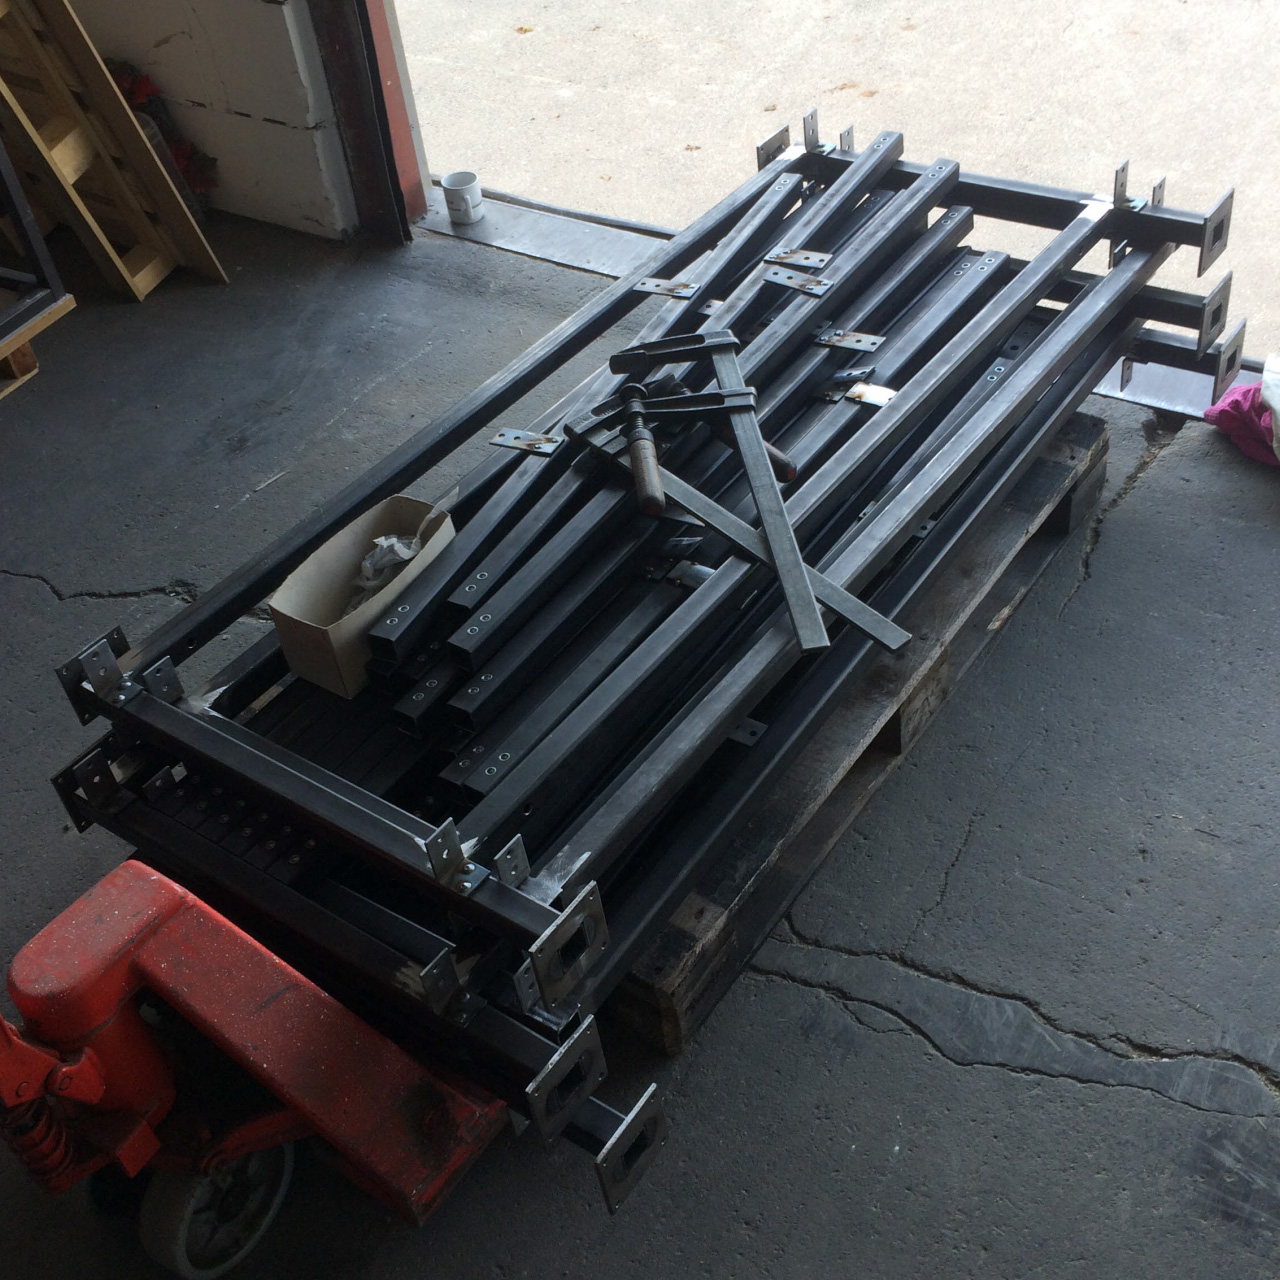
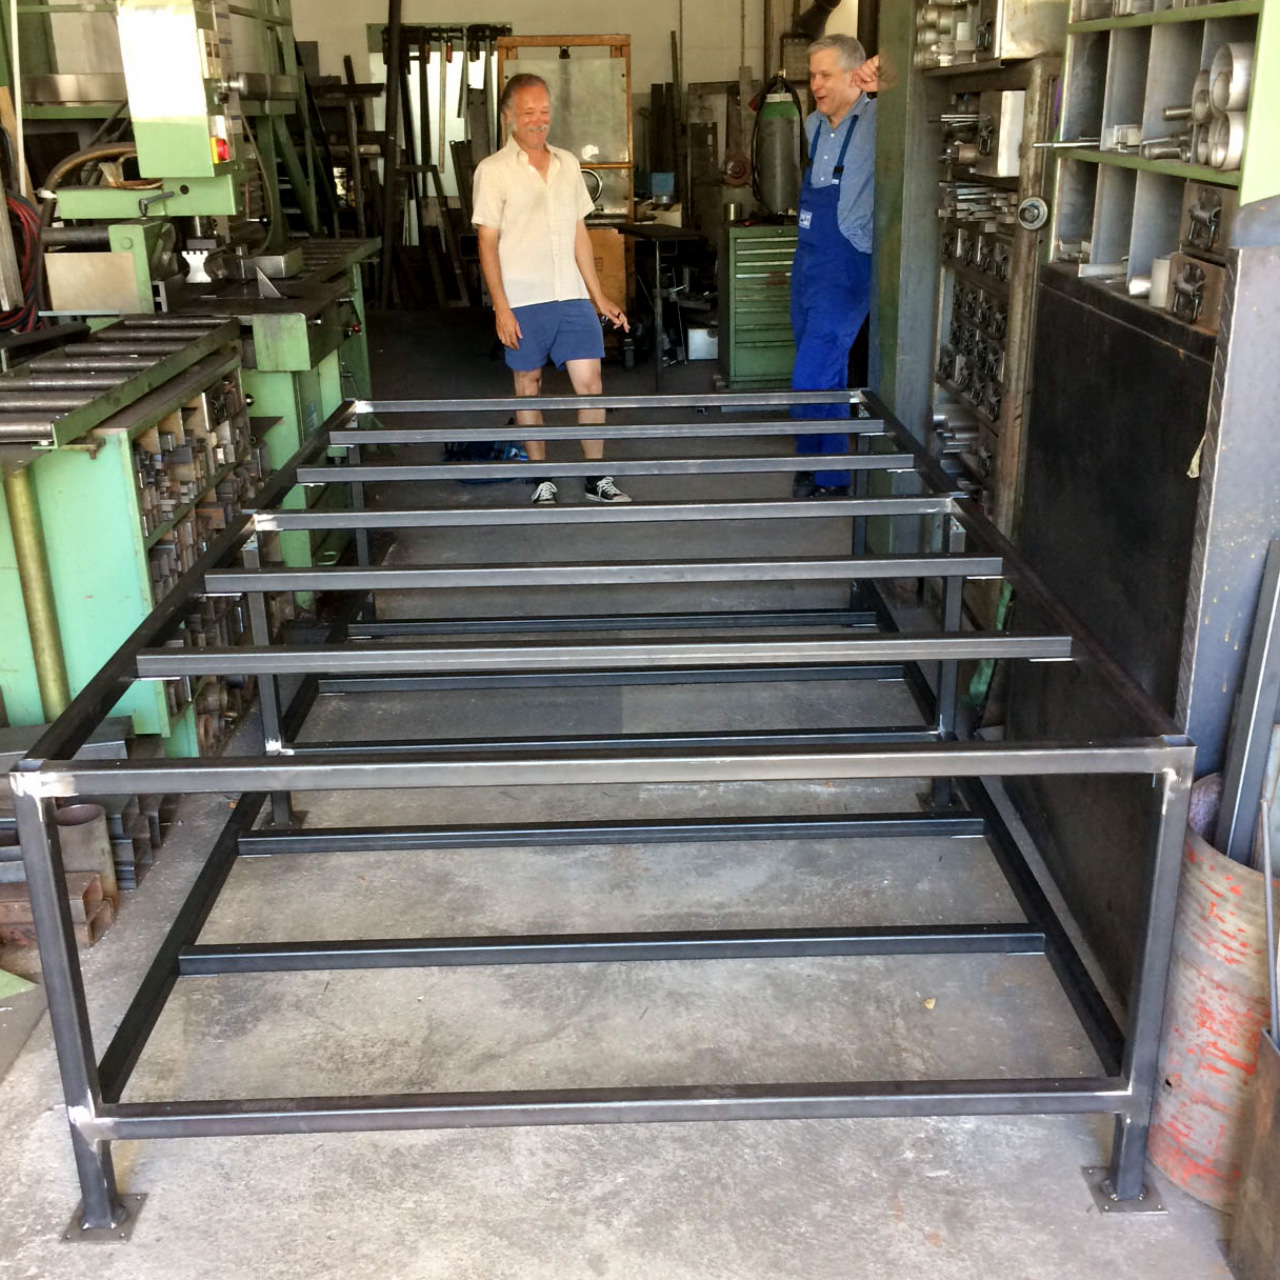
After reviewing various tutorials for a DIY printing table, mostly with a wooden base, a metal construction seemed to be the better choice for stability and quality reasons. Fortunately, our direct neighbour in the industrial area of Maintal is a sheet metal processing company with the nice name Schrottenbacher, and after a short initial scepticism, the boss and his staff were ready to manufacture the printing table according to our sketch.
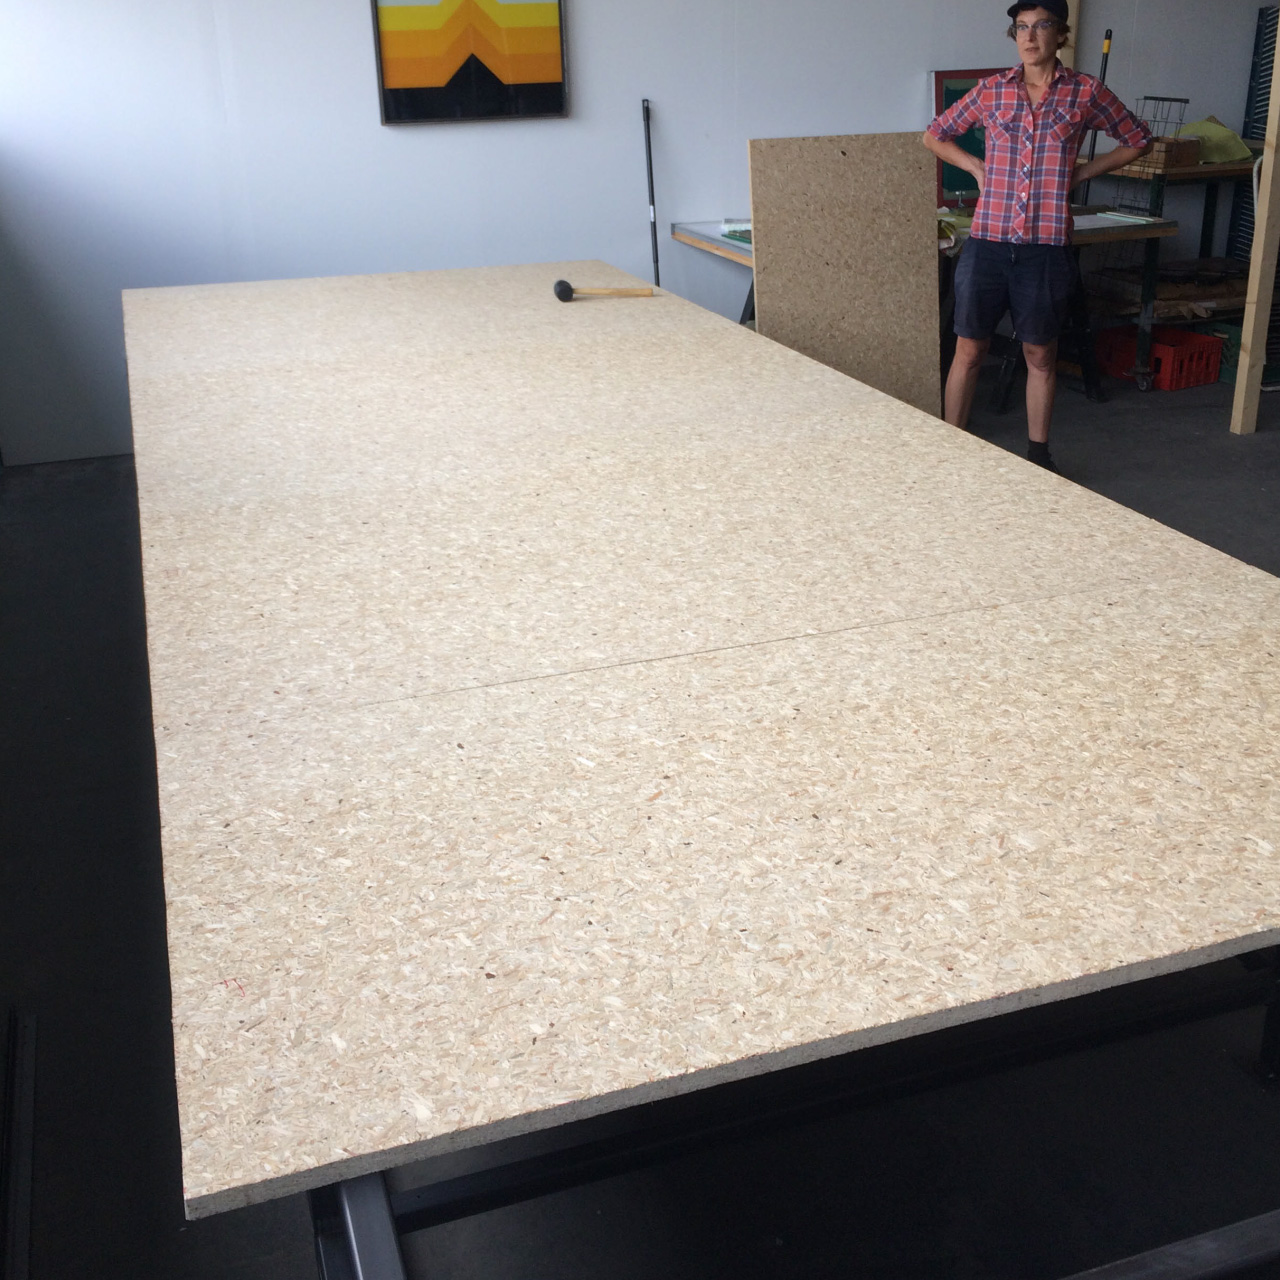
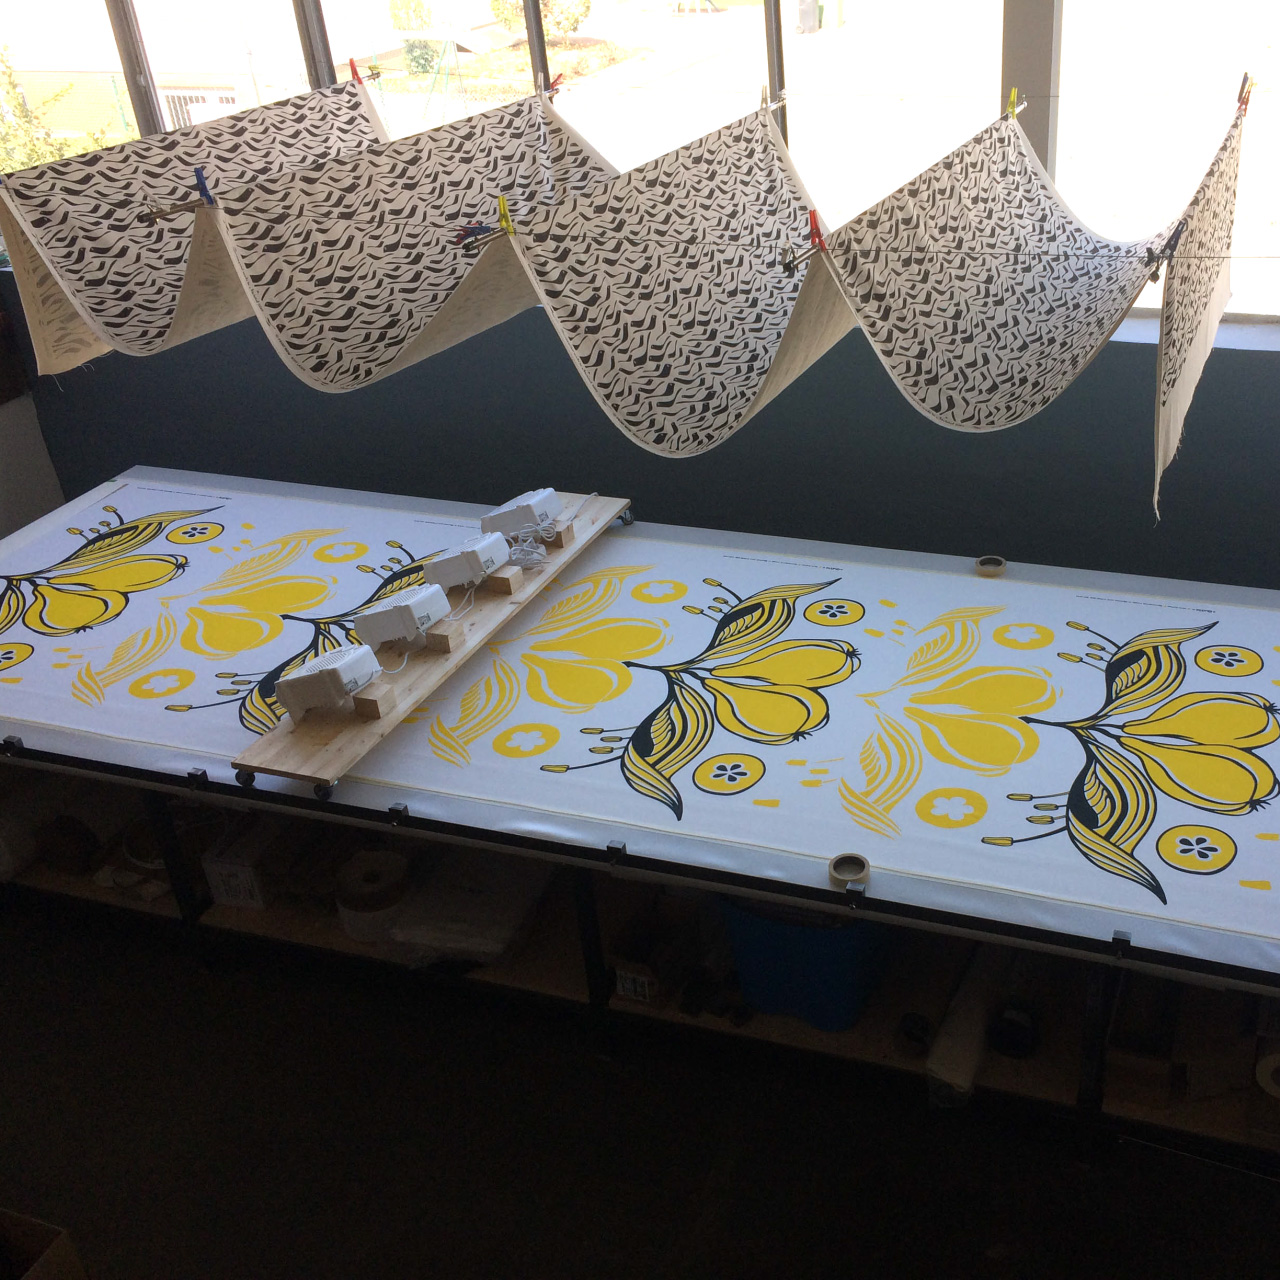
A printing table for yard goods can hardly be long enough. During our research we came across manufactories with huge halls where 50-metre long copies are stored… Our possibilities were a little more limited: the room is 7 metres wide, so we decided on the dimensions 1.80m x 5.50m.
The table width of 1.80m has on the one hand the advantage that common fabric widths of 1.40m to 1.75m can be printed well without overhanging on one side of the table, on the other hand with this width we can easily pass the squeegee in the middle while printing. As desirable as a longer printing table would be: even now we can print endlessly in the length because the fabric can be unrolled and moved further after the printing run.
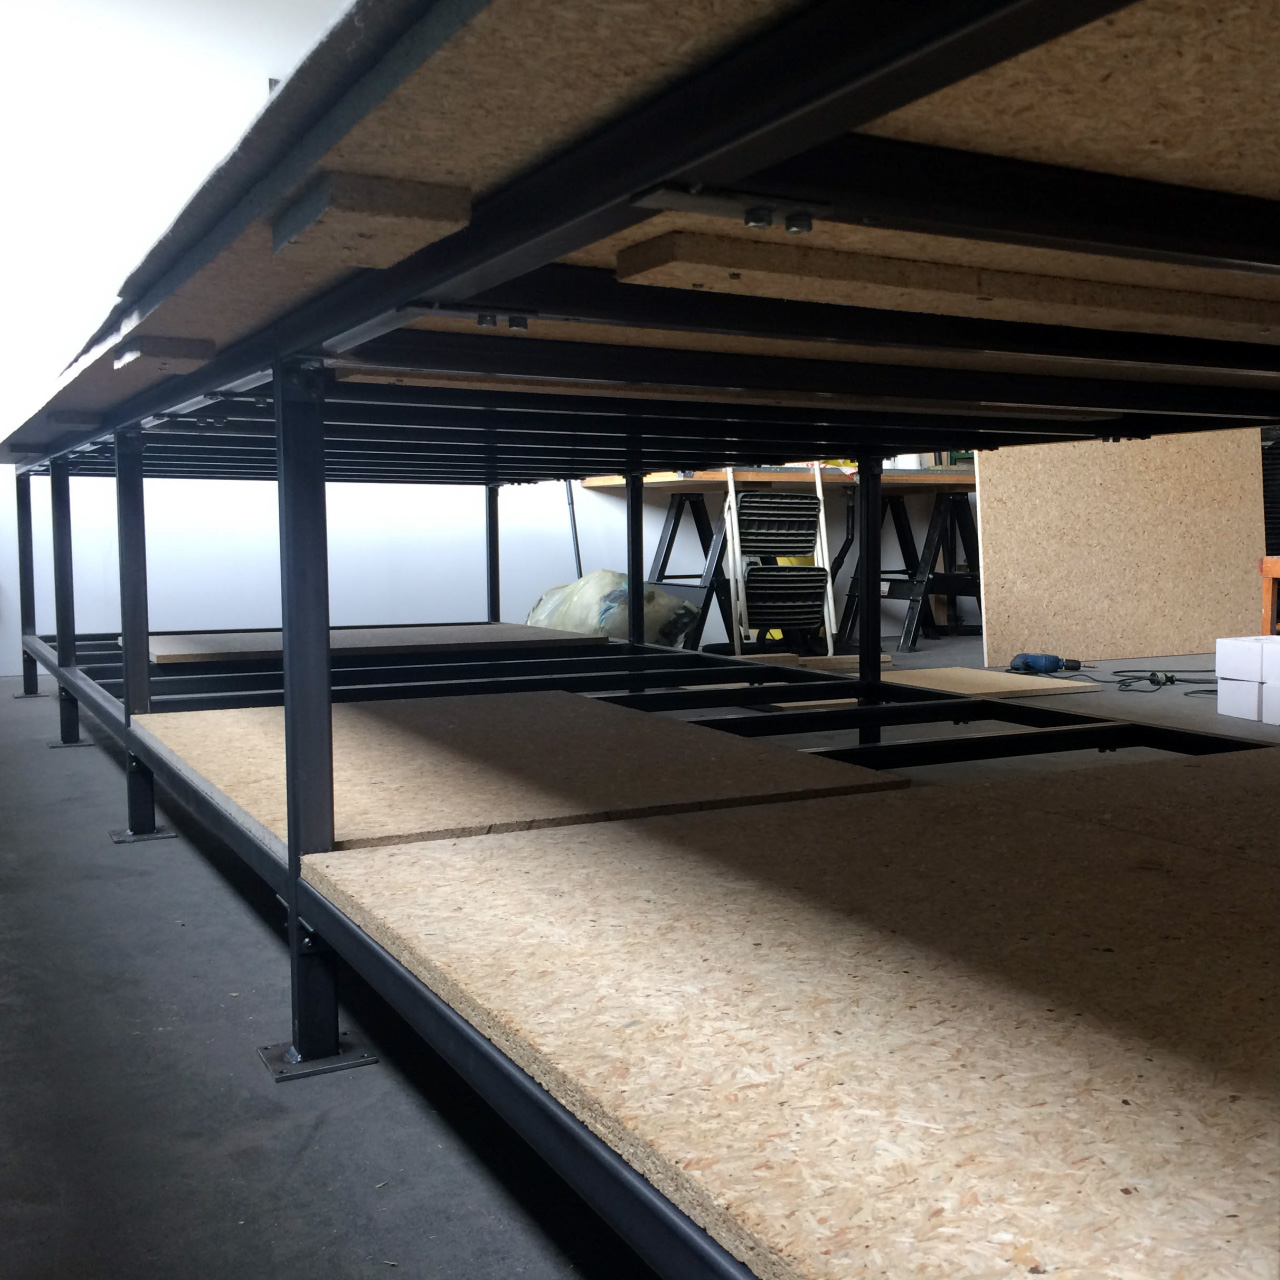
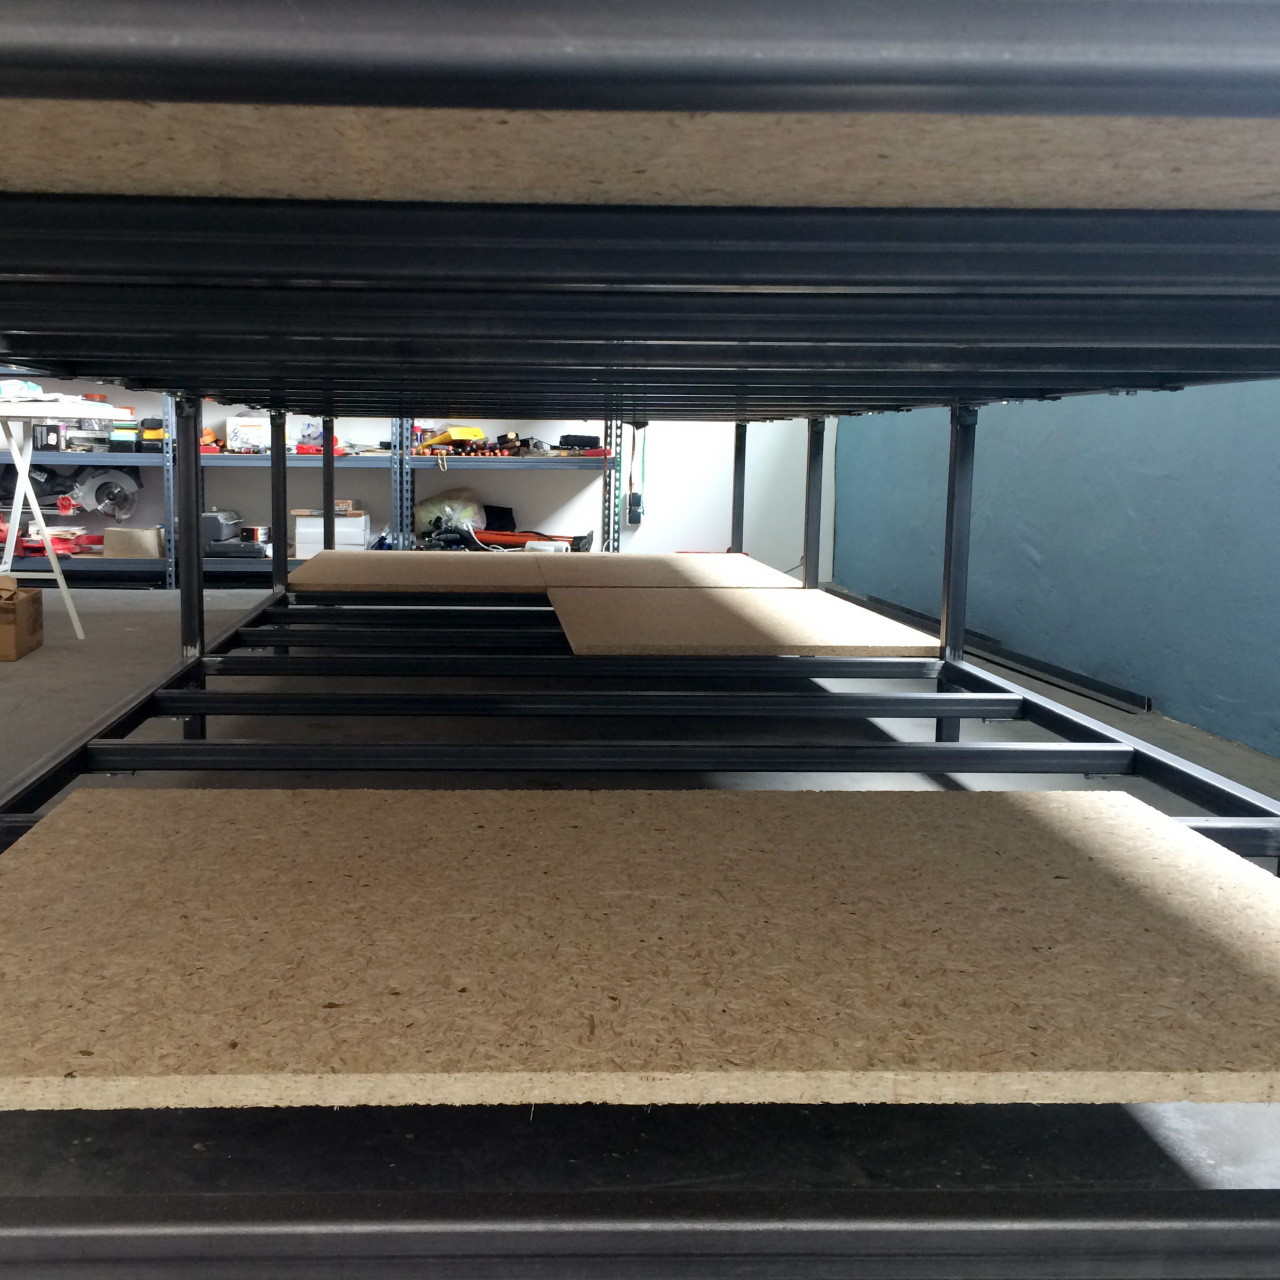
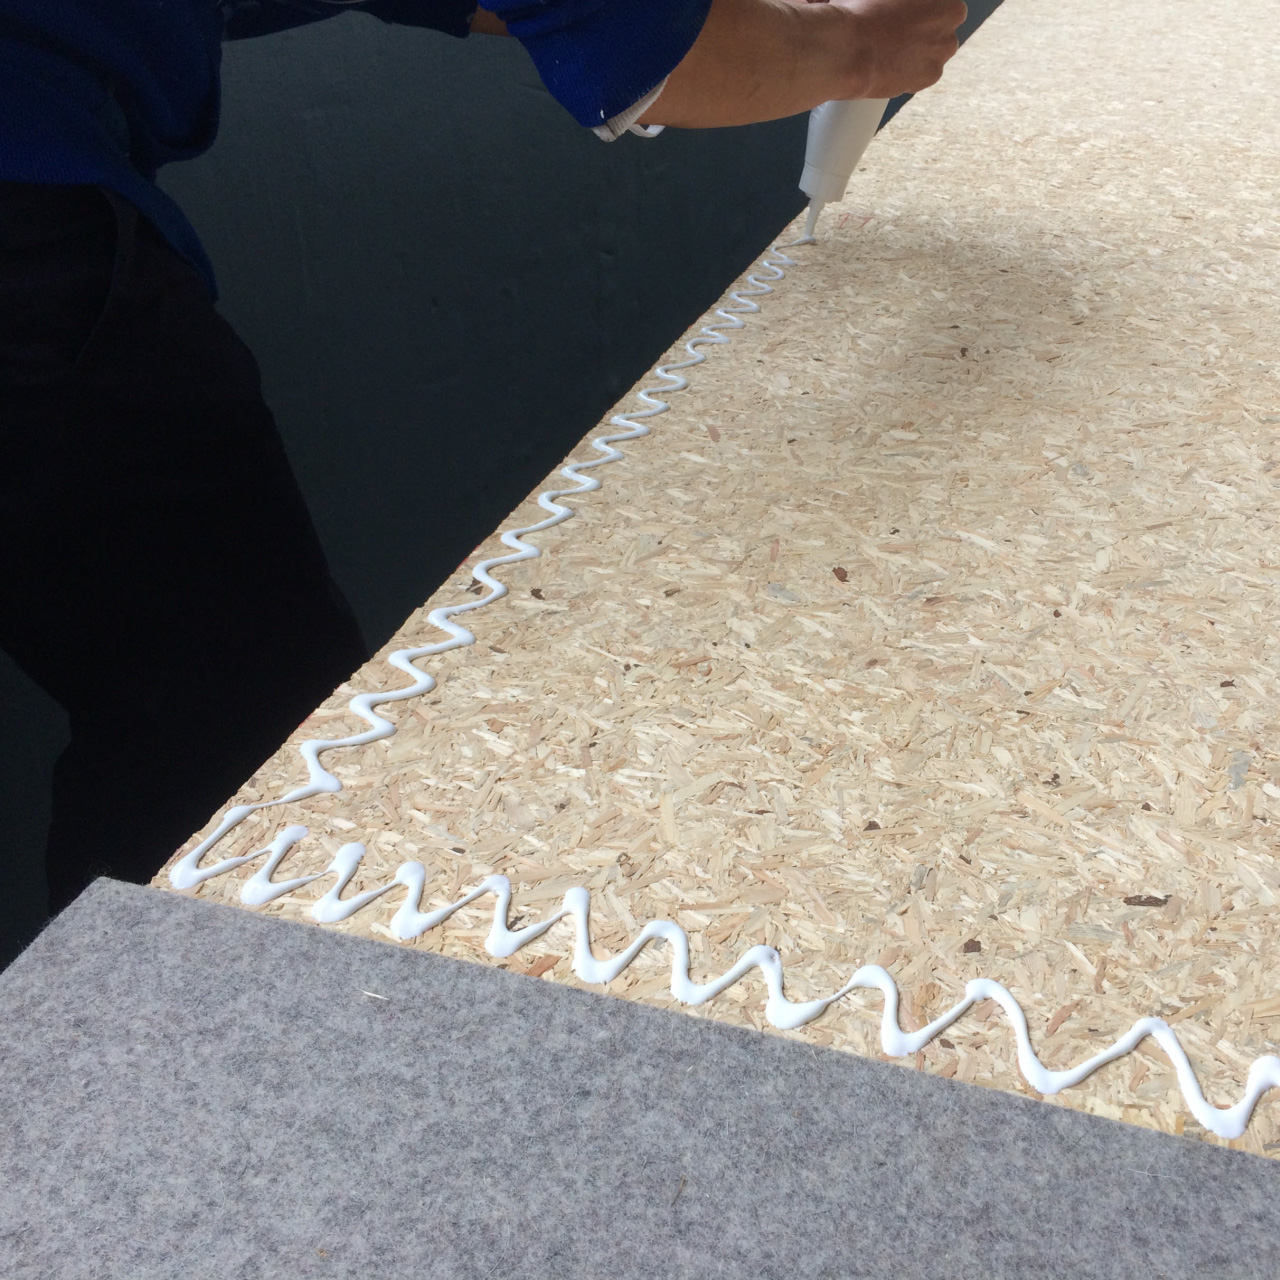
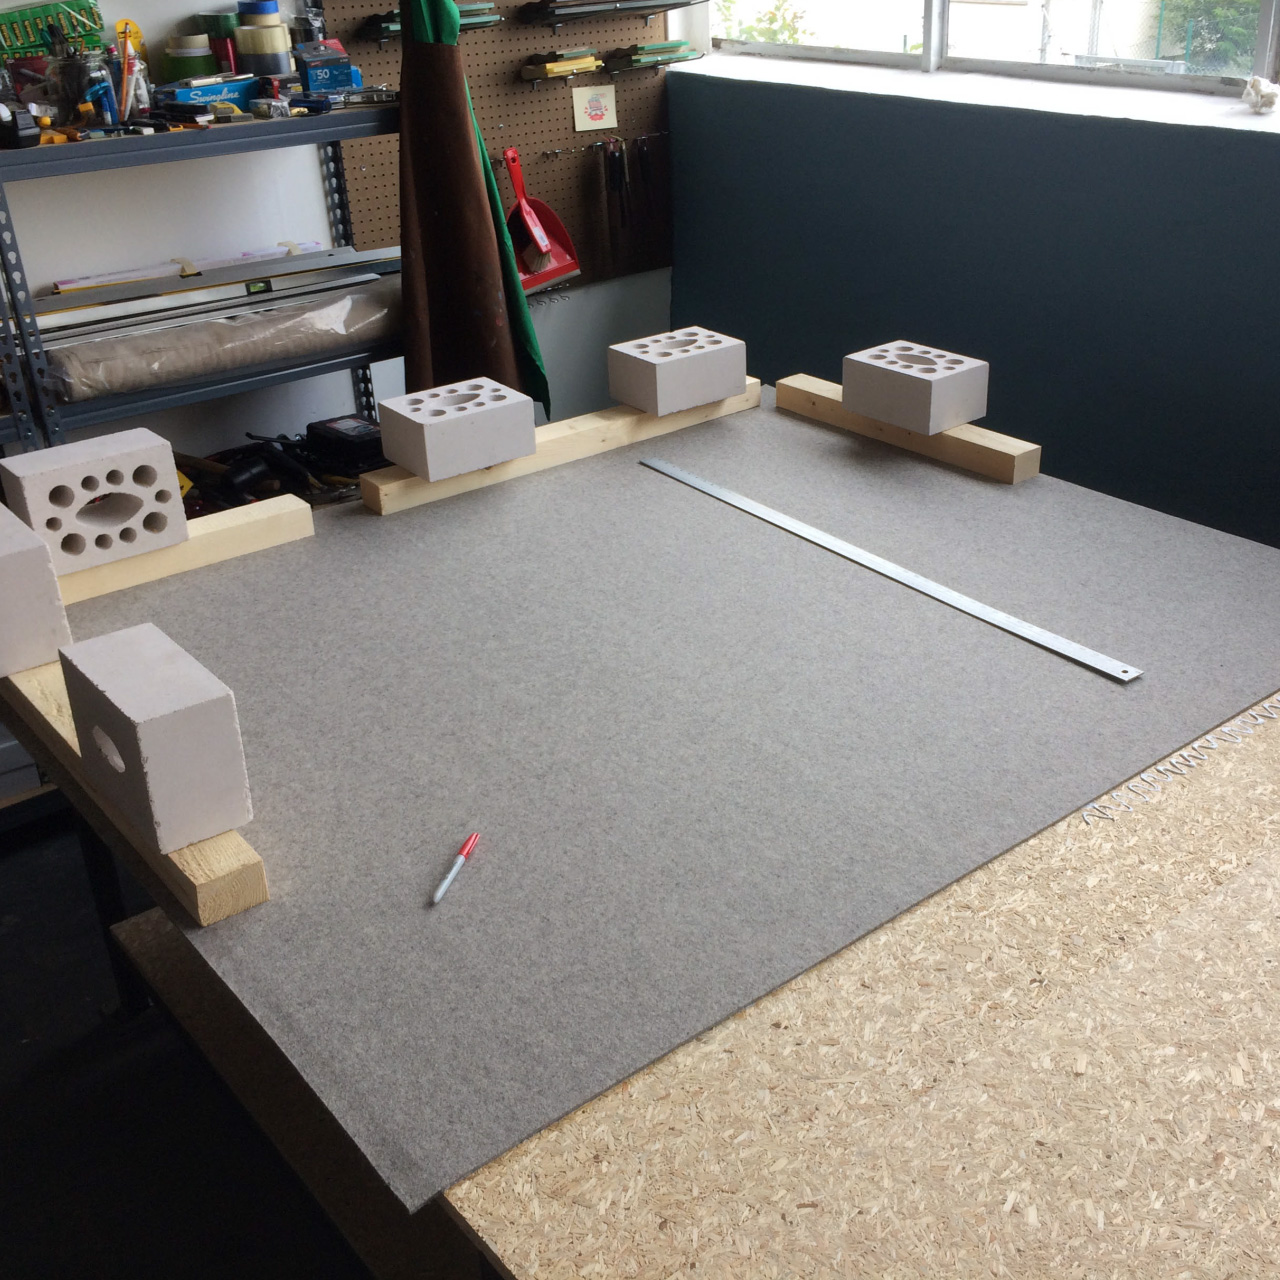
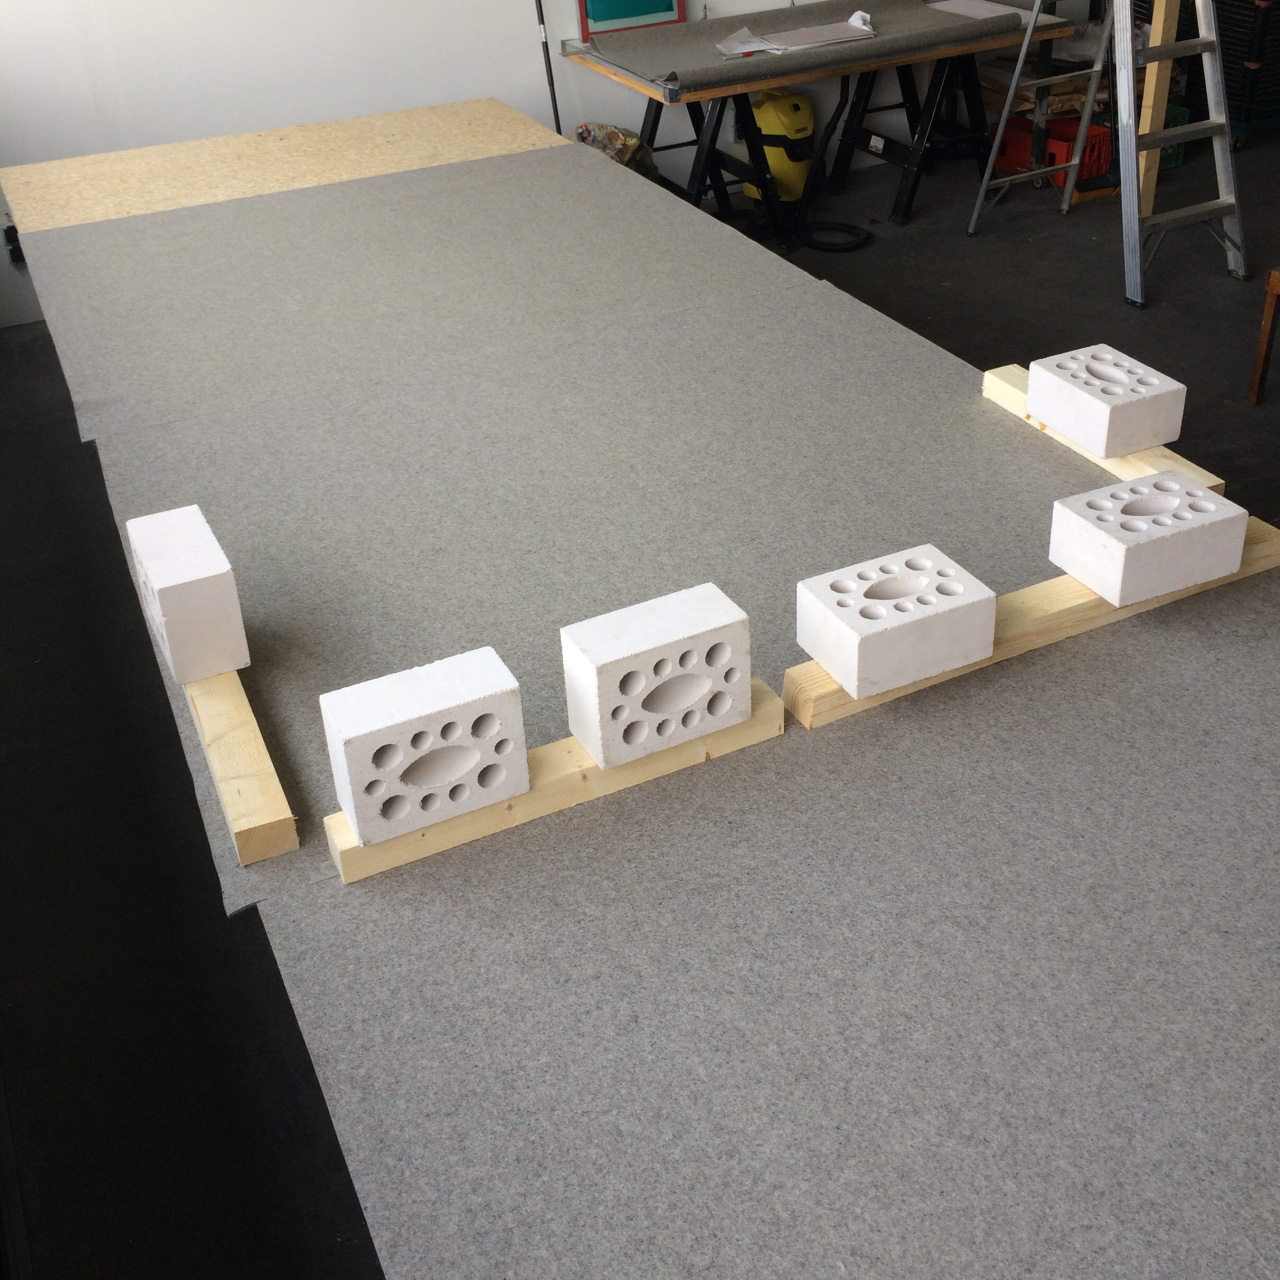
Both the floor shelf plate and the table base plate consist of 18mm thick, bending-resistant, synthetic resin-bonded chipboard which is screwed to the metal frame of the substructure. In order to compensate for minimal unevenness and at the same time create a soft printing surface, we have glued 3mm thick industrial felt onto the wooden boards, which is then covered with a washable vinyl truck tarpaulin.
The last step was to cover this tarpaulin in a width of 1.40m with self-adhesive paper, which we then coated with diluted sequin glue, so that the fabric panels stick slightly when printed and do not stick to the damp printing screen when the screen is lifted. This paper has to be renewed from time to time because with time many tiny fluff sticks to it which can only be removed with a lot of effort and can eventually affect the print image.
Um dir ein optimales Erlebnis zu bieten, verwenden wir Technologien wie Cookies, um Geräteinformationen zu speichern und/oder darauf zuzugreifen. Wenn du diesen Technologien zustimmst, können wir Daten wie das Surfverhalten oder eindeutige IDs auf dieser Website verarbeiten. Wenn du deine Zustimmung nicht erteilst oder zurückziehst, können bestimmte Merkmale und Funktionen beeinträchtigt werden.
Funktional
Always active
Die technische Speicherung oder der Zugang ist unbedingt erforderlich für den rechtmäßigen Zweck, die Nutzung eines bestimmten Dienstes zu ermöglichen, der vom Teilnehmer oder Nutzer ausdrücklich gewünscht wird, oder für den alleinigen Zweck, die Übertragung einer Nachricht über ein elektronisches Kommunikationsnetz durchzuführen.
Vorlieben
Die technische Speicherung oder der Zugriff ist für den rechtmäßigen Zweck der Speicherung von Präferenzen erforderlich, die nicht vom Abonnenten oder Benutzer angefordert wurden.
Statistiken
Die technische Speicherung oder der Zugriff, der ausschließlich zu statistischen Zwecken erfolgt.Die technische Speicherung oder der Zugriff, der ausschließlich zu anonymen statistischen Zwecken verwendet wird. Ohne eine Vorladung, die freiwillige Zustimmung deines Internetdienstanbieters oder zusätzliche Aufzeichnungen von Dritten können die zu diesem Zweck gespeicherten oder abgerufenen Informationen allein in der Regel nicht dazu verwendet werden, dich zu identifizieren.
Marketing
Die technische Speicherung oder der Zugriff ist erforderlich, um Nutzerprofile zu erstellen, um Werbung zu versenden oder um den Nutzer auf einer Website oder über mehrere Websites hinweg zu ähnlichen Marketingzwecken zu verfolgen.

 Deutsch