
 Deutsch
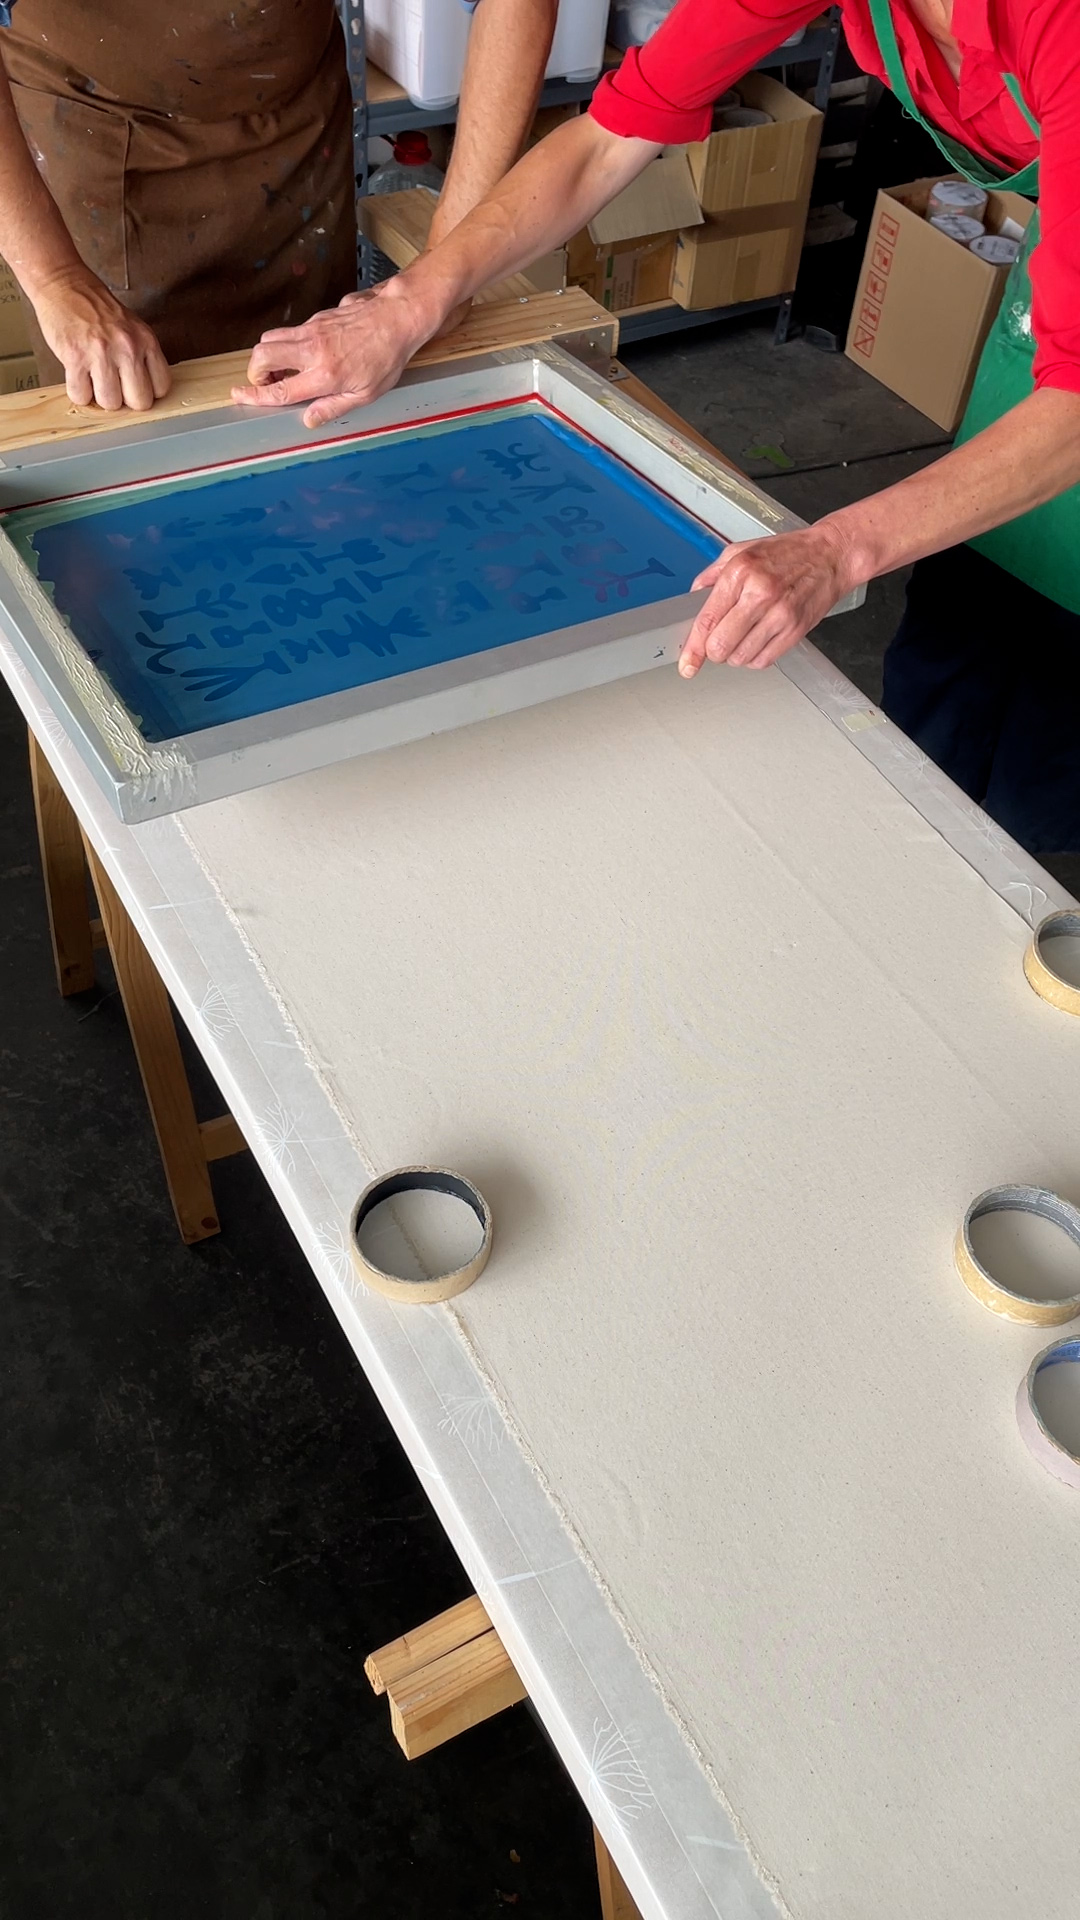
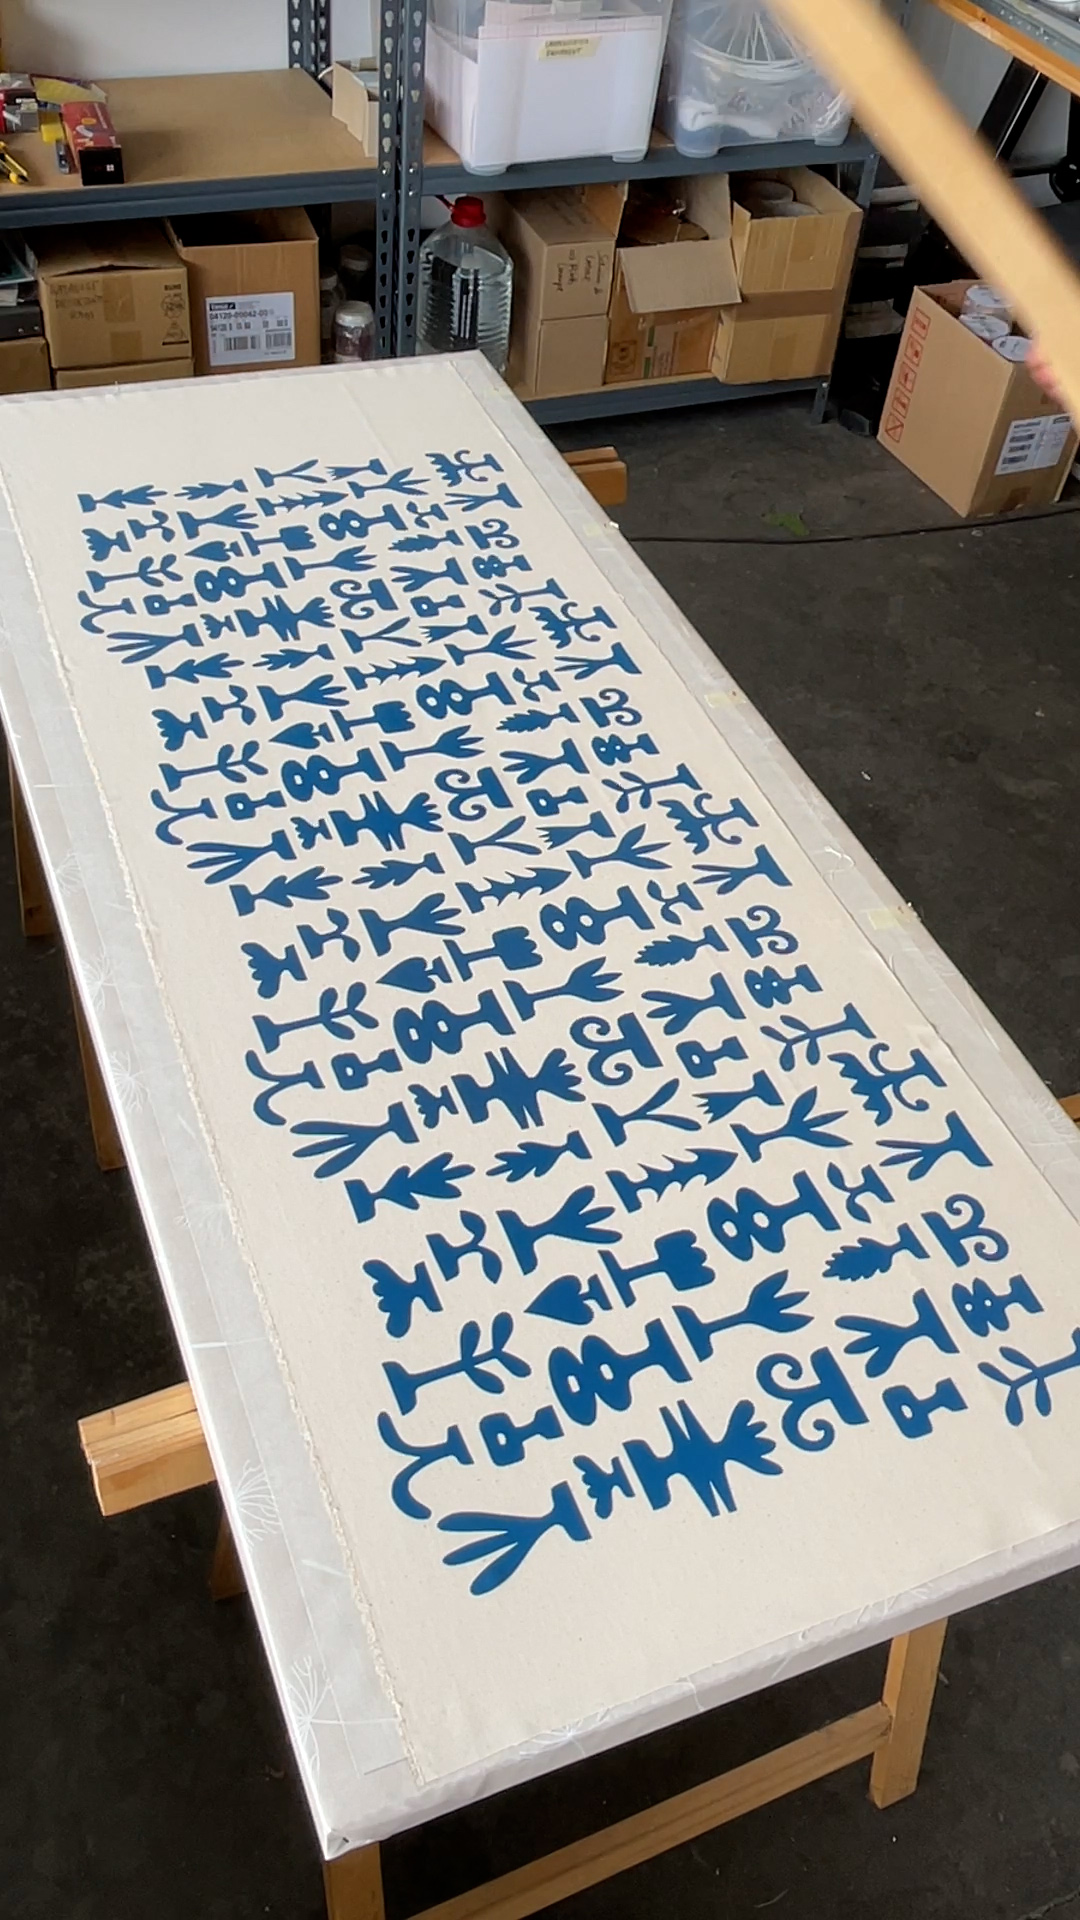
In this first simple variant, we use a screen that is about as high as the printing table – in total, our single-colour design is to be printed four times next to each other. So that our screen is not placed in the wet ink after the first print, we skip the place of the neighbouring second print as usual and print first at the next but one position. After these two pattern places 1 and 3 have dried, 2 and 4 follow.
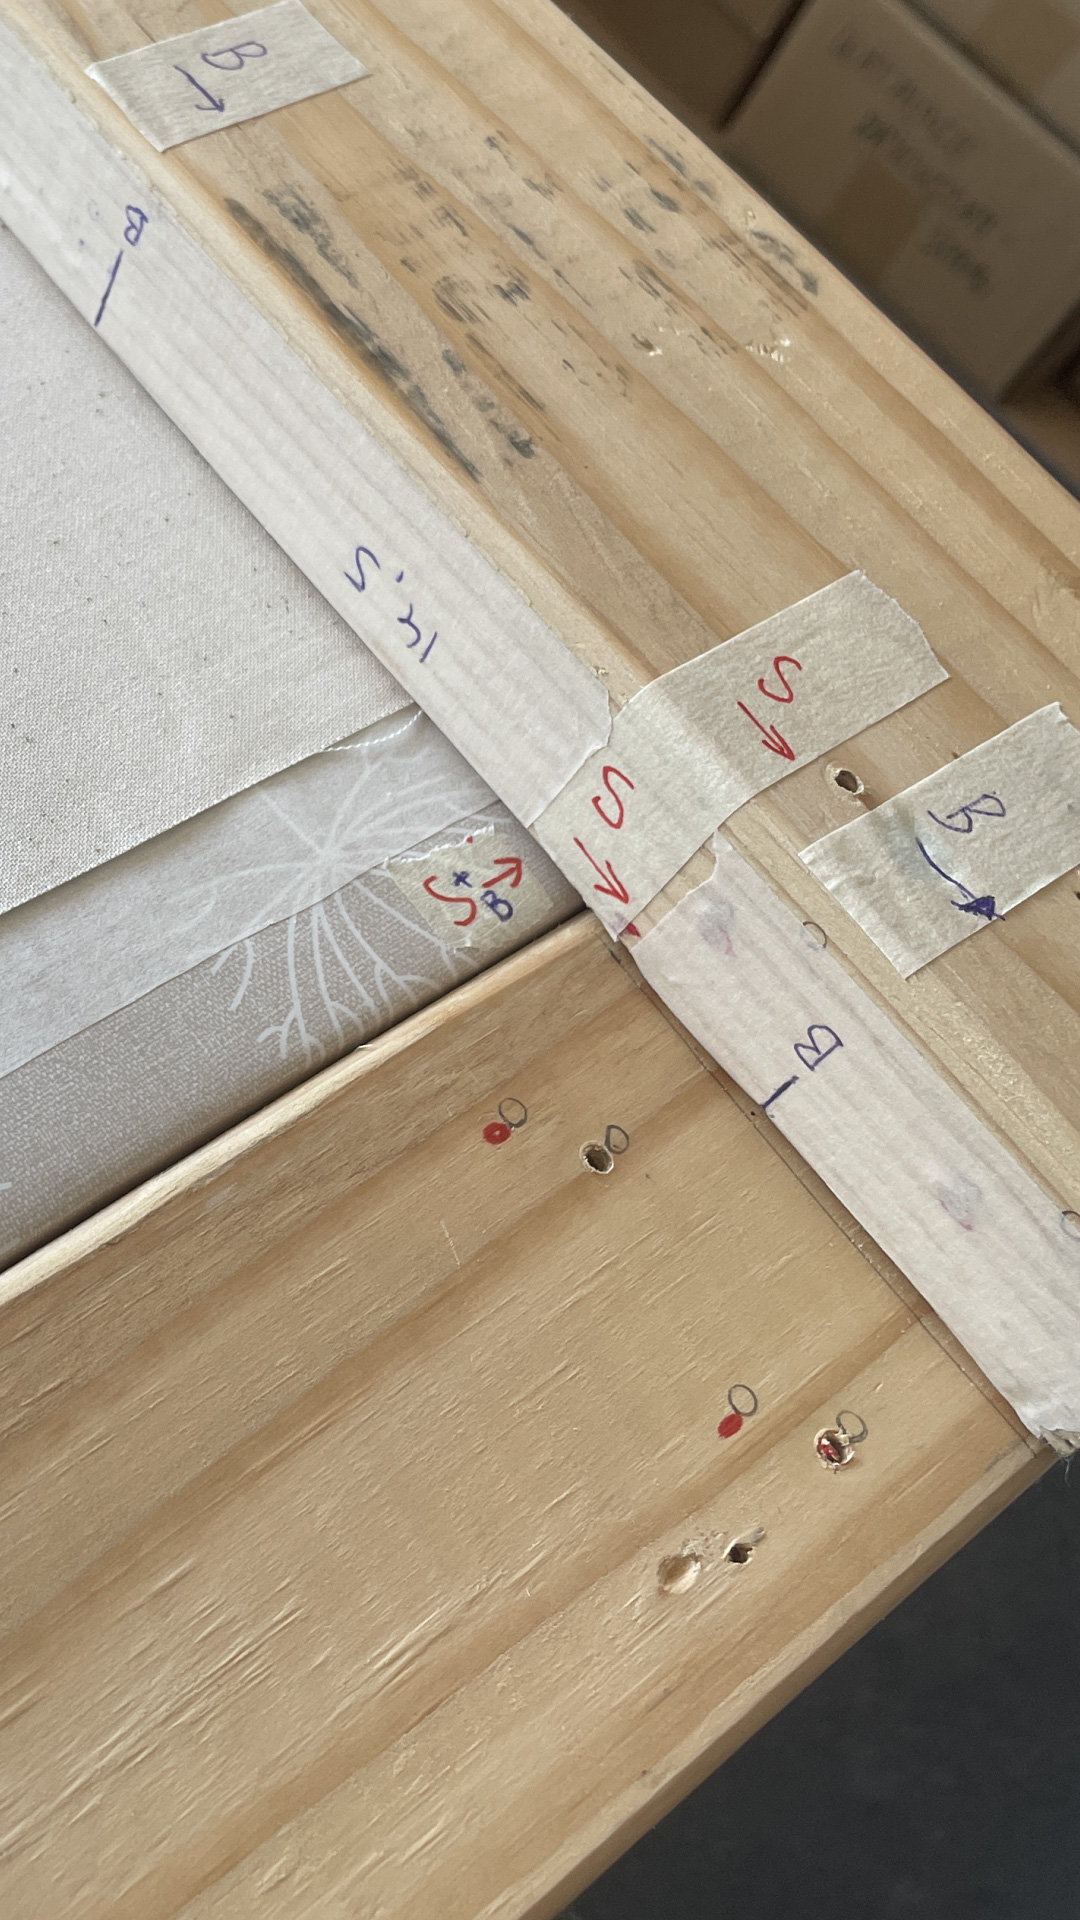
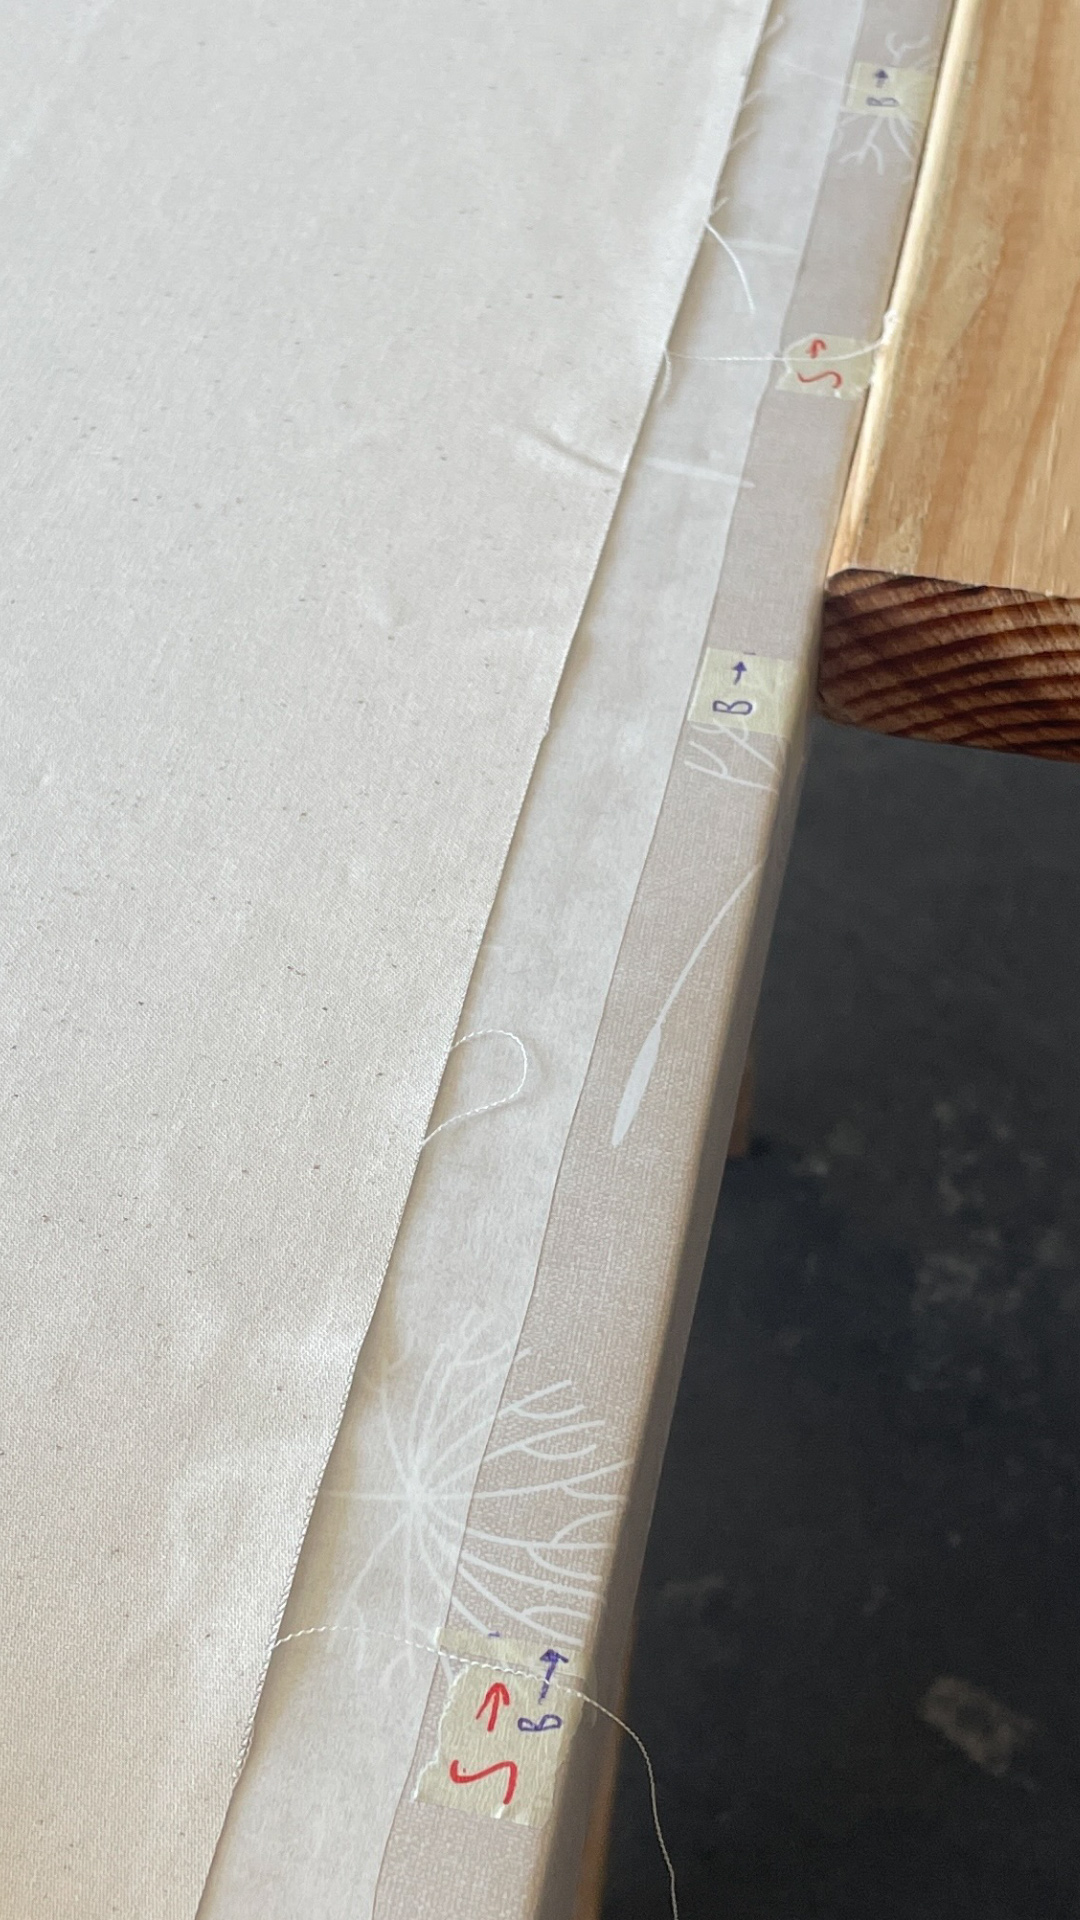
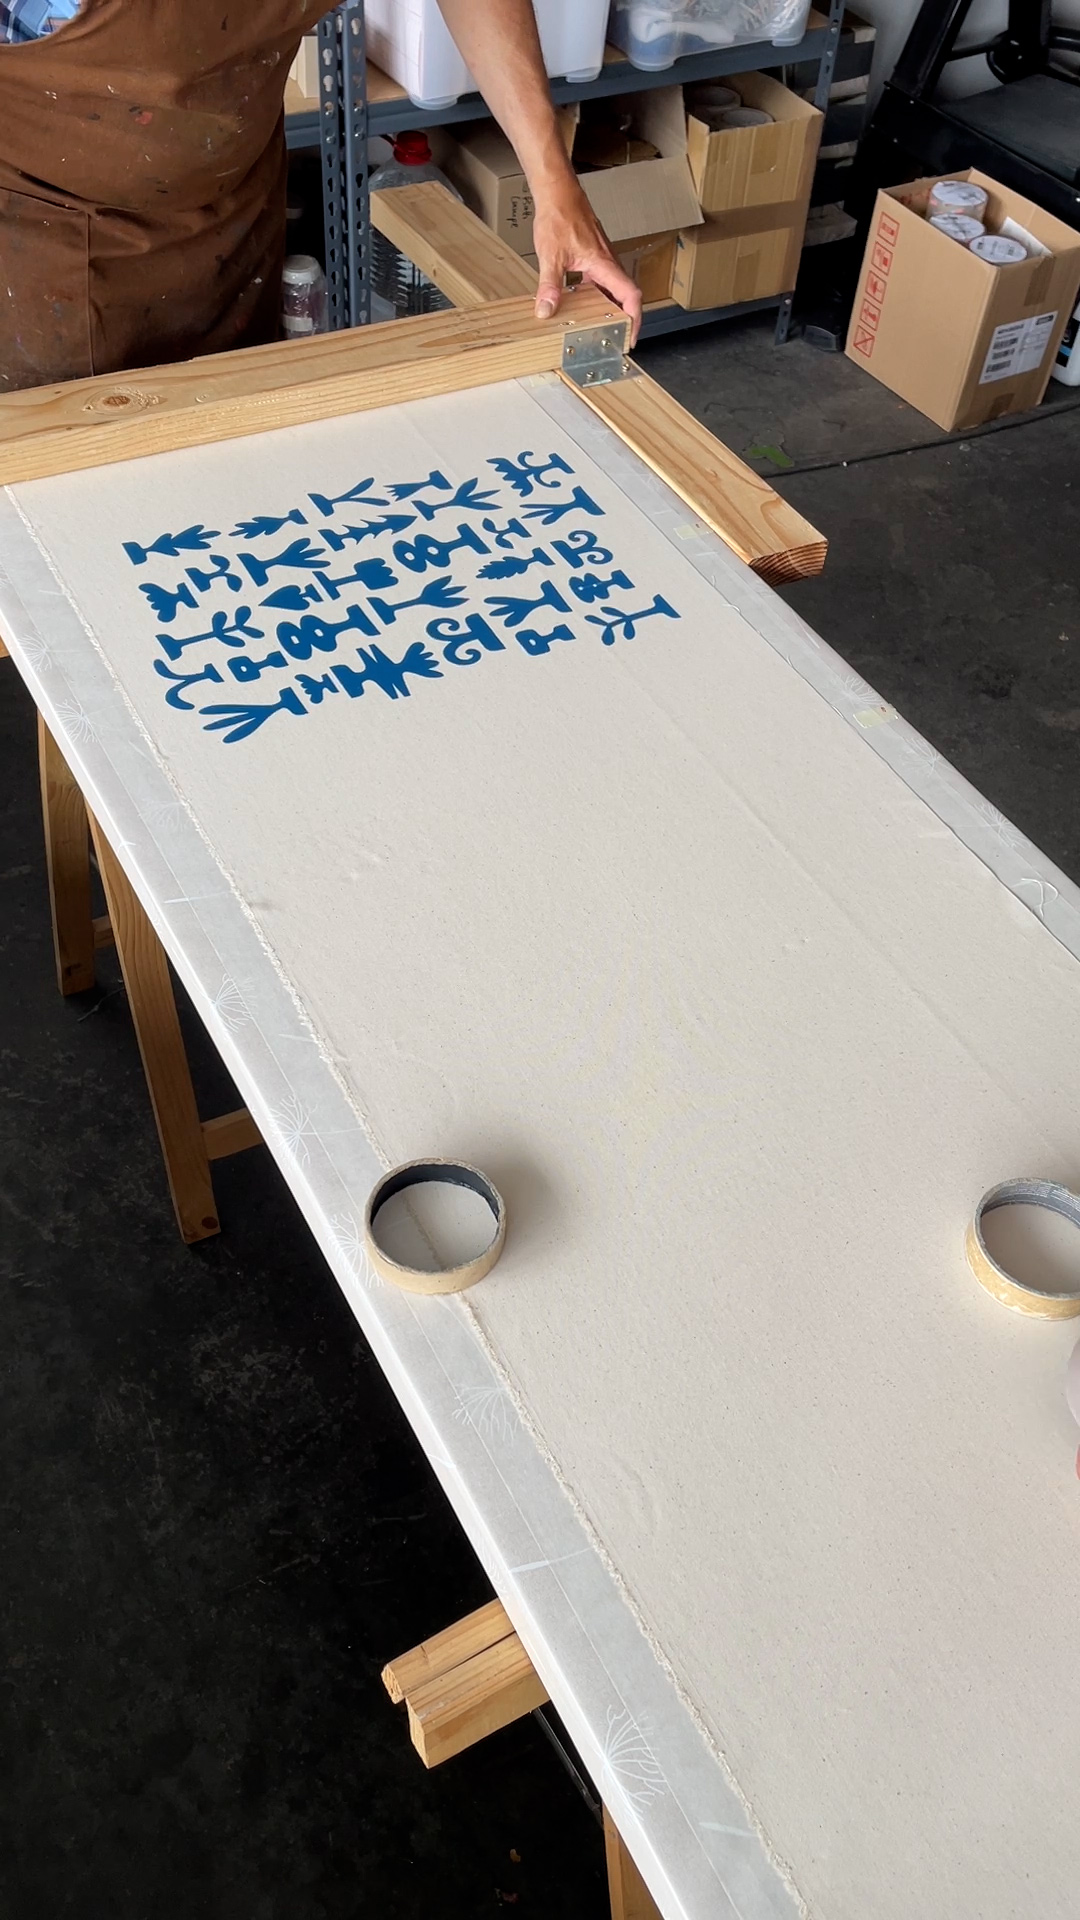
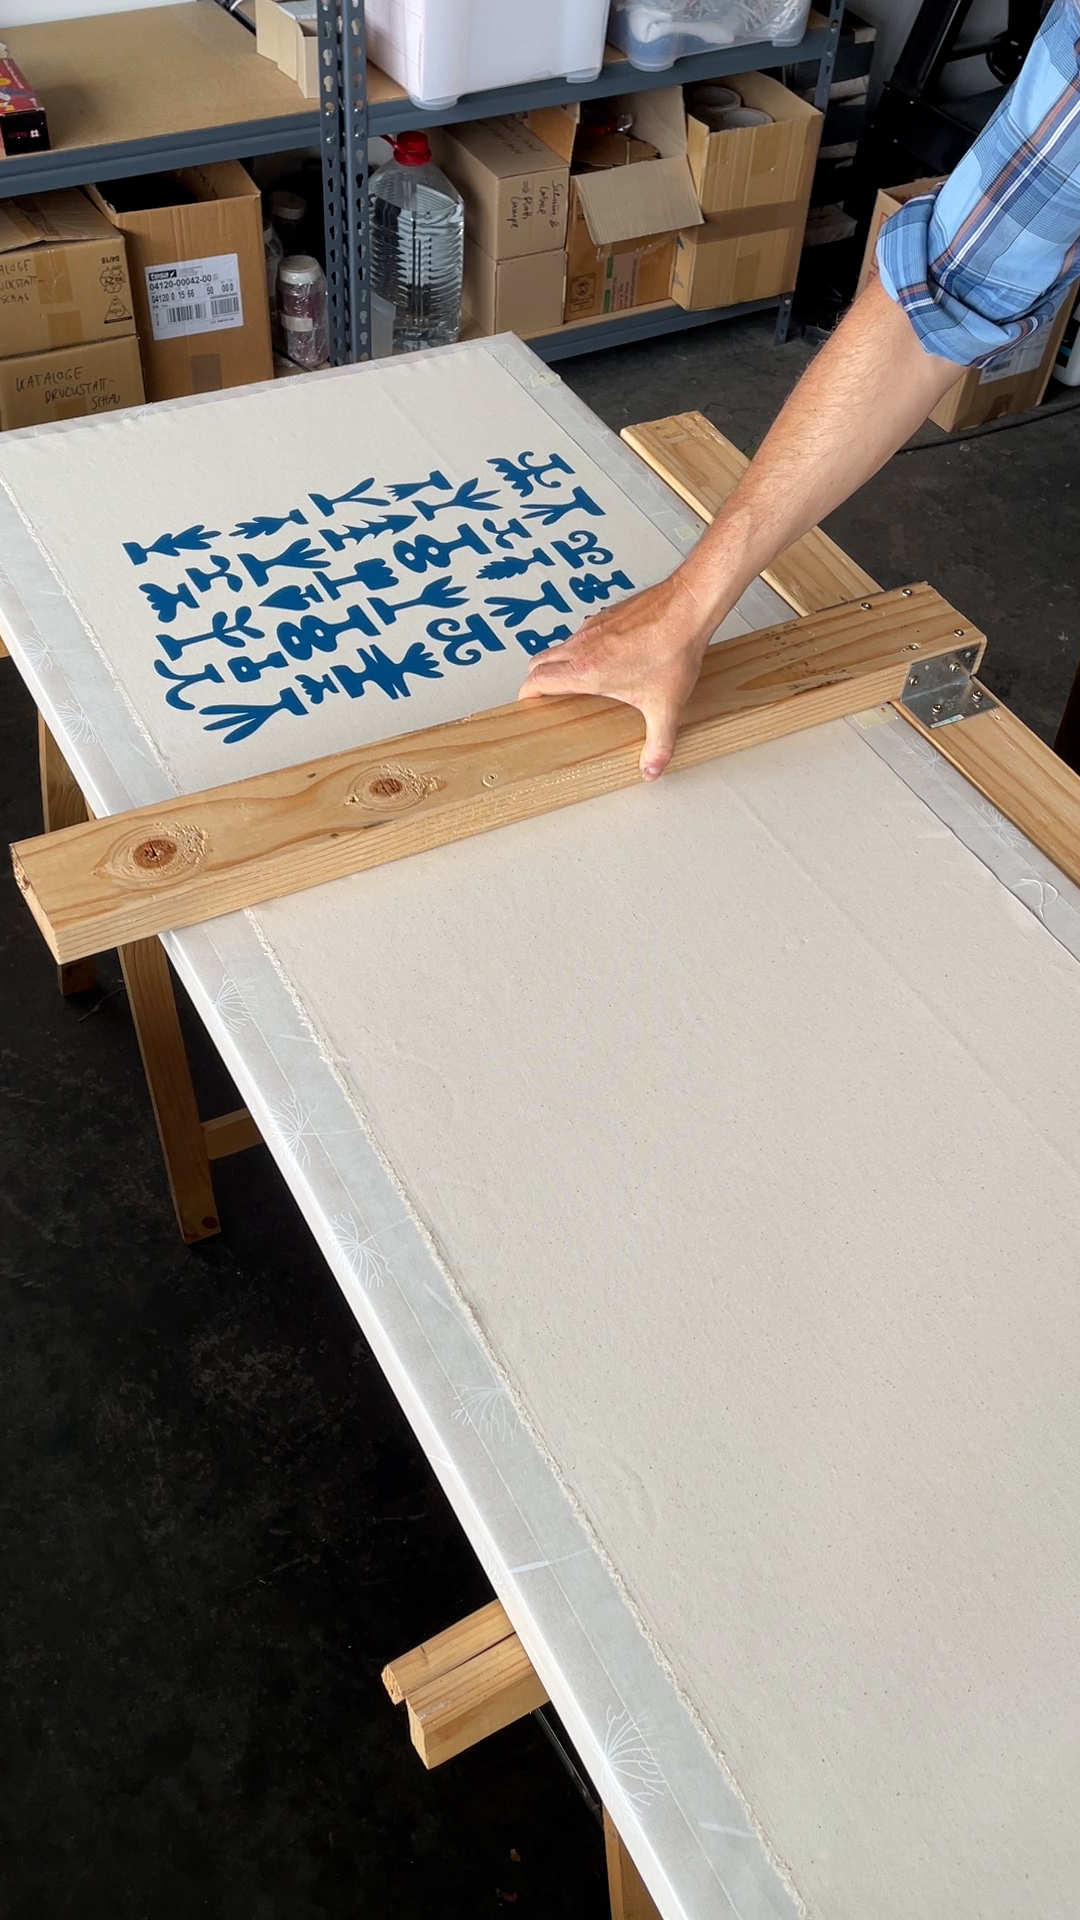
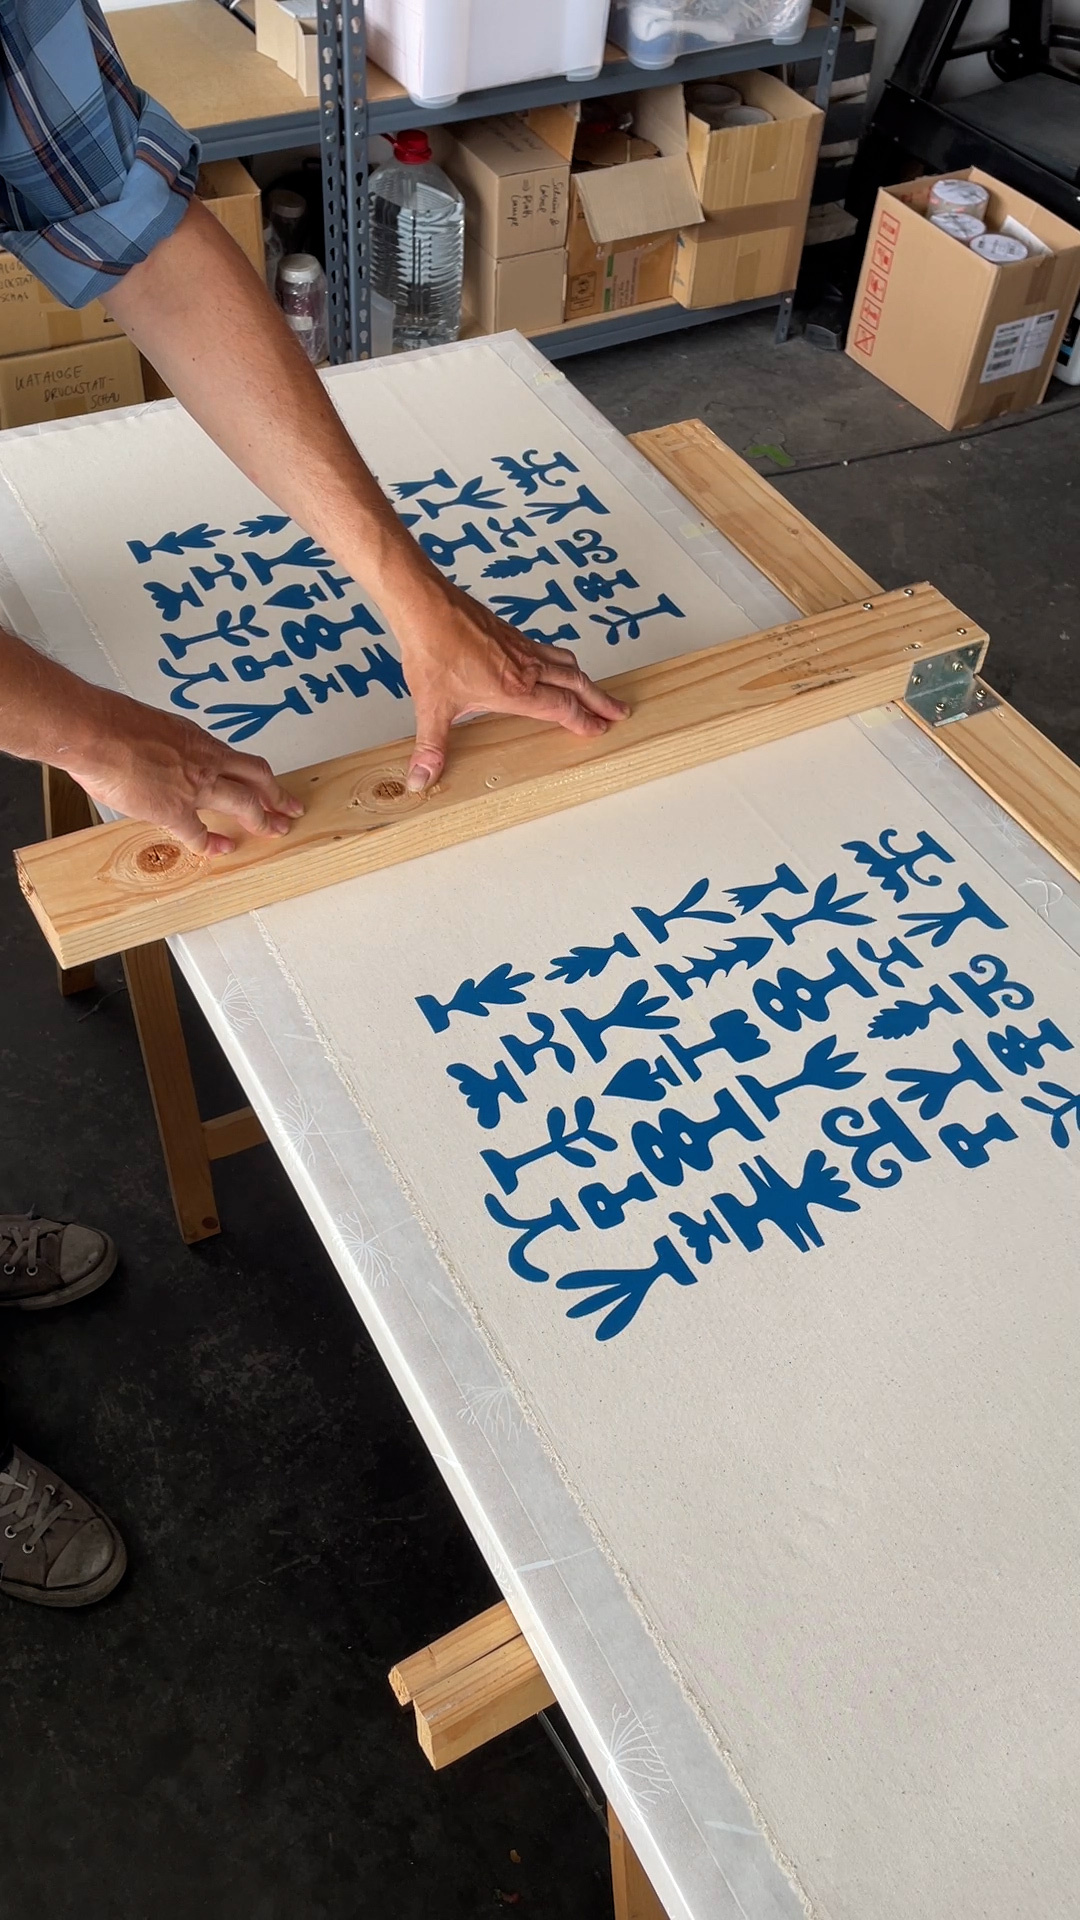
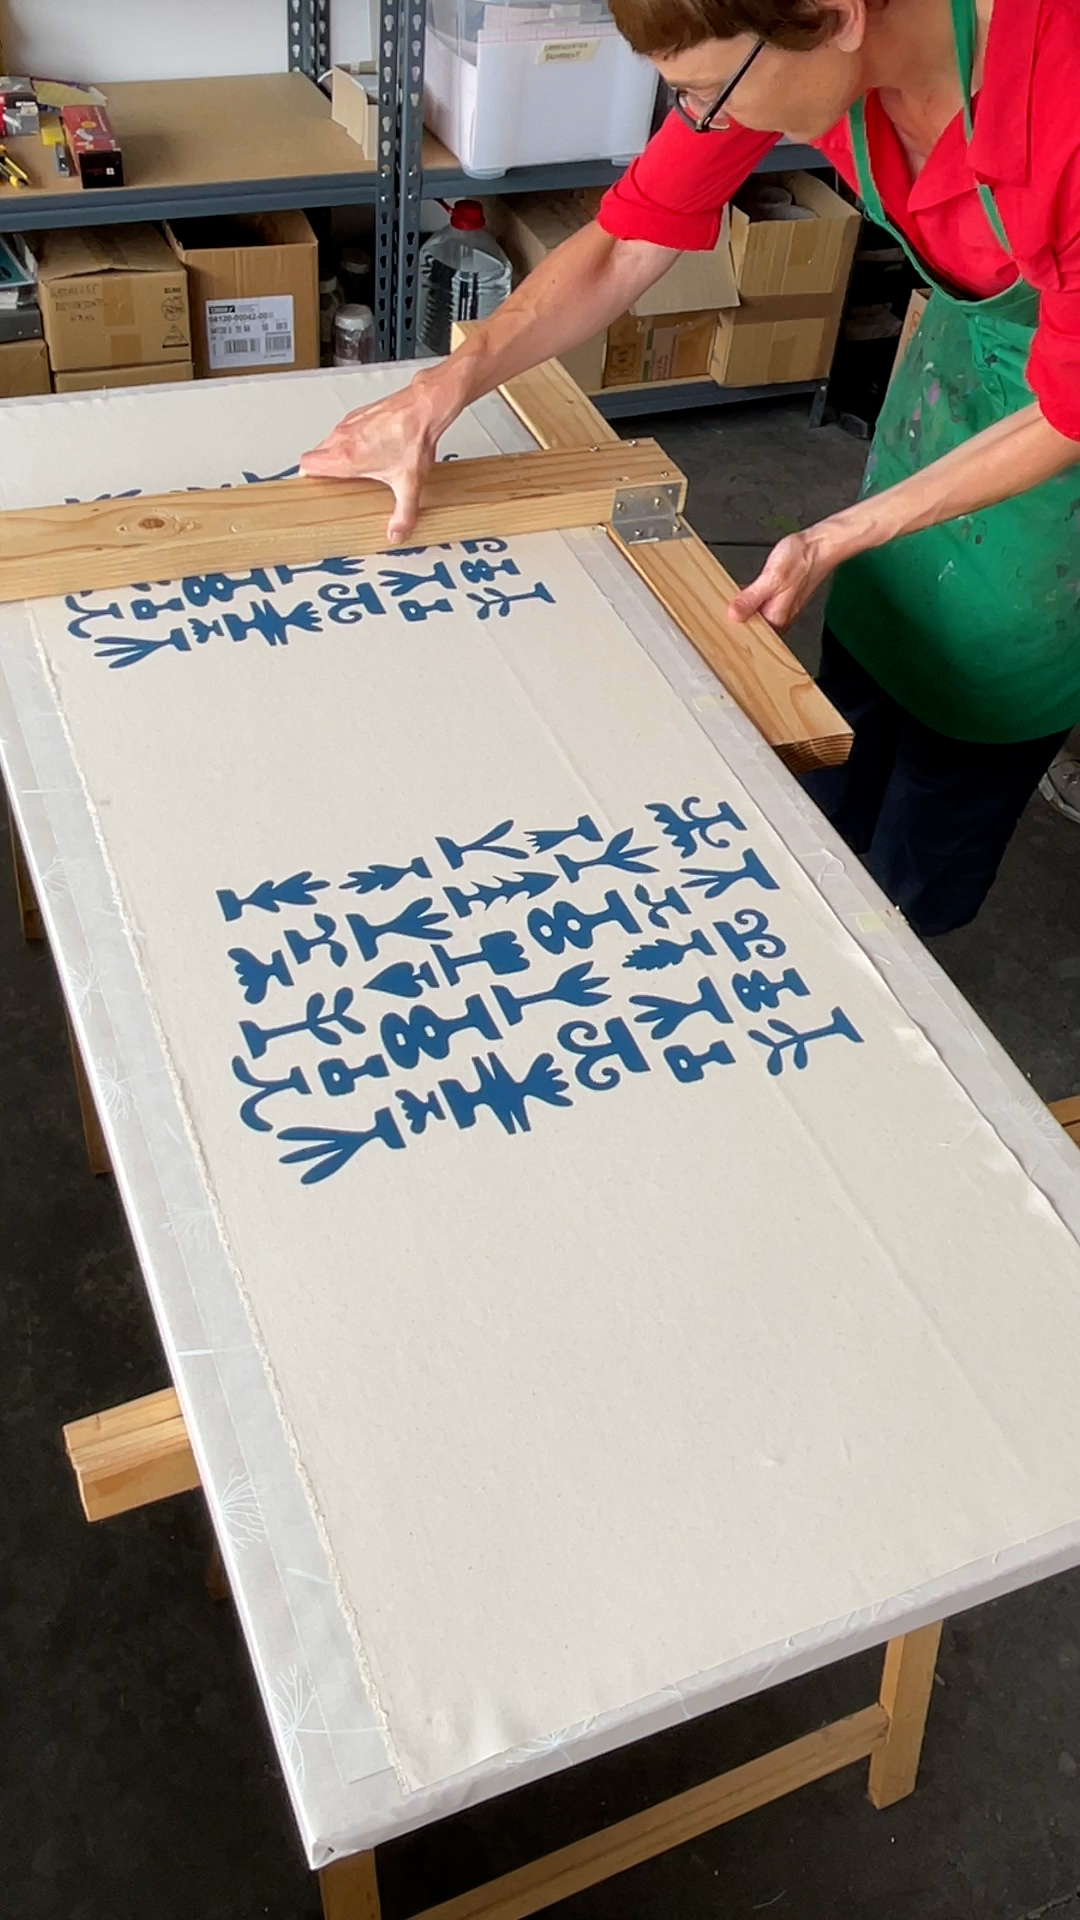
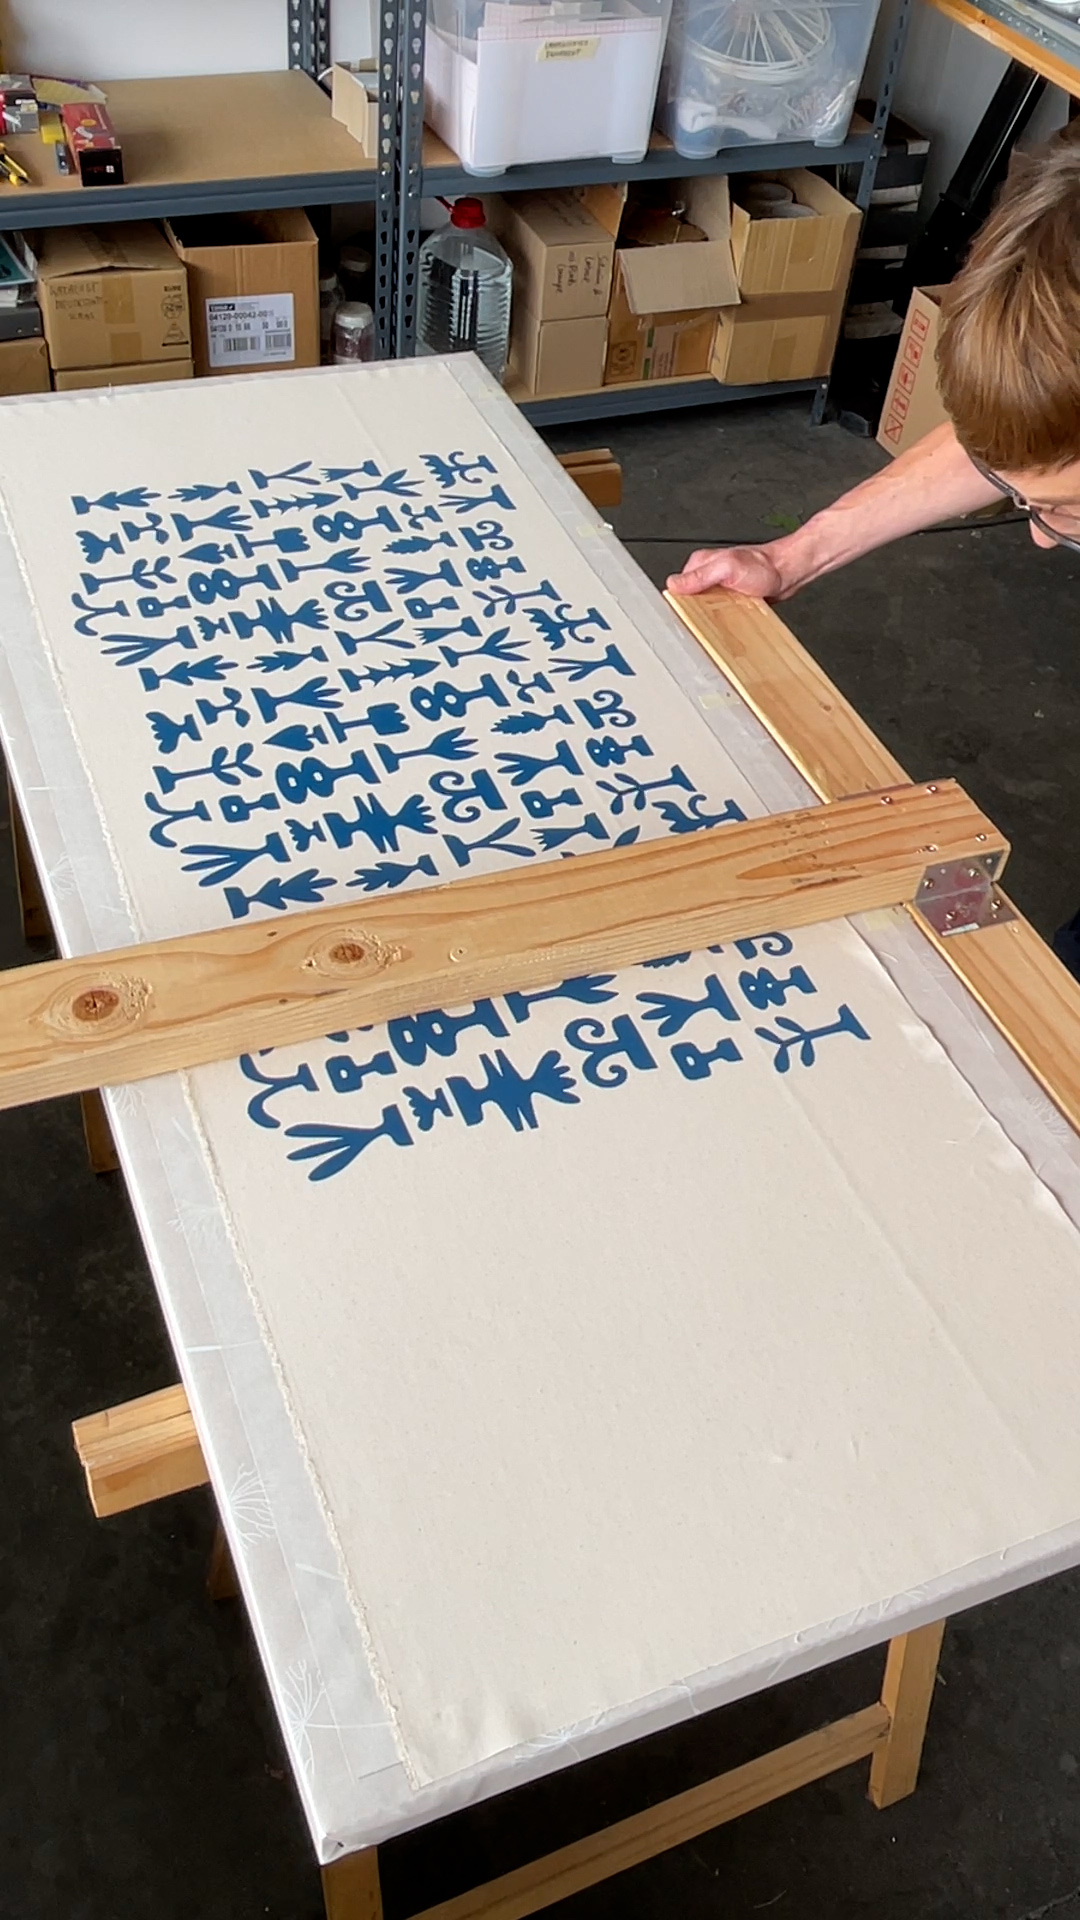
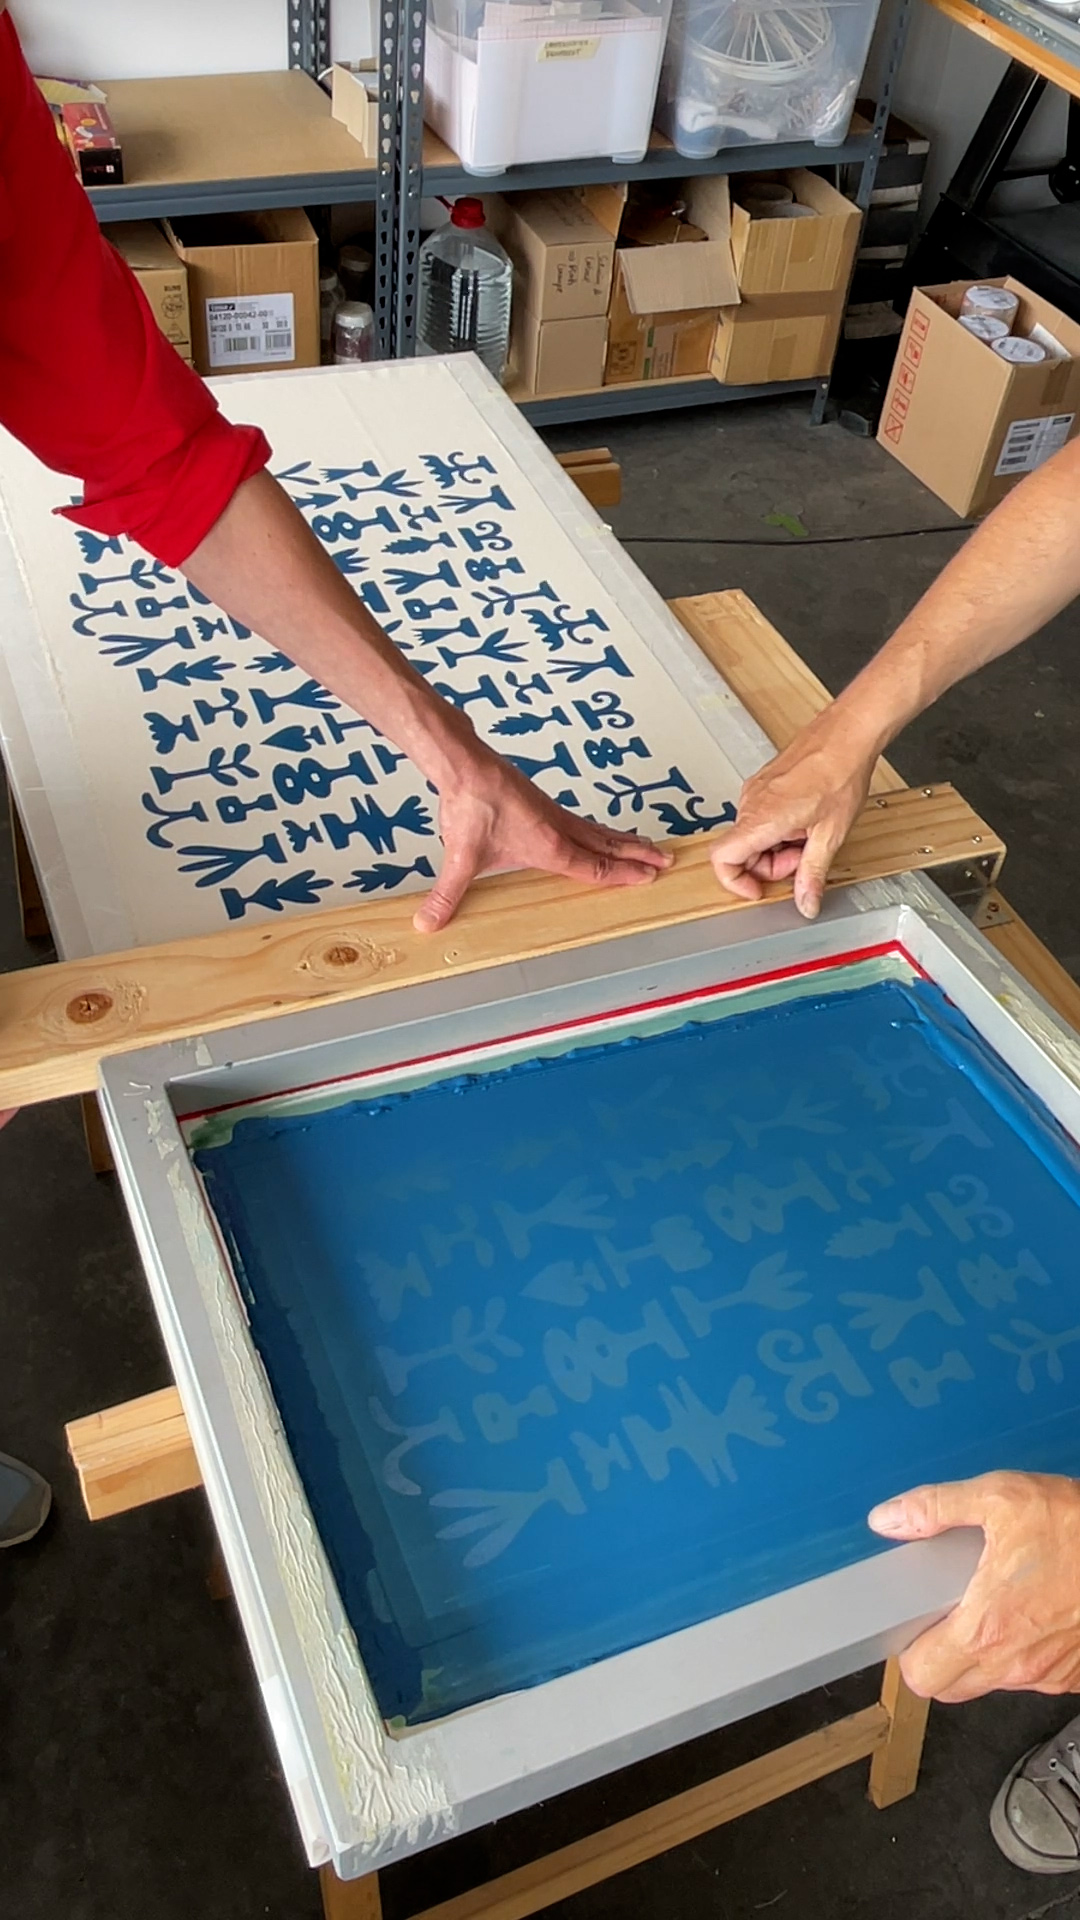
The repeat offset in our case is 28cm. On the printing table we marked the distance in x-direction with tape: 0, 28, 56 and 84cm (visible on the second photo: just pay attention to the red marking with the “S”). The T-bar is therefore placed at these marker points in the x-direction. On the T-bar, the contact point for y is marked, clearly visible on the first photo (again, only pay attention to the red marking).
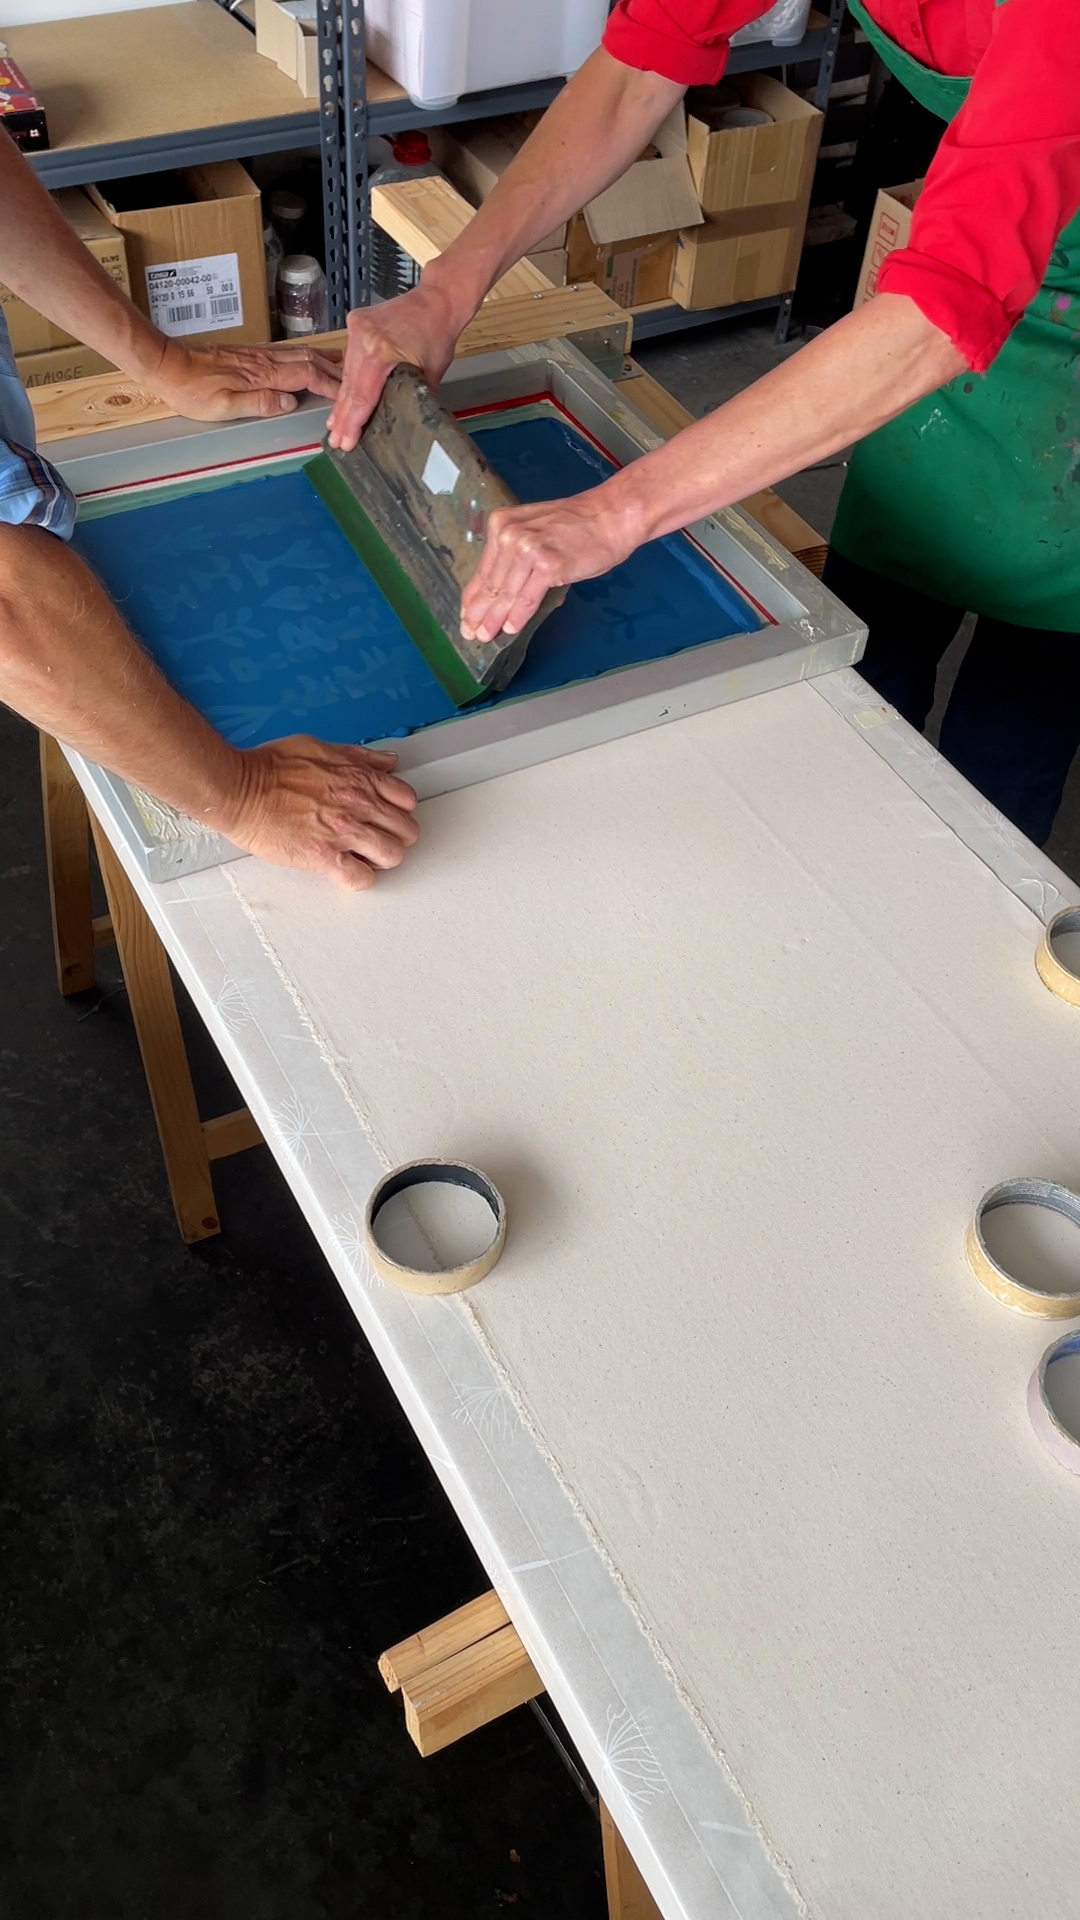
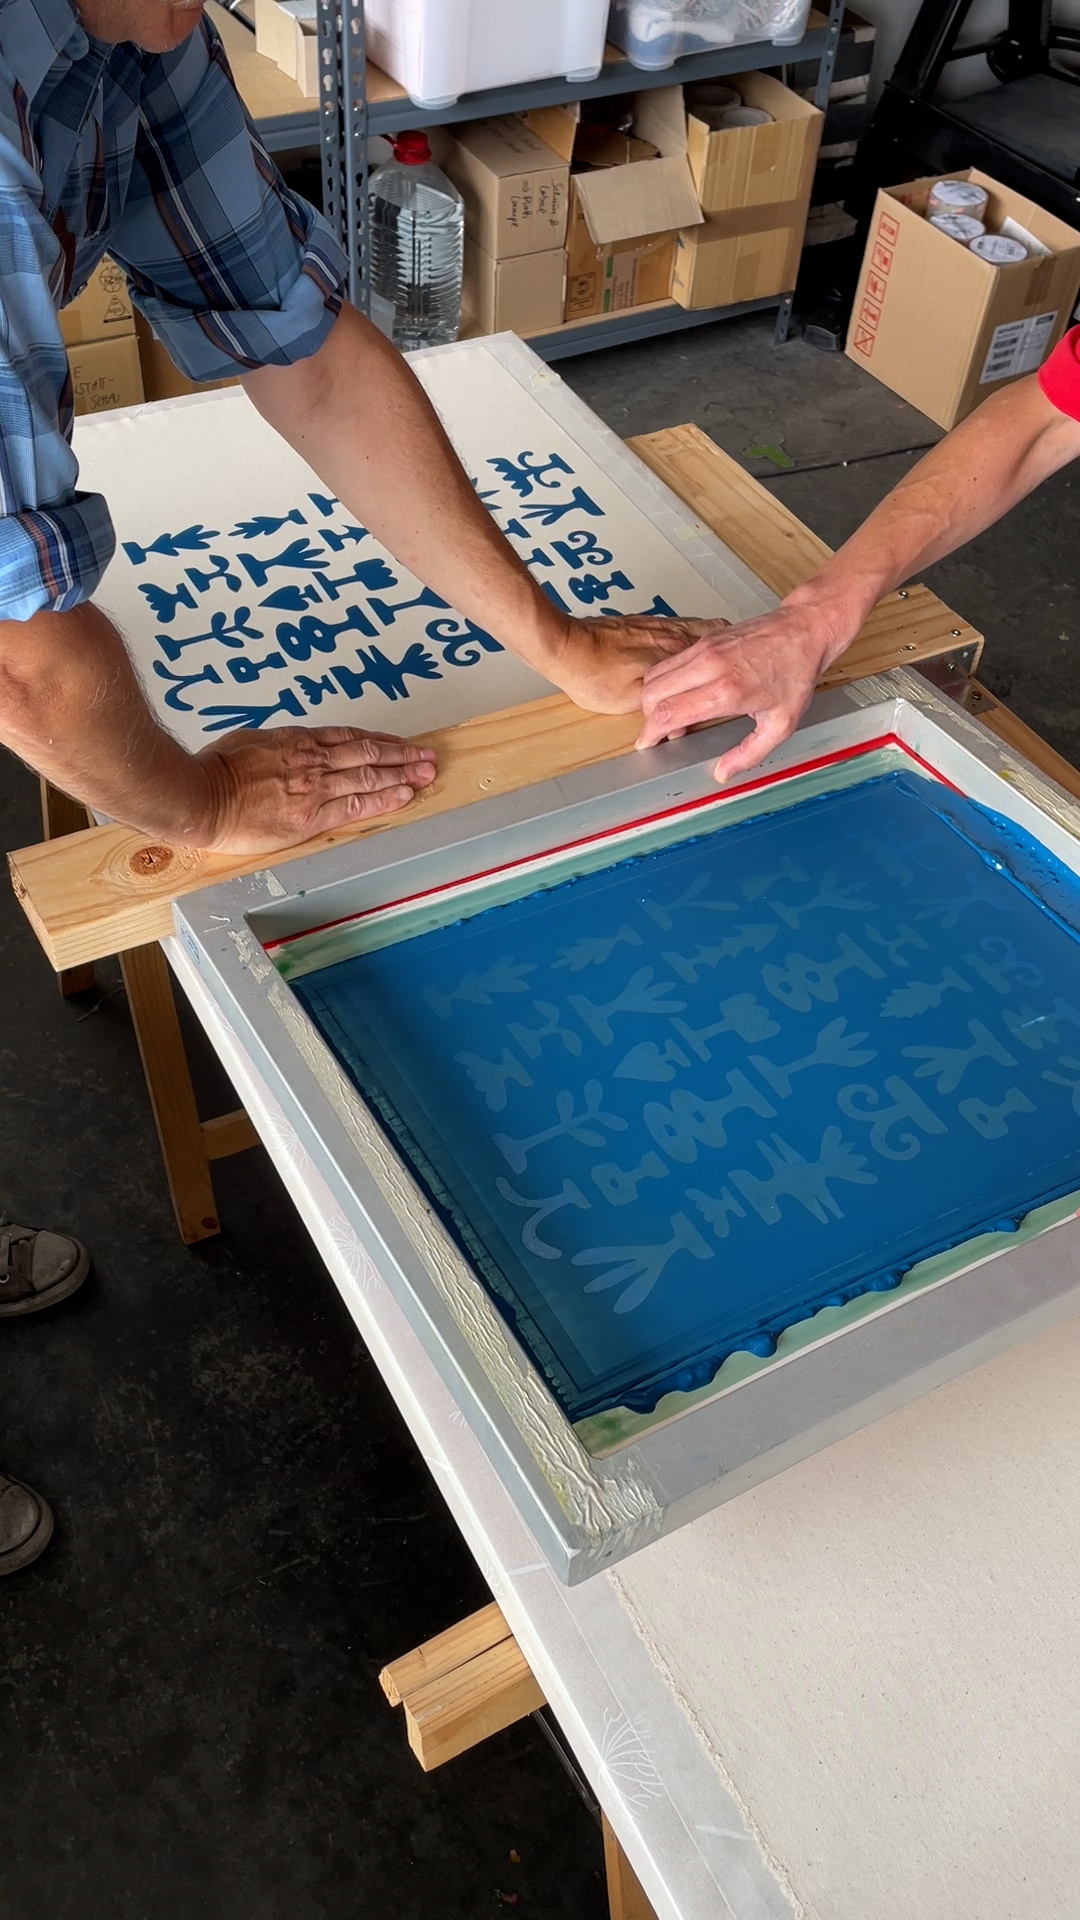
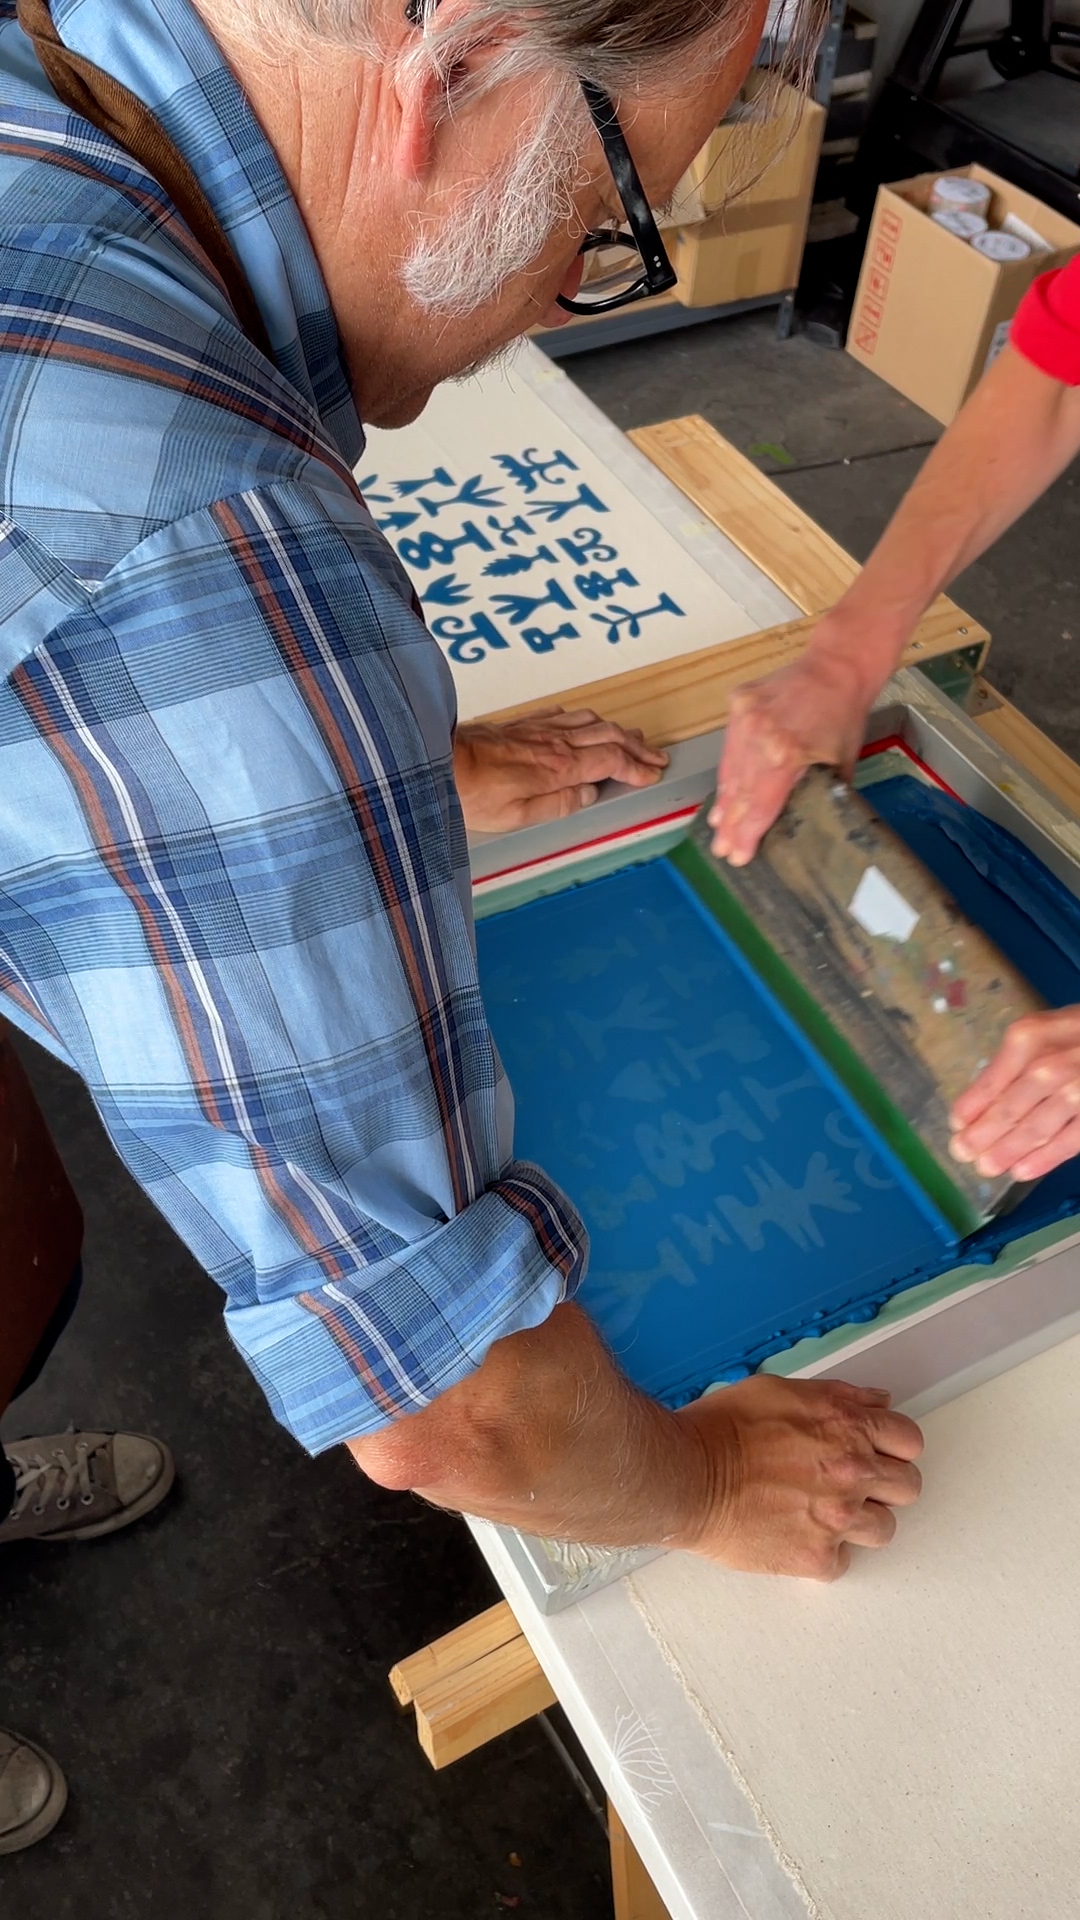
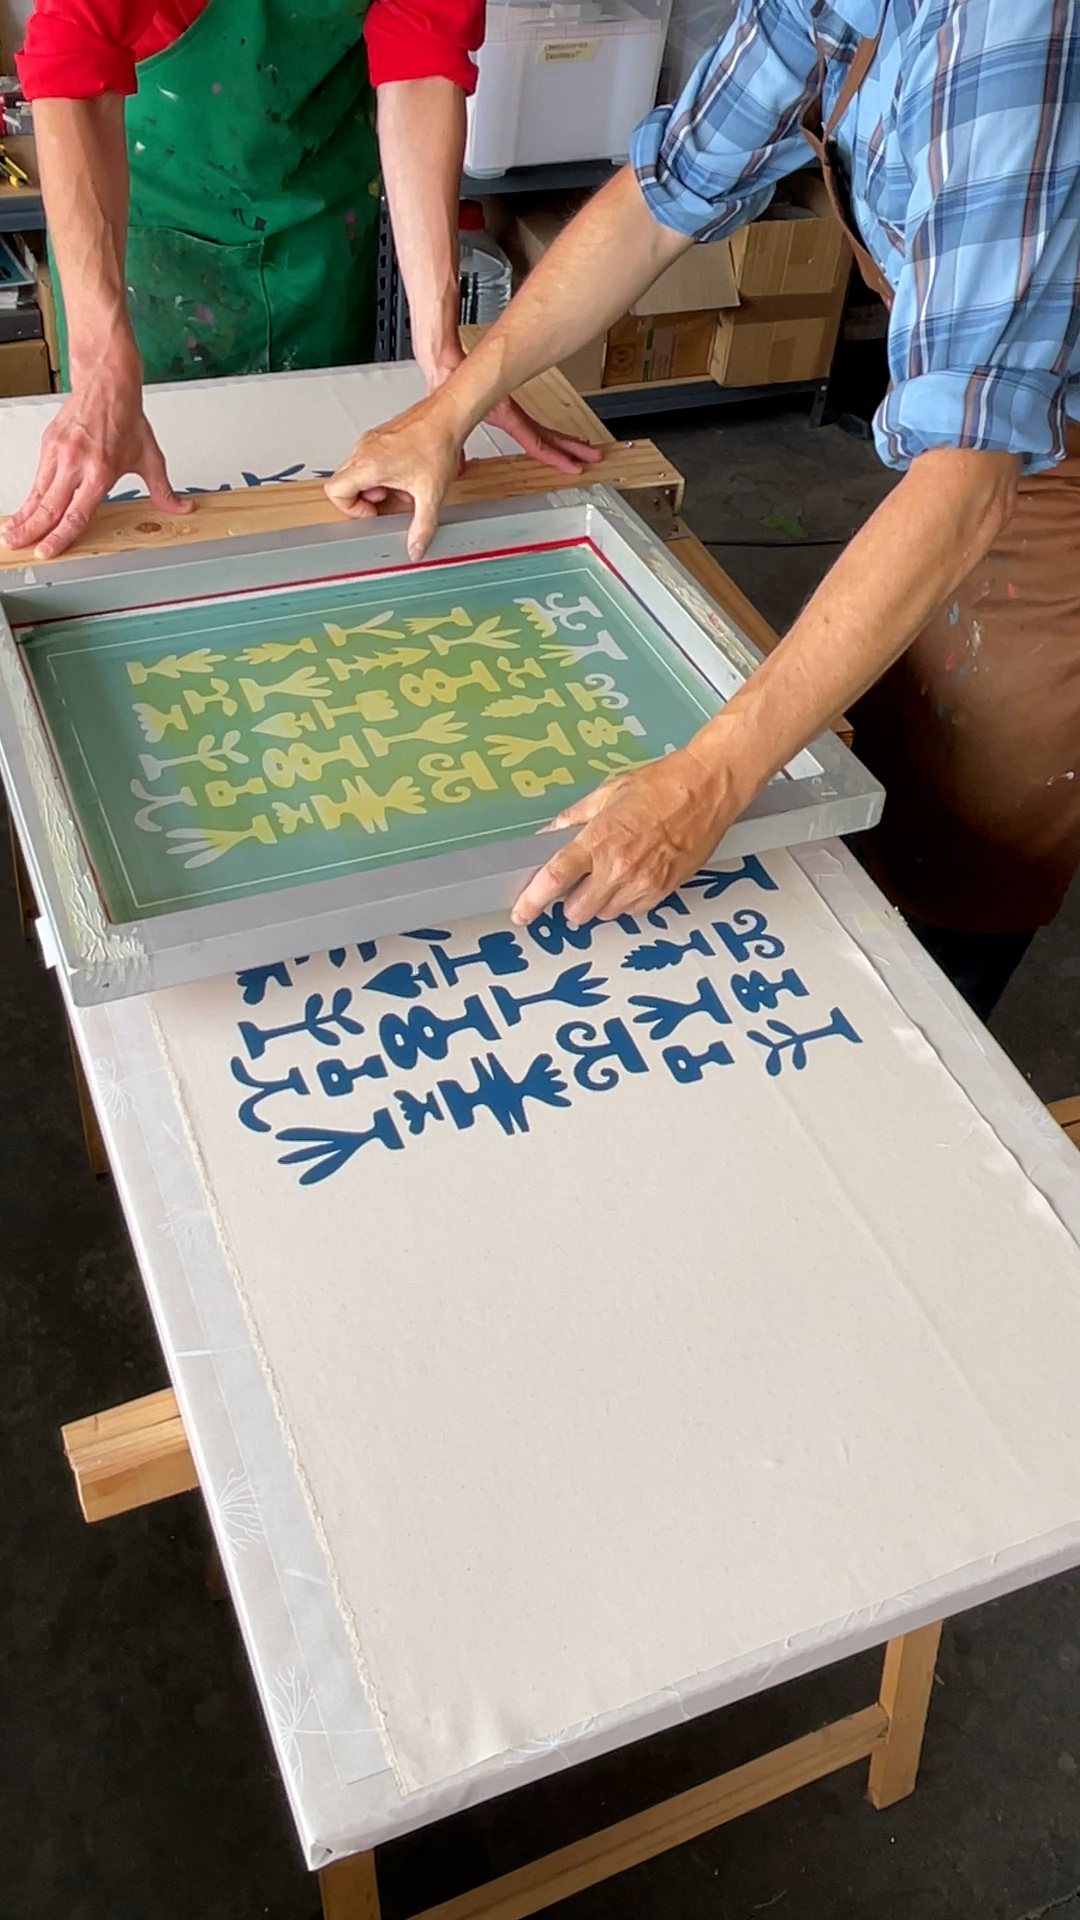
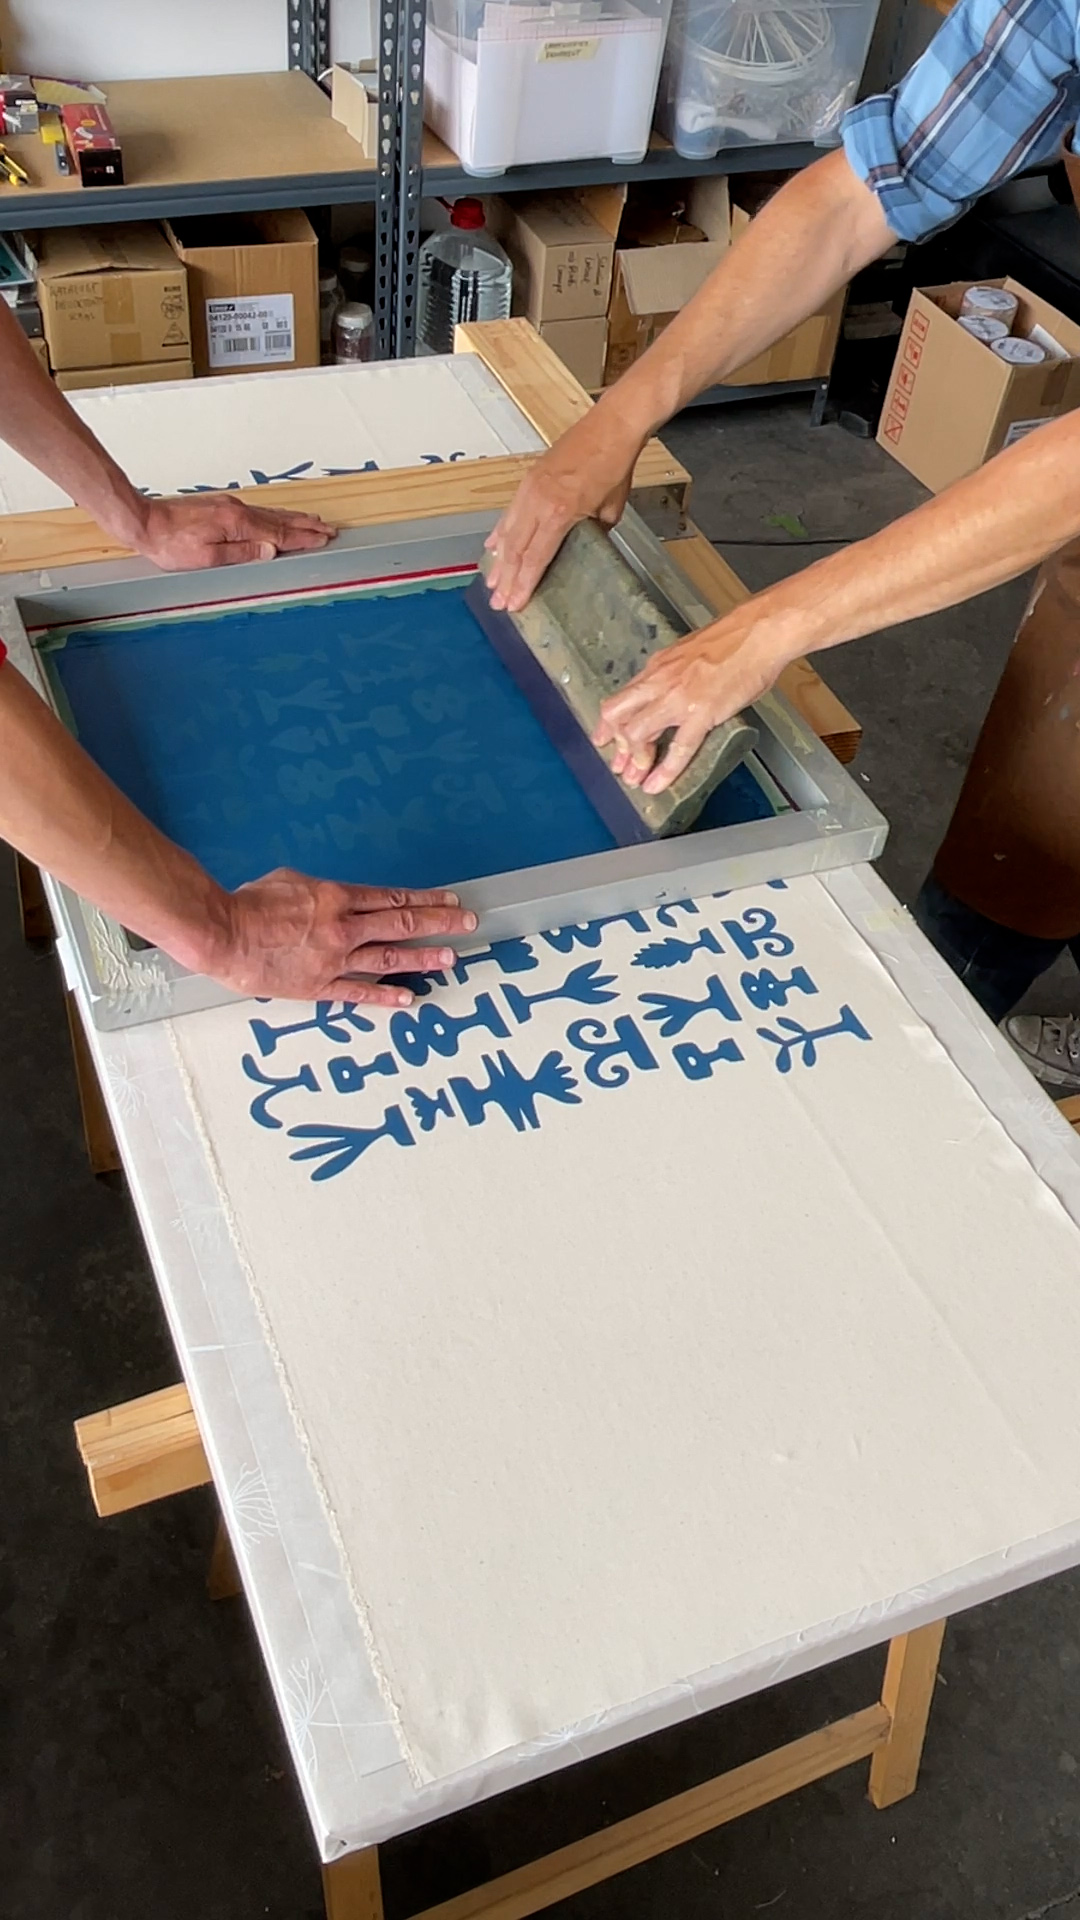
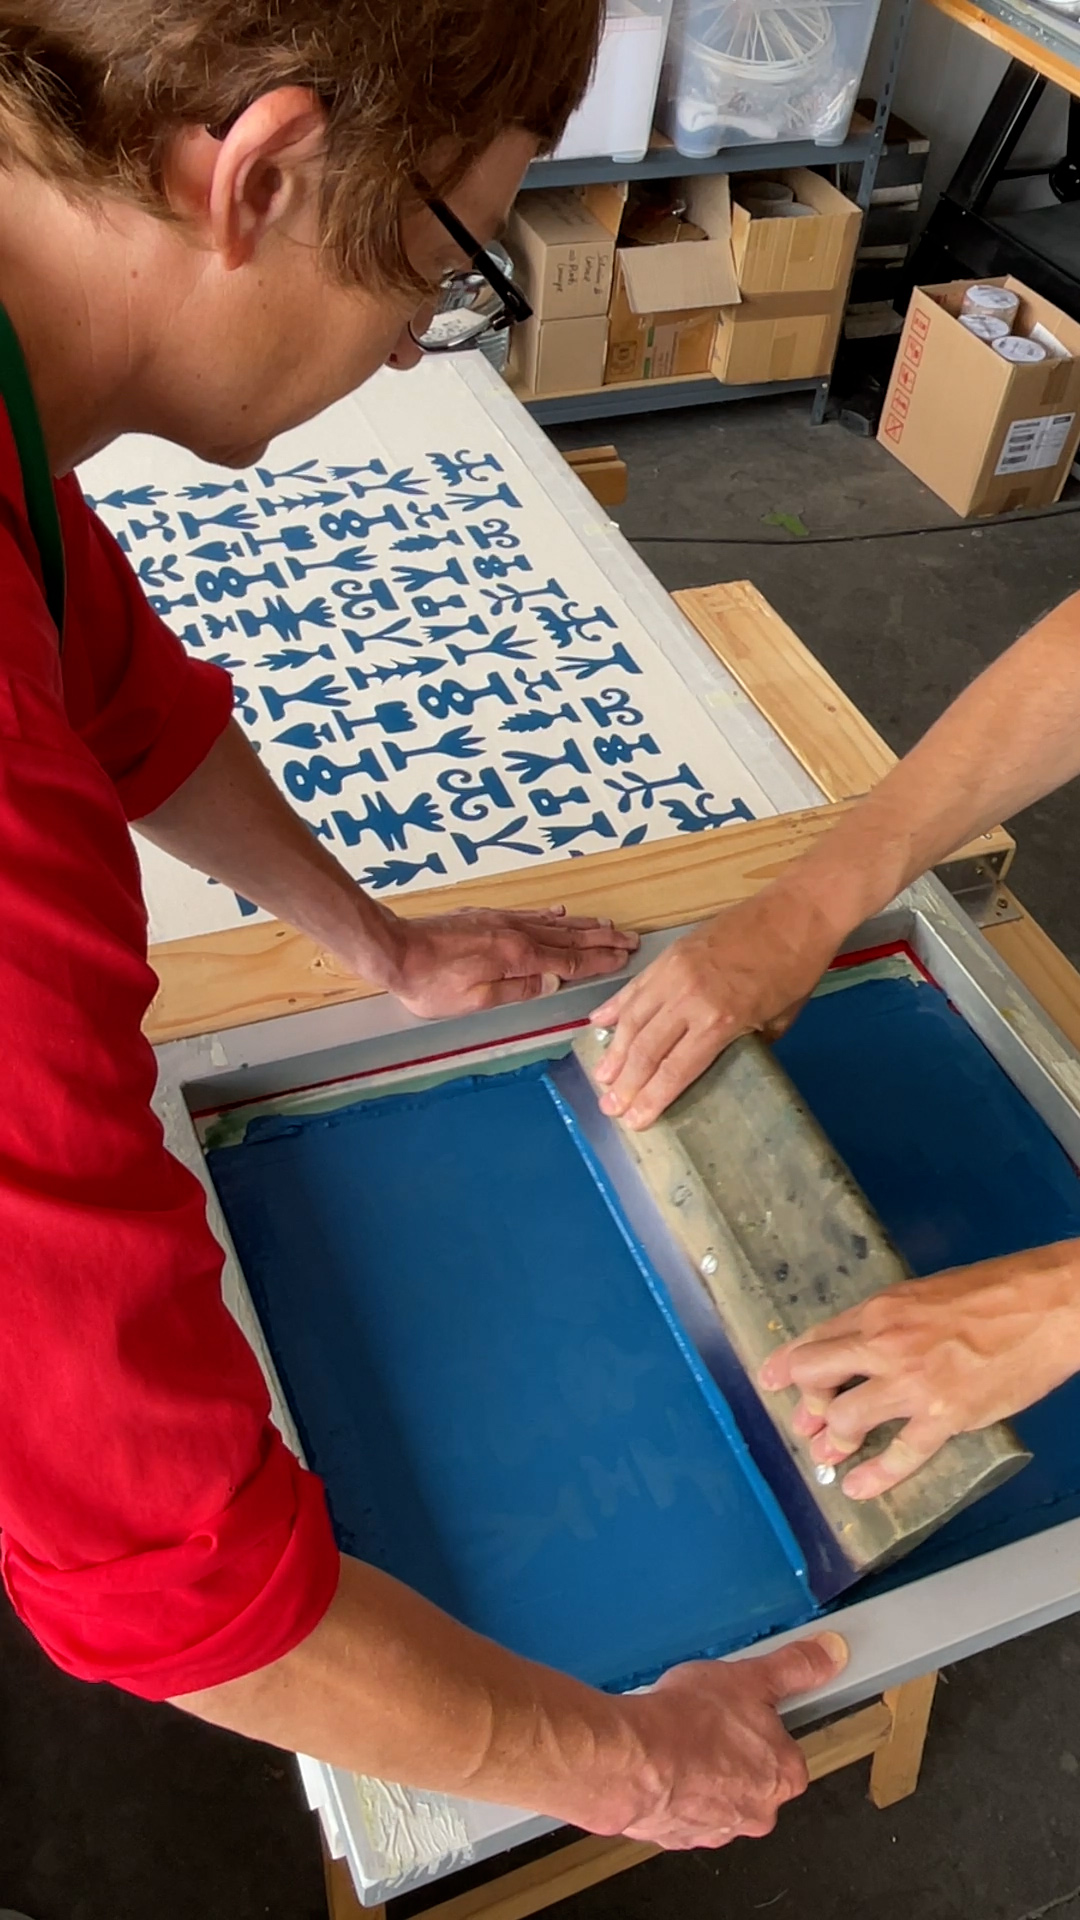
Before the screen is placed, make sure that the T-bar is correctly positioned and lies well against the edge of the table – this creates the important right angle. After the screen has been carefully placed, it should be held in place during the printing process so that it does not slip. We repeat the process at position 3, after which the screen is dried (to be on the safe side, we wash it out during this time).
Then follow the print runs at position 2 and 4 – and that’s it!
One more important thing about exposure:
Make sure that the motif is exposed as correctly as possible at a right angle to the screen so that the repeat is consistent and the pattern does not turn in easily.
We usually help ourselves with a rectangular frame that we print on the transparent film and which is slightly smaller than the visible screen fabric. Before we expose the screen we align it so that this rectangular frame is parallel to the aluminium edge of the screen. Later we tape off this frame because it should not be printed.